
🎂✨ Creamy Red Velvet Cheesecake Crowd Pleaser: A Velvet-Smooth Dessert Experience
1. Introduction – Creamy Red Velvet Cheesecake
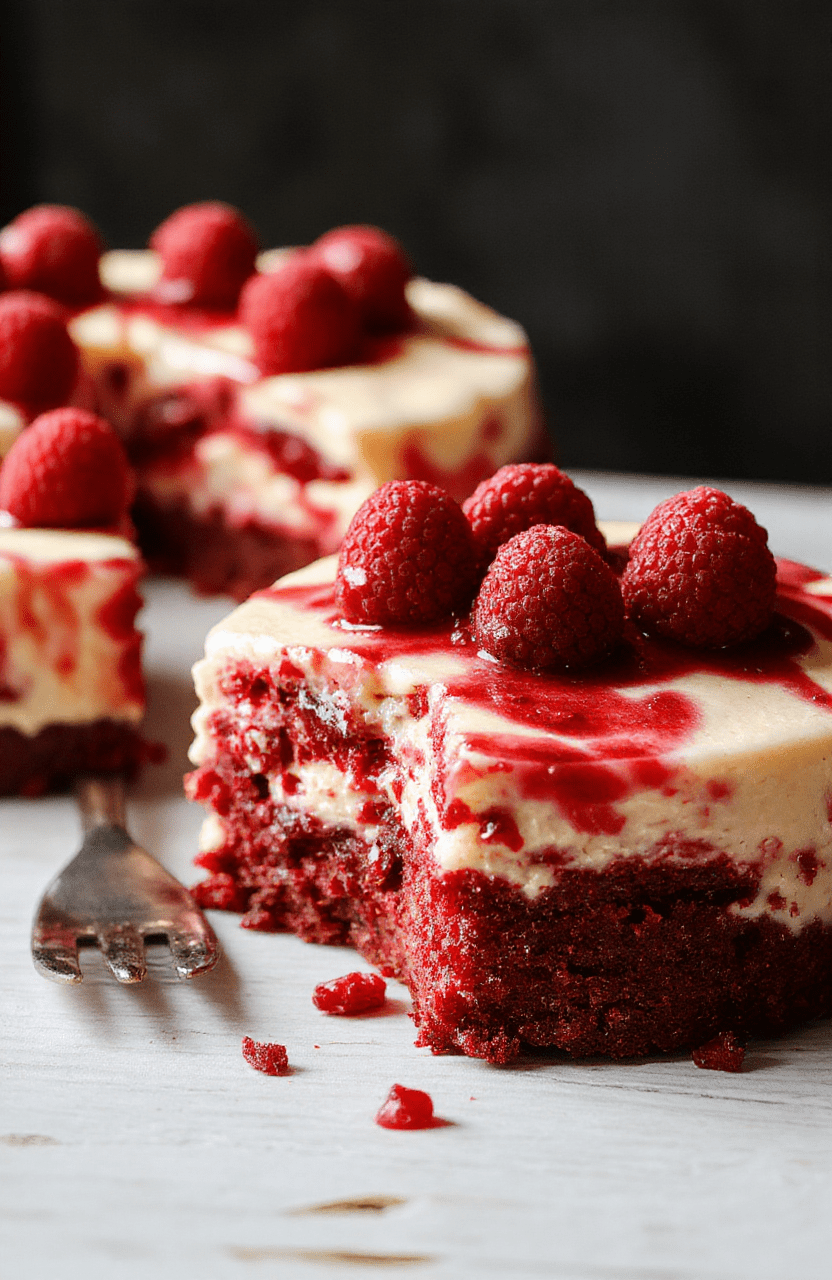
There’s nothing quite like biting into a Creamy Red Velvet Cheesecake that balances lush cream cheese with a kiss of cocoa. This recipe delivers a silky filling, a cocoa-dusted crust, and a vibrant red hue that makes every slice feel celebratory. It’s designed to wow a crowd while keeping the process approachable and delicious.
Prep tips and flavor ideas pop up here as you read. If you’re craving more dessert inspiration, you can also explore related treats like healthy chocolate muffins or other party-friendly bites on Meals Mom.
2. Why You’ll Love This Recipe
- Ready in under 2 hours (including chilling time) for a show-stopping dessert that still fits a busy schedule.
- Creamy, silky filling with a subtle chocolate note from cocoa powder and a hint of vanilla.
- Crowd-pleasing presentation that looks as impressive as it tastes, perfect for holidays and celebrations.
- Make-ahead friendly — bake, chill, and slice when it’s time to serve. For bite-size treats, consider a no-bake variation and link to an easy snack like no-bake peanut-butter oat cups.
3. Ingredient Notes
The beauty of this recipe is the balance between richness and brightness. Use full-fat cream cheese for that indulgent mouthfeel, and mix with sour cream or heavy cream to keep the filling airy rather than dense. High-quality cocoa powder makes the red-velvet color sing without overpowering the cheesecake’s tang.
For the crust, graham crackers or digestive biscuits work best. If you want a deeper chocolate backdrop, swap a portion of the crackers for finely crushed chocolate cookies. A touch of salt heightens the flavors and prevents sweetness from feeling cloying.
Color is classic red velvet—gel food coloring or natural beet powder both work. If you’re avoiding artificial color, you can still achieve a deep hue with dark cocoa and a lighter touch of color from natural alternates. For extra flavor ideas, check out more dessert inspiration in this recipe hub.
4. Kitchen Tools You Need
Having the right tools makes a big difference in texture and timing. A sturdy mixer helps you achieve a velvety filling without lumps. For creamy, fluffy results, use a dedicated stand mixer like the KitchenAid Artisan 5-Quart Stand Mixer. It makes easy work of beating cream cheese and eggs to the perfect pale, airy consistency.
A good springform pan ensures clean slices and neat edges. You can trust a reliable nonstick set for crust handling and easy removal. Consider adding the T-fal 14-Piece Hard Anodized Nonstick Cookware Set to your collection for versatile baking prep.
Tools that help with cleanup and precision are also worth it. The Ninja Air Fryer Pro Crisp & Roast 4-in-1 isn’t required for this cheesecake but can be handy for quick crust toasting if you’re short on oven time. For those who love a sleek countertop setup, the Compact 6-in-1 Digital Air Fryer is a compact helper.
Finally, a few sturdy utensils can speed things along. The Deluxe 33-Piece Silicone Utensil Set has everything you’ll need for mixing, scraping, and decorating, while the Philips 7000 Series Pasta Maker with 8 Shaping Discs (optional for extra crust texture experiments) can be a fun addition to a bake-day lineup.
5. How to Make Creamy Red Velvet Cheesecake Crowd Pleaser
Phase 1: Prepare the crust
Preheat the oven to 325°F (165°C). Crush graham crackers with a touch of sugar and cocoa until the mix looks like wet sand. Stir in melted butter and press firmly into a 9-inch springform pan. Bake for 10 minutes, then cool while you mix the filling.
Phase 2: Make the filling
Beat softened cream cheese until it’s smooth and fluffy. Add sugar, a kiss of salt, and vanilla, then blend in eggs one at a time. Mix in cocoa powder and a splash of sour cream or yogurt for tang. If you want the vibrant red, add gel coloring a little at a time until the shade pleases you. The batter should look glossy and velvety, not grainy.
Phase 3: Assemble and bake
Spread a portion of the red-tinted batter over the crust, then pour in the cream cheese filling. For a pretty marble effect, dollop a tablespoon of red batter on top and swirl with a knife. Bake in a water bath until the edges are set but the center still jiggles slightly.
Turn off the oven and crack the door; let the cheesecake rest in the residual heat to reduce cracking. Cool completely on a rack, then chill for at least 4 hours, preferably overnight, for clean slices.
Phase 4: Finish and serve
Run a knife around the edge, release the springform, and slice. A light dusting of cocoa powder or a crown of whipped cream makes the presentation extra special. For an extra indulgent touch, add chocolate shavings or berries on top.
6. Expert Tips for Success
- Room-temperature ingredients blend into a smoother filling. Plan ahead to take cream cheese, eggs, and dairy out at least 30 minutes before you start.
- Don’t overmix after adding eggs; overbeating can incorporate too much air and cause cracks.
- Use a water bath to prevent cracking and keep the edges from drying out.
- Cool slowly in the oven with the door ajar, then chill thoroughly for clean slices.
- Trim the crust edges slightly before slicing to reveal a clean, professional look.
7. Variations & Substitutions
Want to tailor for dietary needs or taste preferences?
- Gluten-free crust: use gluten-free graham crackers or cookies finely crushed with butter.
- Dairy-free option: use a dairy-free cream cheese substitute and coconut cream to mimic the texture; the color may shift slightly without dairy.
- Vary the flavor: add a teaspoon of espresso powder for a mocha twist or a splash of almond extract for a nutty note.
- Cheesecake topping: fold in mini chocolate chips or swirl in raspberry puree for a fruity contrast.
8. Storage & Reheating
Store the assembled cheesecake in the refrigerator for up to 5 days. Slice carefully to maintain the clean edges, then cover with plastic wrap or store in an airtight container. For longer storage, freeze slices wrapped tightly for up to 2 months; thaw in the fridge before serving.
9. FAQ
Q: What makes this Creamy Red Velvet Cheesecake different from a standard cheesecake?
A: The addition of cocoa, a vibrant red color, and a touch of buttermilk or sour cream gives a distinct tang and chocolate aroma that elevates the classic cheesecake experience.
Q: Can I bake this without a water bath?
A: A water bath helps prevent cracking and keeps the crust moist. If you must skip it, bake at a slightly lower temperature and monitor closely for cracks.
Q: Can I freeze this cheesecake?
A: Yes. Freeze individual slices, well-wrapped, for up to 2 months. Thaw overnight in the fridge for best texture.
Q: How do I prevent cracks?
A: Use room-temperature ingredients, mix just until combined, bake with a water bath, and slowly cool the oven to ambient temperature to avoid sudden temperature shifts.
10. Conclusion
With its creamy center, cocoa-kissed crust, and vibrant hue, this Creamy Red Velvet Cheesecake is a showstopper that’s surprisingly approachable. It blends the decadence of classic cheesecake with a festive red velvet charm, making it the perfect dessert for any crowd. Ready to start baking and wow your guests at your next gathering?
Print
Creamy Red Velvet Cheesecake Crowd Pleaser
This Creamy Red Velvet Cheesecake blends a buttery crust with a rich, velvety filling and a hint of cocoa and red coloring for a striking dessert that feeds a crowd. A classic cheesecake base gets bold, festive flair with red velvet tones and a creamy topping.
- Total Time: 6 hours (including chill)
- Yield: 12 servings
Ingredients
- Crust: 1 1/2 cups Oreo cookie crumbs
- 3 tablespoons melted butter
- Filling: 4 (8-ounce) packages cream cheese, softened
- 1 1/4 cups granulated sugar
- 1/4 cup sour cream
- 2 teaspoons vanilla extract
- 2 large eggs
- 2 tablespoons all-purpose flour
- 2 tablespoons unsweetened cocoa powder
- 2 tablespoons red food coloring
- 1/2 teaspoon salt
- 1/2 cup heavy cream
- Optional topping: whipped cream or chocolate shavings
Instructions
- Preheat oven to 325°F (163°C).
- Mix crust: combine Oreo crumbs and melted butter, press into a 9-inch springform pan. Chill 10 minutes.
- Beat cream cheese and sugars until smooth. Add sour cream, vanilla, cocoa, flour, salt, and red coloring; mix until fully incorporated.
- Beat in eggs one at a time, then mix in heavy cream until just combined.
- Pour filling over crust and smooth the top. Bake 60-70 minutes, until the center jiggles slightly. Turn off oven and cool with door ajar 1 hour; refrigerate 4 hours or overnight.
- Garnish and serve as desired. Chill again if adding toppings.
Notes
- Room temperature ingredients help the filling blend smoothly for a silkier texture.
- Chill thoroughly before slicing for clean, neat portions.
- If the cheesecake cracks, cover with whipped cream or a chocolate ganache for a polished finish.
- Prep Time: 30 mins
- Cook Time: 70 mins
- Method: Bake
- Cuisine: American
- Diet: Vegetarian
Nutrition
- Serving Size: 1 slice (1/12 cake)
- Calories: 420 Kcal
- Sugar: 30 g
- Sodium: 300 mg
- Fat: 28 g
- Saturated Fat: 14 g
- Unsaturated Fat: 10 g
- Trans Fat: 0 g
- Carbohydrates: 32 g
- Fiber: 1 g
- Protein: 7 g
- Cholesterol: 95 mg