
🍓⚡ No-Bake Protein Balls for Quick Energy ⚡🍓
1. Introduction
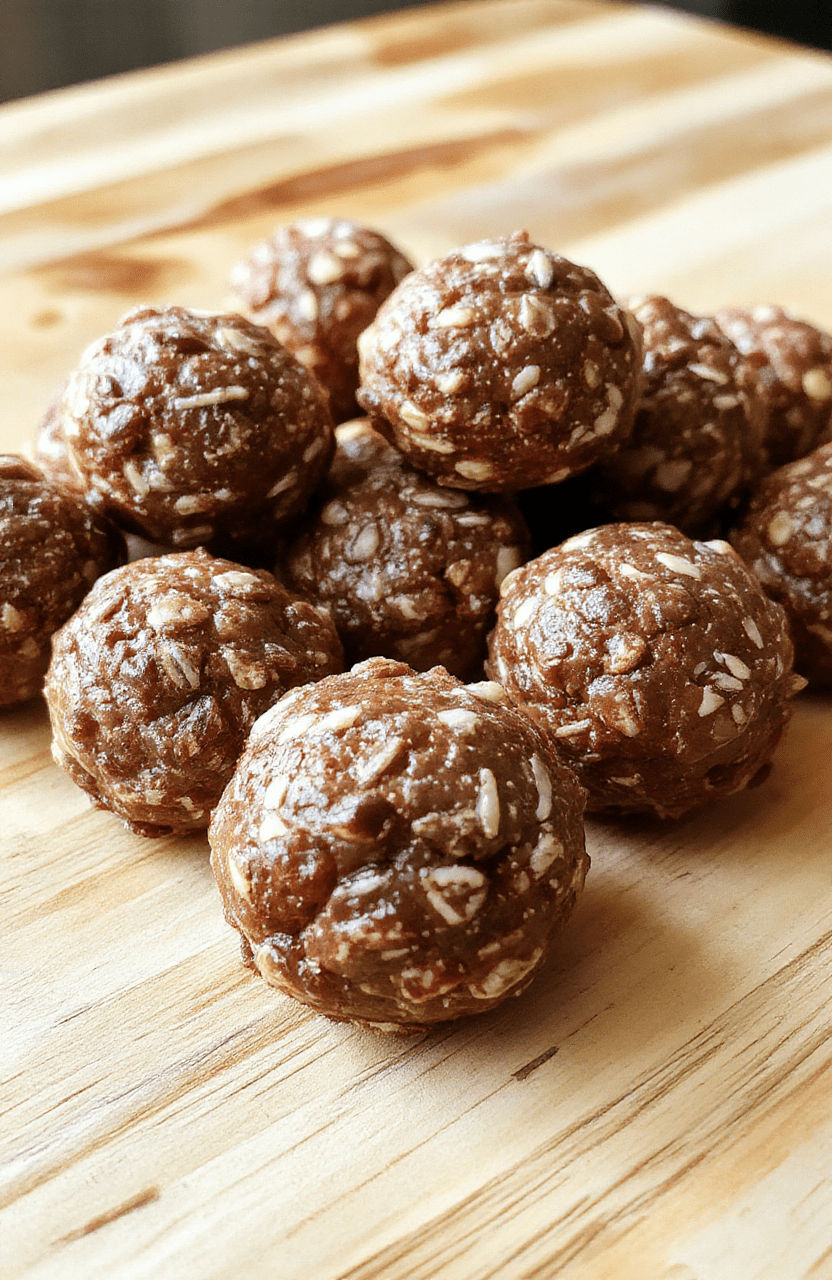
If you need a fast energy lift that doesn’t require turning on the stove, these no-bake protein balls are for you. They come together in minutes and deliver a balanced hit of protein, oats, and natural sweetness. This quick energy snack keeps you fueled between workouts or during a busy afternoon, with a texture that’s chewy, slightly crunchy, and irresistibly tasty.
With every bite, you’ll taste the roasted oats, nut butter richness, and a hint of vanilla. The best part is you can tailor them to your mood—add chocolate chips for a dessert-like treat or toss in dried fruit for a fruity note. This is work-friendly fuel you can grab on the go, no oven required.
2. Why You’ll Love This Recipe
- Ready in 15 minutes — no bake, no heat, just mix, chill, and roll.
- One-bowl simplicity — minimal cleanup and clean ingredient quality makes it a breeze.
- Portable snack — perfect for gym bags, desks, or school lunches.
- Customizable — adapt with your favorite nut butters, protein powders, and add-ins; see the ingredient notes for ideas.
- Kid-friendly — naturally sweetened and easy to munch, great for small hands to help roll and dip.
3. Ingredient Notes
A strong base keeps these no-bake protein balls satisfying. Use rolled oats for texture and fiber, or quick oats if you want a softer bite. Pair with a creamy nut butter to help the mixture bind and to add healthy fats that slow sugar absorption.
Protein powder is optional but helpful for keeping you full longer. Choose a whey or plant-based formulation you enjoy; vanilla or chocolate flavors work especially well with the natural sweetness of honey or maple syrup. If you’re vegan or dairy-free, a neutral or vanilla plant-based protein works perfectly here.
Sweetness comes from a touch of honey or maple syrup, plus mini chocolate chips or chopped dried fruit if you like. For a flavor lift, stir in a pinch of sea salt, cinnamon, or vanilla extract. High-quality ingredients make a noticeable difference in aroma and taste. For a playful twist, see our fluffy raspberry marshmallows gut healthy treat for a different texture contrast you can try in future batches.
4. Kitchen Tools You Need
The right tools keep this quick energy snack simple and enjoyable. While you can improvise with what’s in your kitchen, a few dependable items will save time and effort:
- Mixing bowl — a roomy, smooth-sided bowl makes stirring easy. KitchenAid Classic Iconic Stand Mixer can help if you’re doubling the batch, or use a sturdy mixing bowl and spoon.
- Measuring spoons and cups — accurate ratios matter for texture and consistency. Presto 23-Quart Induction-Compatible Pressure Canner is overkill for most batches, but a sturdy set is invaluable in a busy kitchen.
- Nonstick surface or parchment — prevents sticking when rolling. For high-heat multi-tasking, consider a nonstick cookware set like Cuisinart 2-Quart Stainless Steel Ice Cream Maker, which pairs well with snack prep days.
- Chill-friendly tray or plate — a sheet or plate in the fridge helps the balls firm up quickly. A simple lined tray does the job beautifully.
- Optional: Small food processor — if you’re using whole nuts or dates, a processor makes quick work of chopping. If you’d like a compact option, consider the Compact 6-in-1 Digital Air Fryer by Amazon Basics for quick-drying or coating experiments, though not required for this recipe.
5. How to Make No-Bake Protein Balls for Quick Energy
Phase 1 — Gather & Mix
In a large mixing bowl, combine 1 cup rolled oats, 1/2 cup peanut butter or almond butter, 1/4 cup honey or maple syrup, and 1/2 cup protein powder. Stir until the mixture looks cohesive and slightly glossy. You should be able to pinch it and hold its shape without crumbling.
Phase 2 — Look, Feel, & Bind
If the mixture is too dry, add a teaspoon of water or a splash more honey; if too wet, sprinkle in a tablespoon of oats. The goal is a cohesive dough that holds together when pressed. The aroma should be warm, nutty, and inviting as you work it.
Phase 3 — Chill & Shape
Chill the dough for 10–20 minutes to help it firm up. Roll portions into bite-sized balls, about the size of a cherry or a walnut. If you’d like, dip each ball in mini chocolate chips or roll in shredded coconut for extra texture and flair.
Phase 4 — Optional Coatings
For variety, coat half the batch in cocoa powder or crushed nuts. This adds a nice, crunchy exterior and a new flavor dimension without adding heavy ingredients.
6. Expert Tips for Success
- Balance sweetness and protein by adjusting the honey and protein powder ratio to taste. Start small and add more as needed.
- Use a thick, natural nut butter for easier binding. If your nut butter is very runny, mix in a little extra oats or protein powder.
- Personalize with add-ins. A handful of chopped almonds, chia seeds, or a few cacao nibs can elevate texture and nutrition.
- Chill briefly before rolling to prevent sticking. A 10–15 minute rest makes rolling smoother, especially on warm days.
- Store covered in the fridge for best texture; the chill helps the balls stay compact and chewy.
7. Variations & Substitutions
These no-bake protein balls are wonderfully forgiving. Try different nut butters (cashew, peanut, almond) or swap in sunflower seed butter for a soy-free option. For a vegan version, use a plant-based protein powder that you enjoy. If you’re watching dairy, choose dairy-free chocolate chips or skip them altogether. You can also swap in dried fruit like cranberries or chopped dates for natural sweetness and extra chew.
Want a more dessert-like version? Add a tablespoon of cocoa powder and some mini chocolate chips. For a breakfast-forward bite, stir in a tablespoon of chia seeds or flax meal to boost fiber and omega-3s. Internal food inspiration can be found in our other quick snack ideas such as the crispy pizza hot pockets high-protein snack if you’re craving a savory pairing later.
8. Storage & Reheating
Store the protein bites in an airtight container in the refrigerator for up to 1 week. For longer storage, freeze them in a single layer on a tray, then transfer to a freezer-safe bag or container for up to 3 months. Thaw at room temperature for 10–15 minutes or enjoy straight from the fridge for a cooler bite.
9. FAQ
Q: Can I make no-bake protein balls without peanut butter?
A: Yes. Use any nut butter or a seed butter (like tahini or sunbutter) to bind the mixture. You can also add an extra tablespoon of nut butter if the dough needs more cohesion.
Q: How long do no-bake protein balls last in the fridge?
A: They stay fresh for about 5–7 days when stored in an airtight container.
Q: Can I freeze protein balls?
A: Absolutely. Freeze them on a baking sheet first, then transfer to a freezer bag. They keep well for up to 3 months; thaw for 15–20 minutes before eating for the best texture.
Q: What protein powder is best for protein balls?
A: A flavor you enjoy helps the final taste. Vanilla or chocolate whey or plant-based blends work well. If you’re sensitive to grittiness, sift the powder first or choose a finely processed option.
10. Conclusion
These no-bake protein balls are a dependable quick energy snack that fits busy days, gym days, and family snack time. They’re easy to customize, delicious straight from the fridge, and naturally satisfying. With a few pantry staples, you can have a batch ready in minutes and enjoy nourishing bites all week.
Print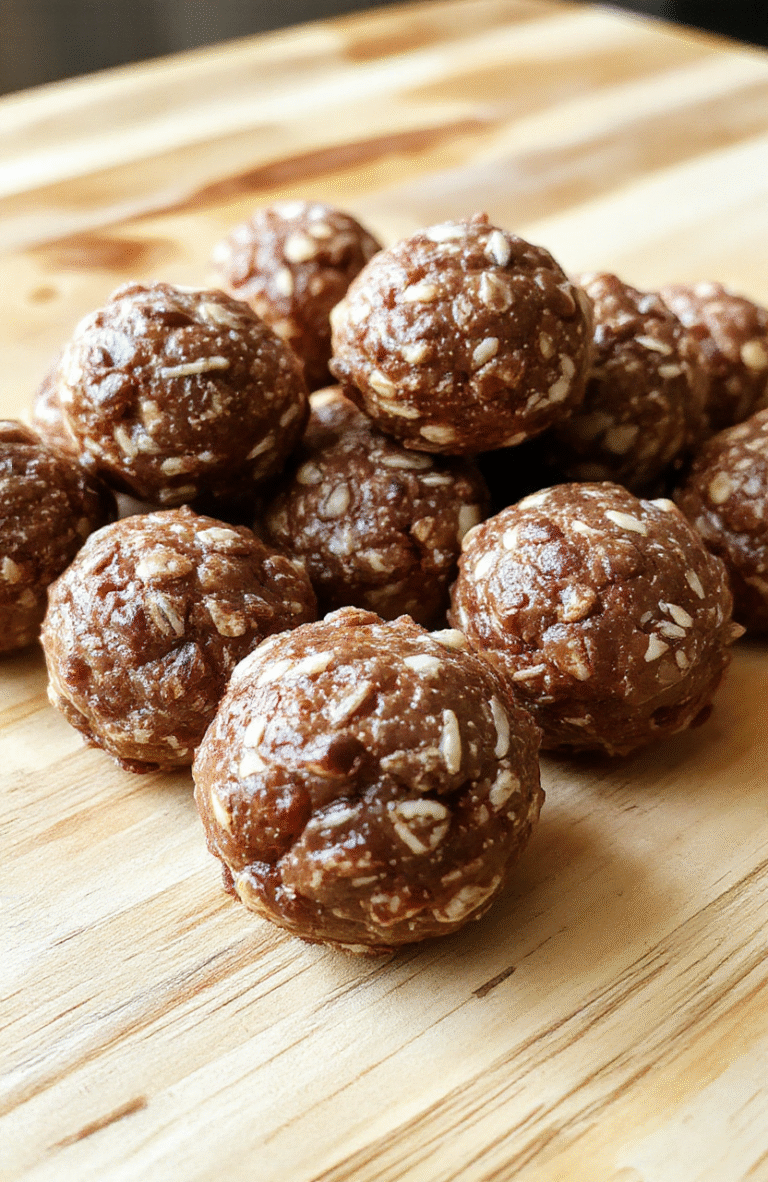
No-Bake Protein Balls for Quick Energy
No-bake protein balls made with oats, peanut butter, vanilla protein powder, and honey for a chewy, protein-packed snack. Perfect for quick energy after workouts or busy days, with optional coconut coating for extra texture.
- Total Time: 25 minutes (plus chilling)
- Yield: 18-20 balls
Ingredients
- 1 cup rolled oats
- 1/2 cup peanut butter
- 1/3 cup honey
- 1/2 cup vanilla protein powder
- 1/4 cup mini chocolate chips
- 1/4 cup ground flaxseed
- 1/4 cup shredded coconut
- 1/2 tsp vanilla extract
- Pinch of salt
Instructions
- In a large bowl, whisk together oats, protein powder, flaxseed, and salt.
- Stir in peanut butter, honey, and vanilla until a sticky dough forms.
- Fold in chocolate chips.
- Chill the mixture 15-20 minutes if too soft, then roll into 1-inch balls.
- Roll balls in shredded coconut for extra texture if desired.
- Store in an airtight container in the fridge for up to 1 week.
Notes
- Make ahead: Prepare a batch and refrigerate for grab-and-go snacks.
- Storage: Keep refrigerated for up to 7 days or freeze for up to 3 months.
- Variants: Use almond butter, add chopped nuts, or substitute peanut butter with sunflower butter for allergies.
- Prep Time: 15 minutes
- Cook Time: 0 minutes
- Method: No-Bake
- Cuisine: American
- Diet: High-Protein, No-Bake
Nutrition
- Serving Size: 1 ball (approx 30 g)
- Calories: 130 Kcal
- Sugar: 7 g
- Sodium: 60 mg
- Fat: 7 g
- Saturated Fat: 2 g
- Unsaturated Fat: 5 g
- Trans Fat: 0 g
- Carbohydrates: 12 g
- Fiber: 2 g
- Protein: 8 g
- Cholesterol: 0 mg