
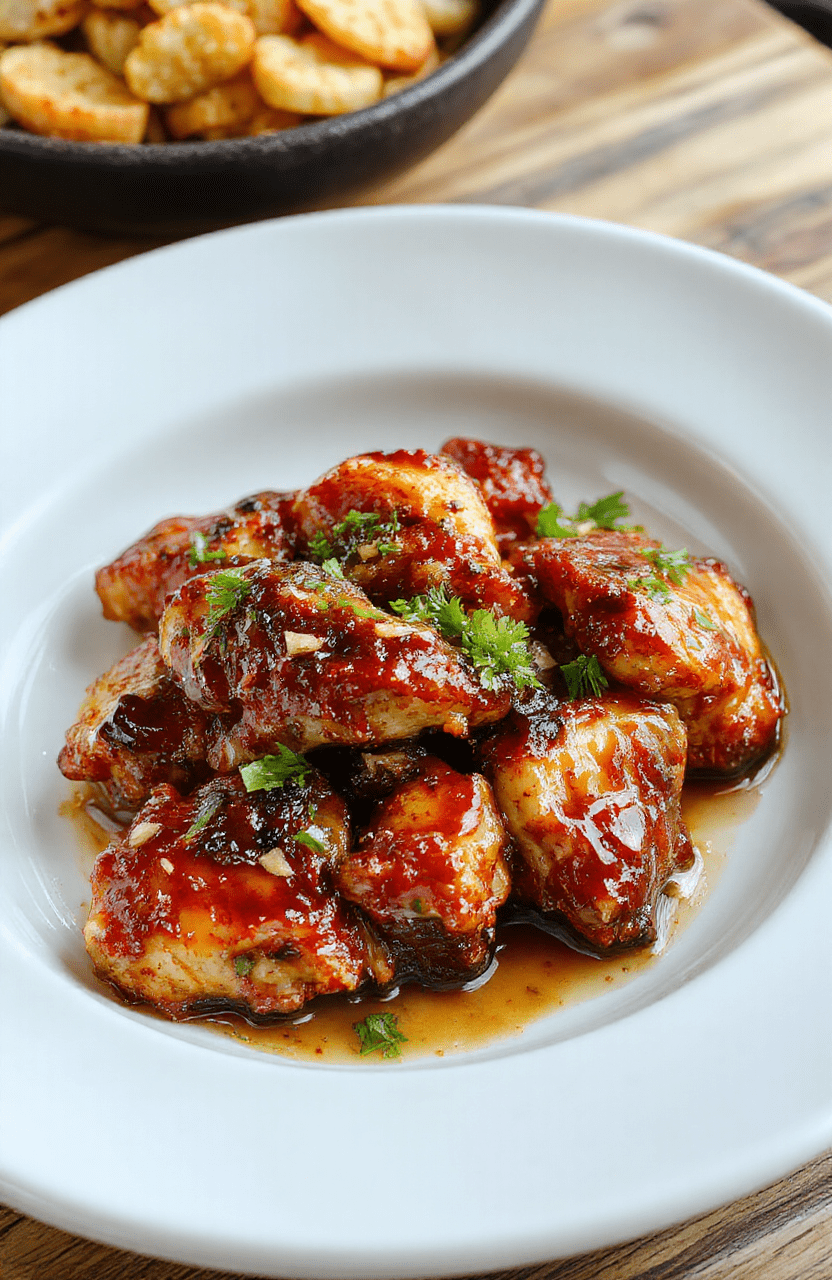
🍯 Sticky Honey Garlic Chicken: A Sweet, Savory, & Irresistibly Easy Weeknight Win 🍗
1. Introduction
There’s something deeply comforting about honey garlic chicken—crisp-edged chicken thighs glistening with a glossy, sticky glaze, seared to perfection, and fragrant with fresh garlic and a touch of ginger. This isn’t your average takeout—this dish is fast, simple, and uses pantry staples you probably already have. From the first sizzle in the pan to the final drizzle of that sticky chicken recipe glaze, it’s pure kitchen magic in under 30 minutes. Whether you’re craving a hearty dinner for two or prepping a crowd-pleasing dish for the whole family, this easy weeknight dinner chicken delivers flavor, texture, and that just-one-bite-more pull.
2. Why You’ll Love This Recipe
- ✨ Ready in 25–30 minutes — perfect for busy weeknights when time is tight but taste isn’t.
- 🔥 One-pan done — fewer dishes, more flavor retention and caramelization.
- 🍯 Balanced sweetness and savory depth — real honey and garlic shine without being cloying.
- 🍚 Versatile pairing — pairs beautifully with rice, roasted vegetables, or even over noodles.
- 👨🍳 Built for beginners — minimal prep, no fancy techniques—just real food, real fast.
3. Ingredient Notes
Every detail in this easy weeknight dinner chicken plays a role—especially when you start with thoughtfully chosen ingredients:
- Chicken thighs (boneless, skinless): They’re more forgiving than breasts and stay juicy under high heat. If you only have breasts, slice them thinly for faster, even cooking.
- Raw honey (not processed): Raw honey adds floral complexity and thickens beautifully. Avoid “honey blends”—they often include corn syrup and won’t caramelize properly.
- Fresh garlic, minced: Pre-minced garlic lives in the jar for a reason—but skip it here. Fresh minced garlic creates that signature blistered, sticky crust when it meets the hot pan.
- Low-sodium soy sauce (or tamari for GF): Lets the honey and garlic shine without overwhelming saltiness. Coconut aminos work too for a gluten-free option.
- Apple cider vinegar: A surprising touch that brightens the glaze and balances the sweetness—think of it as the “secret weapon” for depth.
- Cornstarch slurry (not powder!): Mixing cornstarch with cold water *before* adding it to the sauce prevents clumping and ensures a glossy, velvety finish.
4. Kitchen Tools You Need
While you *can* make this with basic pots and pans, using the right tools elevates both ease and results:
- Ninja Air Fryer Pro Crisp & Roast 4-in-1: For ultra-crispy edges without extra oil—just add chicken, air fry 12–14 mins at 400°F, then toss in glaze.
- T-fal 14-Piece Hard Anodized Nonstick Cookware Set: A 12-inch skillet is essential for searing chicken evenly. The hard-anodized base heats fast and resists sticking—critical for that sticky-sweet residue.
- JoyJolt Airtight Glass Food Storage Set: Perfect for keeping leftovers fresh and organized. Glass means no odor transfer—and you can reheat straight from fridge to microwave.
- Deluxe 33-Piece Silicone Utensil Set: Heat-resistant, non-scratch silicone spatulas scrape every last drop of that golden glaze without scratching your nonstick pan.
- CAROTE Premium 16pc Nonstick Cookware Set: A budget-savvy bundle with consistent heat distribution—ideal if you’re building or upgrading your kitchen.
5. How to Make Sticky Honey Garlic Chicken
This isn’t just instructions—it’s a sensory journey. Follow each step and watch, smell, and listen for cues that tell you you’re on track.
Phase 1: Prep & Pat Dry
While your chicken rests at room temp for 10 minutes, pat it *thoroughly* dry with paper towels. Seriously—moisture is the enemy of browning. Dry surface = deeper color, crispier edges, and a better glaze adhesion.
Phase 2: Sear to Perfection
Heat 1 tbsp oil in a large skillet over medium-high until just smoking. Add chicken pieces in a single layer—don’t crowd! Sear 3–4 minutes per side until deeply golden brown. You want those mahogany-streaked edges. Transfer chicken to a plate. (It’s okay if it’s not fully cooked yet—the glaze will finish it.)
Phase 3: Build the Glaze
Reduce heat to medium. Add 3 tbsp minced garlic and 1 tsp freshly grated ginger. Stir constantly—don’t let it burn—for just 30 seconds until fragrant and lightly golden. Then whisk in ¼ cup honey, 3 tbsp low-sodium soy sauce, 1 tbsp apple cider vinegar, and 1 tsp sesame oil (optional but highly recommended).
Phase 4: Thicken & Glaze
In a small bowl, mix 1 tbsp cornstarch with 2 tbsp cold water. Stir this slurry into the simmering sauce. Watch it thicken—within 30–45 seconds, it should coat the back of a spoon. Return chicken to the pan, toss to coat, and cook 2–3 minutes more until the sauce clinging to the chicken is glossy and sticky, and internal temp hits 165°F.
Phase 5: Finish & Serve
Turn off heat. Sprinkle with toasted sesame seeds and sliced green onions. That’s it—serve immediately over steamed jasmine rice, roasted broccoli, or even spaghetti squash.
6. Expert Tips for Success
- Cook in batches if needed: Overcrowding drops the pan temp → steamed chicken, not seared. Better to do two small batches than one soggy one.
- Add garlic *after* the pan comes off high heat? Nope—low-and-slow makes it bitter. Keep it at medium, stir *continuously*, and pull off just before it turns gray.
- Don’t skip the vinegar: It cuts through the richness and balances the honey. No apple cider? Rice vinegar or lemon juice works—but start with ½ tbsp and adjust.
- Double the glaze? No problem: Stick to the cornstarch ratio. Too much slurry = gloopy. Too little = runny. 1 tbsp cornstarch per ½ cup liquid is your sweet spot.
7. Variations & Substitutions
Life’s too short for rigid recipes—here’s how to adapt:
- Spicy version: Add 1 tsp crushed red pepper flakes with the garlic or a drizzle of Sriracha at the end.
- Sugar-free / keto: Swap honey for monk fruit sweetener + 1 tsp molasses (for richness). Use tamari and reduce vinegar slightly.
- Vegan-friendly: UseExtra-Firm tofu (pressed & cubed) or seitan. Adjust cooking time—you’ll want to bake/air fry longer for crispness.
- Fruit twist: Stir in ¼ cup Pineapple juice + 2 tbsp pineapple zest with the glaze for a tropical upgrade.
- Slow cooker option: Sear first, then transfer to slow cooker with sauce. Cook on HIGH 2 hours, then 10 mins uncovered to thicken (or cornstarch slurry added at end).
8. Storage & Reheating
Leftovers keep well—but the glaze will thicken as it cools. Here’s how to store & revive:
- Fridge: Store in JoyJolt glass containers for up to 4 days.
- Reheat: In a skillet over medium-low, adding a splash of water or broth to loosen the glaze. Gentle heat avoids burning the honey-caramel.
- Freezer: Freeze *without* rice or noodles for up to 3 months. Thaw overnight in fridge, then reheat as above.
- Re-crisp: Air fry leftover chicken (glaze and all) at 375°F for 3–4 minutes for that “just-seared” crunch.
9. FAQ
Why did my glaze turn bitter?
Garlic burned. Always cook it over medium—not high—and stir constantly. If you smell toast-burn, start over with fresh garlic.
Can I use honey sauce for chicken wings?
Absolutely! Toss cooked wings in the glaze while hot—they’ll absorb flavor like a sponge. Try it alongside your Sweet & Spicy Honey Pepper Chicken for a flavor duet.
Is this dish naturally gluten-free?
Only if you use tamari instead of soy sauce. Always double-check labels for hidden wheat starch.
What can I use instead of cornstarch?
Tapioca starch or arrowroot work identically. All-purpose flour *can* work—but it turns sauce cloudy and slightly pasty. Not recommended unless in a pinch.
10. Conclusion
This honey garlic chicken is more than just dinner—it’s a dish that makes you look like a kitchen rockstar without the stress. It’s sweet, sticky, aromatic, and deeply satisfying. Whether you’re cooking for one or feeding a crowd, it holds up beautifully. Pair it with rice, roast veggies, or even toss it in a salad bowl. And when the batch runs out (and it will), you’ll be right back in the kitchen—glazing, tossing, and savoring the next round.
Craving more easy recipes like this? Browse our Dump-and-Go Smothered Pork Chops for one-pot comfort or try our Easy Buffalo Chicken Sliders for game-day excellence.
Print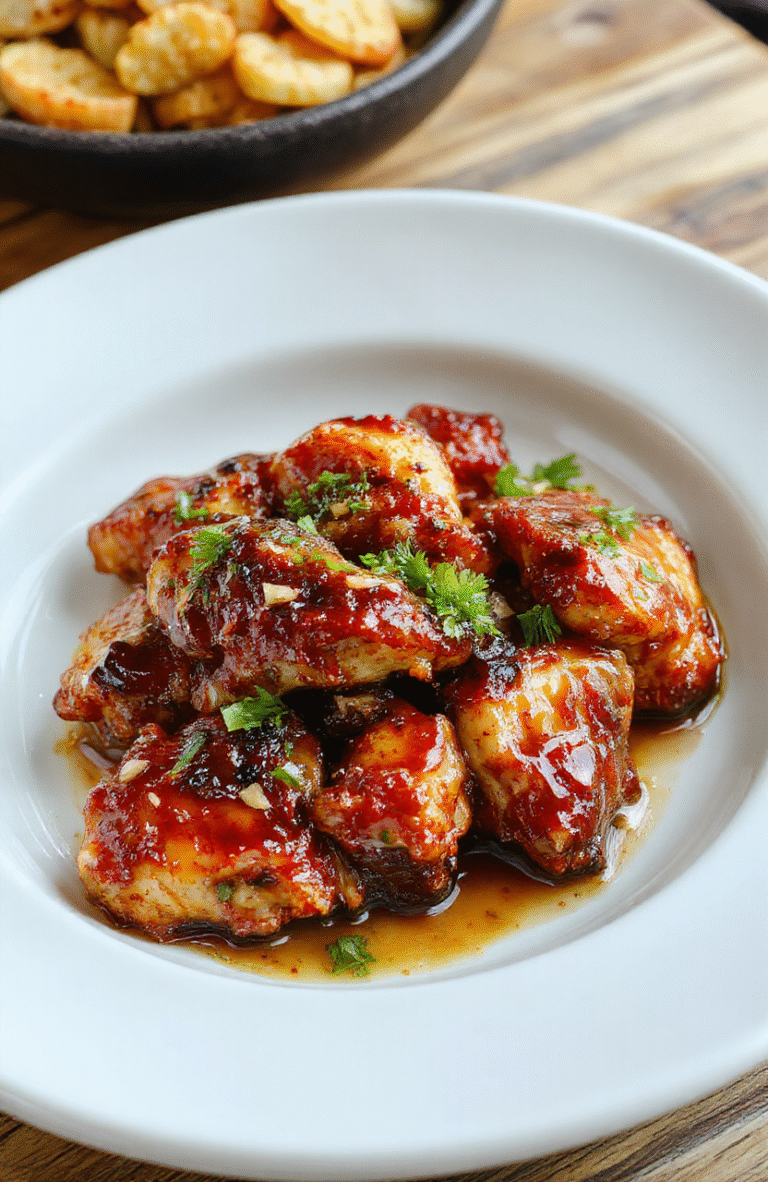
Sticky Honey Garlic Chicken
Tender chicken thighs coated in a sweet and savory honey garlic glaze, cooked quickly for a weeknight-friendly dinner.
- Total Time: 30 minutes
- Yield: 4 servings
Ingredients
- 1.5 lbs boneless, skinless chicken thighs
- 3 tbsp olive oil or avocado oil
- 4 garlic cloves, minced
- 1/4 cup honey
- 3 tbsp soy sauce (low-sodium)
- 1 tbsp rice vinegar or apple cider vinegar
- 1 tsp sesame oil
- 1/4 tsp red pepper flakes (optional)
- Sesame seeds and sliced green onions for garnish
Instructions
- Season chicken thighs with salt and pepper.
- Heat oil in a large skillet over medium-high heat. Cook chicken 5–6 minutes per side until golden and cooked through (165°F internal temp). Remove and set aside.
- In the same skillet, sauté garlic for 30 seconds until fragrant.
- Add honey, soy sauce, vinegar, sesame oil, and red pepper flakes. Simmer 2–3 minutes until slightly thickened.
- Return chicken to skillet, coat in glaze, and cook 1 minute more.
- Serve over rice, garnished with sesame seeds and green onions.
Notes
- Thighs stay juicier than breasts for this glaze — but chicken breasts can be substituted (adjust cooking time).
- For extra crispiness, broil 1–2 minutes after glazing.
- Prep Time: 10 minutes
- Cook Time: 20 minutes
- Method: Stovetop
- Cuisine: Asian-inspired
- Diet: Gluten-free (with tamari)
Nutrition
- Serving Size: 1 chicken thigh + 1/2 cup rice
- Calories: 365 Kcal
- Sugar: 18g
- Sodium: 620mg
- Fat: 17g
- Saturated Fat: 4g
- Unsaturated Fat: 12g
- Trans Fat: 0g
- Carbohydrates: 28g
- Fiber: 1g
- Protein: 29g
- Cholesterol: 95mg