
🍗 Sticky Brown Sugar Garlic Chicken That Melt-in-Your-Mouth Good ✨
1. Introduction
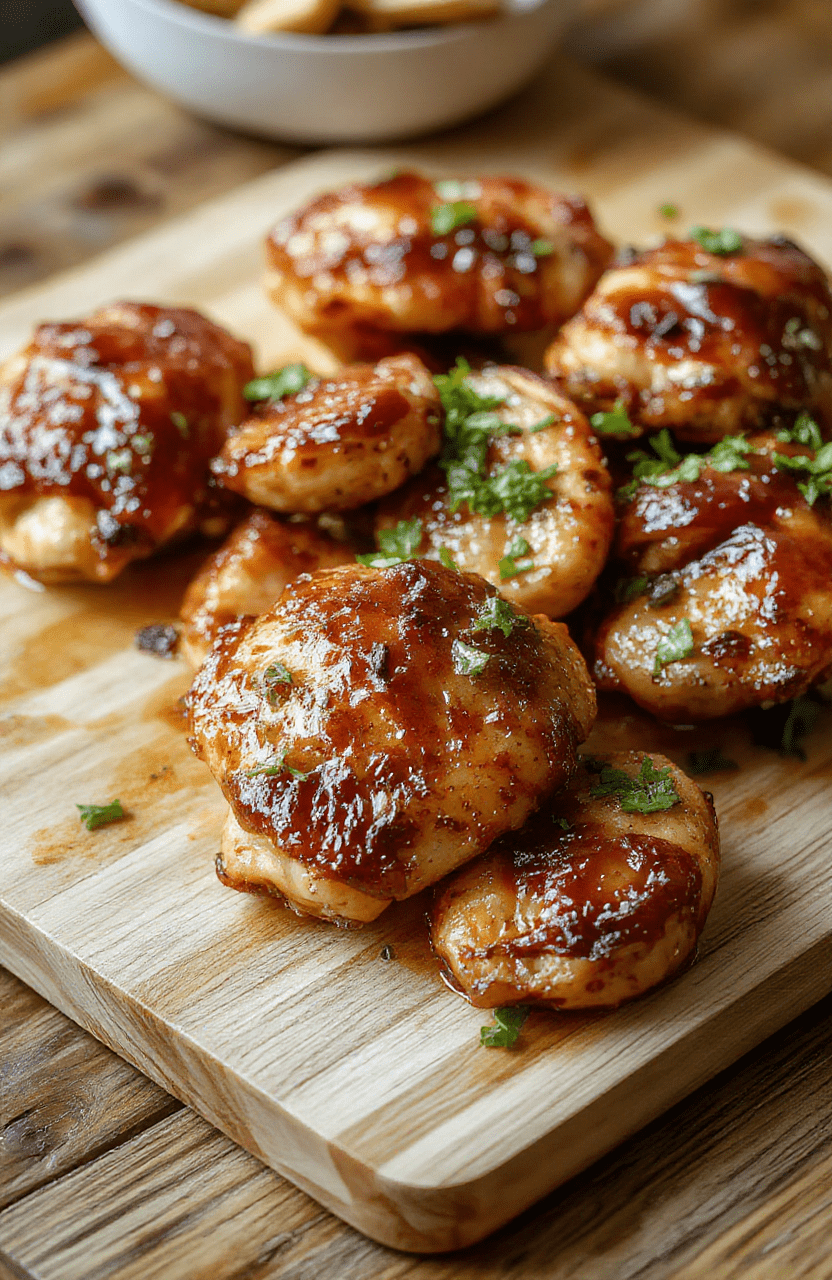
There’s something deeply satisfying about a dish that delivers sticky brown sugar garlic chicken perfection in under 30 minutes—tender chicken thighs glazed in a glossy, umami-rich sauce that clings like velvet, with just the right balance of sweet, savory, and garlicky depth. This isn’t just another weeknight stir-fry; it’s a crowd-pleasing centerpiece that smells incredible as it sizzles and leaves everyone asking for seconds. Whether you’re pressed for time or just need a flavor explosion on a busy evening, this recipe delivers both comfort and sophistication with minimal cleanup.
2. Why You’ll Love This Recipe
- Ready in 25 minutes flat—perfect for even the most chaotic weeknight.
- One-pan wonder—fewer dishes, more flavor retention.
- Uses pantry staples—no hard-to-find ingredients needed.
- Kid-approved (and picky-eater friendly)—the sticky glaze has serious magic powers.
- Versatile pairing options—go Classic (rice + steamed veggies), or try it over zucchini noodles for a low-carb twist.
3. Ingredient Notes
Quality here truly makes the difference—especially with the garlic and soy sauce. Freshly minced garlic (not jarred) gives that bright, pungent bite essential for balancing the brown sugar’s sweetness. I swear by organic garlic cloves for deeper flavor and fewer sulfites. For the soy sauce, opt for a premium Japanese brand like Kikkoman or KC Dyna Soy—higher quality soy provides smoother umami without excessive saltiness. Speaking of sweetness, dark brown sugar is key for its molasses depth; light brown works in a pinch but lacks complexity. A splash of rice vinegar (or apple cider vinegar) cuts through the richness and helps the glaze caramelize beautifully on the edges. Don’t skip the sesame oil at the end—it’s the finishing note that makes this dish smell like your favorite Asian restaurant.
4. Kitchen Tools You Need
To get consistent, restaurant-level results, having the right tools matters. For rapid searing and glazing without burning, a Ninja Air Fryer Pro Crisp & Roast 4-in-1 delivers quick heat cycles and even browning—ideal if you want a crispy exterior without flipping every 30 seconds. If you prefer stovetop cooking, the T-fal 14-Piece Hard Anodized Nonstick Cookware Set ensures no sticking (even with sticky glazes!) and cleans up in seconds. For hands-off cooking, the Ninja Foodi Smart XL Indoor Grill & Air Fryer Combo lets you grill, air fry, and broil—all while locking in moisture for juicy chicken every time.
And while your chicken simmers, why not prep a side? The Fullstar Ultimate Veggie Prep Master chops, slices, and juliennes in seconds—perfect for throwing together quick coleslaw or stir-fried greens to go alongside.
5. How to Make Sticky Brown Sugar Garlic Chicken
Phase 1: Prep & Par-Cook
Start by cutting 1.5 lbs of boneless, skinless chicken thighs into 1.5-inch pieces. Pat them *very* dry—Moisture is the enemy of browning. Heat 1 tbsp avocado or canola oil in a large skillet or wok over medium-high heat. Once shimmering, add the chicken in a single layer (work in batches!) and sear for 2–3 minutes per side until golden brown. Transfer to a plate; don’t worry if it’s not fully cooked through yet—we’ll finish it in the glaze.
Phase 2: Make the Glaze
In the same skillet, reduce heat to medium and add 2 tbsp minced garlic. Sauté 30 seconds—just until fragrant and golden (not browned or bitter!). Whisk in ¼ cup dark brown sugar, 3 tbsp soy sauce, 1 tbsp rice vinegar, 1 tsp sesame oil, and ¼ cup chicken broth. Let it bubble gently for 2 minutes until slightly thickened. The mixture should coat the back of a spoon.
Phase 3: Simmer & Glaze
Return the chicken to the pan, tumbling it gently to coat in the glaze. Reduce heat to low and simmer uncovered for 5–7 minutes, stirring occasionally, until the chicken reaches 165°F internally and the sauce becomes glossy and sticky. For extra shimmer, turn off the heat and swirl in 1 tsp butter—yes, it makes it richer.
Phase 4: Finish & Serve
Transfer to a serving dish and garnish with toasted sesame seeds, sliced green onions, and a sprinkle of red pepper flakes for color and heat. Serve immediately over steamed jasmine rice or your favorite grain.
6. Expert Tips for Success
- Do not overcrowd the pan—sear in batches! Crowding steams the chicken instead of searing it.
- Use dark brown sugar—light brown lacks the molasses richness that balances soy’s saltiness.
- Toast the garlic briefly—raw garlic in the final dish tastes harsh. A *just-golden* aroma means perfect flavor integration.
- Low and slow for glazing—high heat turns the sugar into bitter caramel puddles, not a glossy coating.
- Rest before serving—let the chicken sit for 3–4 minutes after cooking. The juices settle, and the glaze reabsorbs slightly for maximum stickiness.
7. Variations & Substitutions
Don’t have thighs? Use chicken breast—but slice it thinly against the grain and reduce cook time by 2 minutes to avoid dryness. For a low-sugar version, swap brown sugar for 2 tbsp monk fruit blend + 1 tbsp molasses (for depth). Want more heat? Add 1 tsp gochugaru or ½ tsp crushed red pepper flakes to the glaze. Going keto? Try sugar-free brown sugar alternative (like Lakanto) + extra soy sauce for savoriness. This also pairs beautifully with roasted broccoli or quick-pickled daikon-carrot salad.
8. Storage & Reheating
Store cooled chicken in an airtight glass container for up to 4 days. For best texture, reheat in a skillet over medium-low—add 1 tsp water or broth and cover briefly to revive the glaze. Avoid microwaving alone; it can make the chicken rubbery and the sauce separate. For meal prep, double the batch and freeze halves in single servings—thaw overnight in the fridge before reheating.
9. FAQ
Can I use honey instead of brown sugar? Yes—but reduce soy sauce to 2 tbsp to balance the added sweetness. Honey caramelizes faster, so watch closely after adding—it’ll darken quickly.
Why did my glaze turn bitter? Garlic was likely overheated. Always add garlic *after* oil is hot but *before* sugar—it’s more forgiving. Or, finish with raw minced garlic on top post-cook for a fresh bite.
Is this recipe gluten-free? Easily—swap soy sauce for tamari or coconut aminos. All other ingredients are naturally GF.
How do I prevent sticking when using non-stick? Let the pan heat fully before adding oil, and avoid using metal utensils that scratch the coating. A silicone spatula is ideal.
10. Conclusion
This sticky brown sugar garlic chicken delivers exactly what a weeknight dinner should: bold flavor, tender texture, and minimal stress. It’s sweet, savory, garlicky, and utterly comforting—the kind of recipe you’ll return to again and again. For更多 cozy meals, check out our Sweet and Spicy Honey Pepper Chicken or try our quick Buffalo Chicken Sliders for game-day crowds. And if you love desserts as much as savory dishes, our Ultimate Moist Chocolate Banana Bread makes the perfect sweet finish to this meal. Happy cooking—and grab your chopsticks!
Print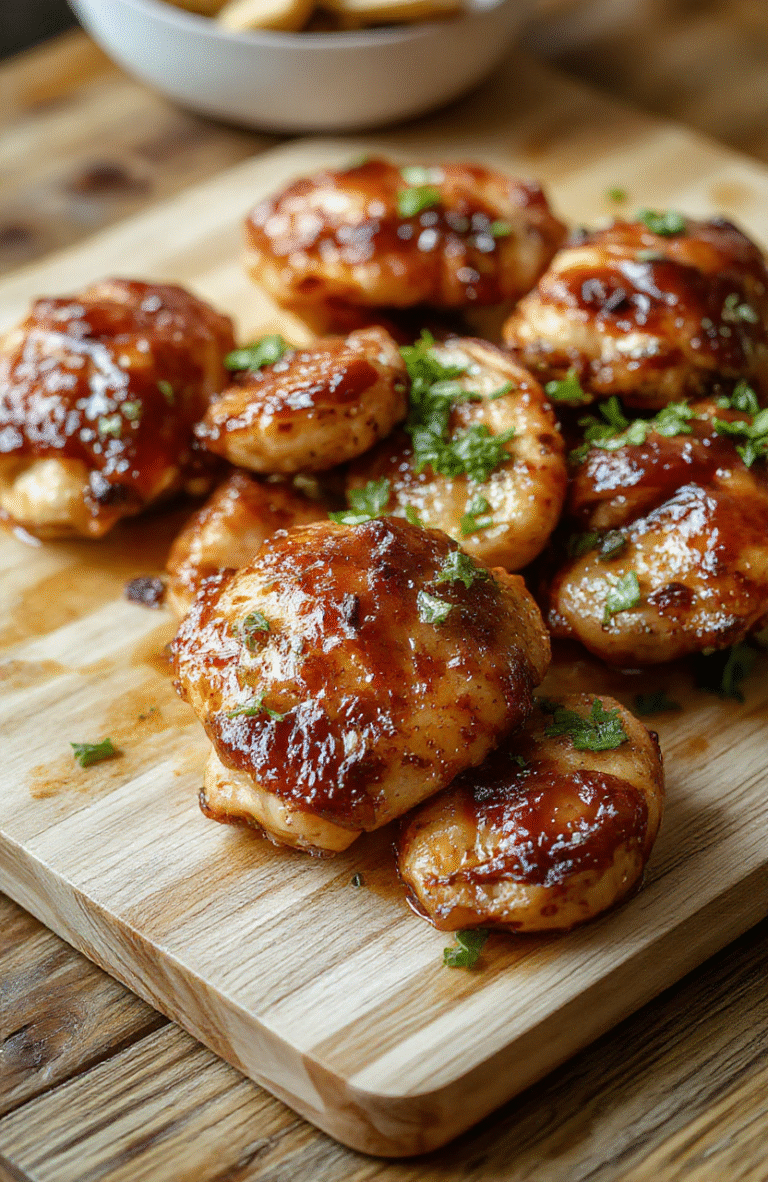
Sticky Brown Sugar Garlic Chicken
Super tender chicken thighs glazed with a sticky brown sugar garlic sauce—perfectly balanced sweet and savory for a quick weeknight dinner.
- Total Time: 25 minutes
- Yield: 4 servings
Ingredients
- 1.5 lbs boneless, skinless chicken thighs
- 3 tbsp soy sauce (low-sodium)
- 3 tbsp brown sugar
- 4 garlic cloves, minced
- 1 tbsp rice vinegar
- 1 tsp sesame oil
- 1/4 tsp black pepper
- 1 tbsp neutral oil (e.g., avocado or canola)
- Sesame seeds and sliced green onions for garnish
Instructions
- In a bowl, whisk together soy sauce, brown sugar, garlic, rice vinegar, sesame oil, and black pepper.
- Season chicken thighs with salt and pepper, then heat oil in a large skillet over medium-high heat.
- Cook chicken 5–6 minutes per side until golden and cooked through (internal temp 165°F). Remove and tent.
- Add sauce to the skillet, simmer 2–3 minutes until thickened and glossy.
- Return chicken to skillet, coat in glaze, and let rest 2 minutes. Serve garnished with sesame seeds and green onions.
Notes
- For extra tenderness, brine chicken in 1 tsp salt + 1 cup water for 20 minutes before cooking.
- Thighs work best—they stay juicy and absorb flavor better than breasts.
- Store leftover glaze separately to avoid soggy leftovers.
- Prep Time: 10 minutes
- Cook Time: 15 minutes
- Method: Stovetop
- Cuisine: Asian-inspired
- Diet: gluten-free option available with tamari
Nutrition
- Serving Size: 1 chicken thigh (approx. 4 oz)
- Calories: 260 Kcal
- Sugar: 12g
- Sodium: 520mg
- Fat: 14g
- Saturated Fat: 3.5g
- Unsaturated Fat: 9g
- Trans Fat: 0g
- Carbohydrates: 14g
- Fiber: 0.5g
- Protein: 22g
- Cholesterol: 75mg