

Spooky Delicious Cinnamon Roll Brains! 👻🍥🧟♂️
1. Introduction
Are you looking for the perfect Halloween desserts to surprise your guests? These Cinnamon Roll Brains are a fun, spooky treat that combines the irresistible aroma of cinnamon rolls with a creepy brain-like presentation. Ideal for parties or festive gatherings, this recipe transforms classic cinnamon rolls into a hauntingly delicious spooky treat that everyone will love. Let’s dive into how to create these fun and tasty cinnamon roll brains that will be the highlight of your Halloween celebration!
2. Ingredients for Cinnamon Roll Brains
- 1 can of store-bought cinnamon rolls (with icing)
- Food coloring (red or purple for a spooky effect)
- Gelatin or clear piping gel (optional, for extra “brain” texture)
- Edible glitter or colorful sprinkles (for spooky accents)
- Black food-safe marker or edible marker (for detailing)
For more baking tips, check out our Savory Cheeseburger Pie or discover fun ideas with Mini Muffins.
3. How to Make Spooky Cinnamon Roll Brains
Preparing the Cinnamon Rolls
Start by unrolling the cinnamon rolls and separating the individual rolls. If you want to add a colorful, creepy effect, tint the icing with a few drops of food coloring. Mix thoroughly to distribute the color evenly.
Shaping the Brain Effect
Using your hands or a piping bag, shape the cinnamon rolls into a large brain-like mound on a lined baking sheet. To add extra texture, you can create folds and grooves resembling brain matter.
Adding Spooky Details
Once shaped, apply small bits of icing or piping gel (mixed with a little food coloring) to create the appearance of veins or textured brain matter. Use a black edible marker to draw fine lines and details, enhancing the spooky effect.
Baking the Brain
Bake according to the package instructions, usually at 350°F (175°C) for about 20-25 minutes, until golden brown. Keep an eye on the presentation to ensure it maintains the brain shape.
Final Touches
Once out of the oven, drizzle with the remaining icing. Sprinkle with edible glitter or sprinkles to add a ghostly shimmer, and let it cool slightly before serving.
4. Storage Tips for Your Halloween Spooky Treats
Store any leftovers in an airtight container at room temperature for up to 2 days. To keep the cinnamon rolls fresh, you can also refrigerate them for up to a week. Reheat briefly in the microwave or oven before serving for that freshly baked feel.
5. Serving Suggestions and Presentation Ideas
Place your cinnamon roll brains on a spooky platter, surround them with faux cobwebs, plastic spiders, or gelatin “blood” for added Halloween flair. Pair with a themed drink, such as a bubbling punch or a spooky cider, to complete the creepy vibe.
For a fun presentation, serve slices with dry ice for a foggy, haunted appearance or garnish with edible glitter and colorful sprinkles to make it even more eye-catching.
6. Frequently Asked Questions about Cinnamon Roll Brains
Can I use homemade cinnamon roll dough?
Absolutely! Homemade dough adds a personal touch, but store-bought cinnamon rolls are quick and easy, perfect for last-minute spooky treats.
Can I make these ahead of time?
Yes, assemble the shapes a day in advance, refrigerate, and bake fresh before serving for best results. The detail work can be done ahead to save time on the day of your party.
How can I make these gluten-free?
Use gluten-free cinnamon roll dough or biscuits and follow the same shaping and baking steps. Many recipes and mixes are available for a gluten-free version of this spooky treat.
What dietary tips can I consider?
To make it lower in sugar, opt for sugar-free icing and natural food colorings. Vegan substitutes can be used for the dough and icing to accommodate dietary restrictions.
7. Kitchen tools that you might need for this recipe
- Ninja SLUSHi Pro RapidChill Drink Maker – Perfect for creating spooky themed drinks to serve alongside your cinnamon roll brains, making your Halloween party even more memorable.
- Fullstar Ultimate Veggie Prep Master – Handy for prepping any additional ingredients or decorating tools needed for your spooky treats.
- Crock-Pot Family-Size Slow Cooker – Use for warming any side dishes or spooky dips to serve with your cinnamon roll brains.
- CAROTE Premium 16pc Nonstick Cookware Set – Ensures easy baking and clean-up for your Halloween desserts.
8. Wrap-Up & Final Tips
Creating Cinnamon Roll Brains combines the comforting aroma of cinnamon with spooky aesthetics, making it a standout Halloween dessert. Remember to get creative with your details—use colored icing, edible markers, and sprinkles to enhance the creepy presentation. Most importantly, enjoy the process and have fun scaring and delighting your guests with this fun, spooky treat!
9. Conclusion
Halloween is the perfect time to indulge in creatively spooky treats like these Cinnamon Roll Brains. With simple ingredients, clever presentation, and a little bit of spooky flair, you can turn an ordinary cinnamon roll into a frightfully delicious centerpiece. Whether for a party or a spooky family night, these treats are sure to supercharge your holiday festivities. Happy Halloween and happy baking!
Print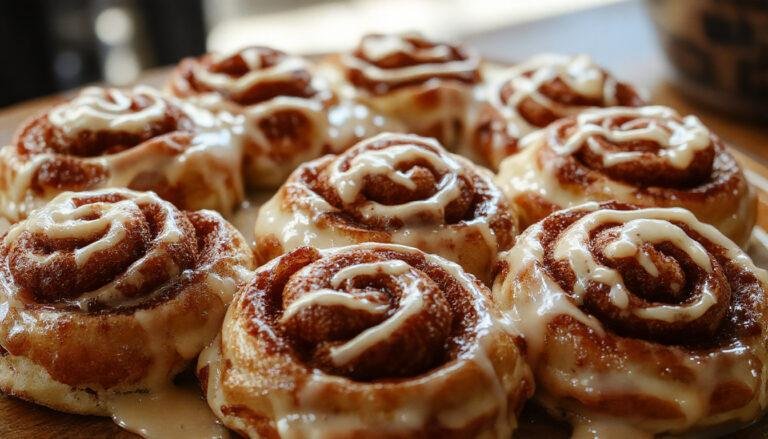
Spooky Delicious Cinnamon Roll Brains!
Spooky Delicious Cinnamon Roll Brains! 👻🍥🧟♂️ are a fun and creepy Halloween treat that transforms classic cinnamon rolls into eerie brain-like shapes. Perfect for parties, these spooky cinnamon roll brains feature a cinnamon aroma, colorful accents, and a horrifyingly delightful presentation that will surprise and delight guests of all ages. Festive, easy to make, and endlessly fun, this recipe is your go-to for a hauntingly delicious holiday dessert.
- Total Time: 35 minutes
- Yield: 4-6 servings
Ingredients
- 1 can of store-bought cinnamon rolls (with icing)
- Food coloring (red or purple for a spooky effect)
- Gelatin or clear piping gel (optional, for extra “brain” texture)
- Edible glitter or colorful sprinkles (for spooky accents)
- Black food-safe marker or edible marker (for detailing)
Instructions
- Unroll the cinnamon rolls and separate each roll. Tint the icing with food coloring for a spooky effect, mixing thoroughly.
- Shape the cinnamon rolls into a large brain-like mound on a lined baking sheet, creating folds and grooves for texture.
- Apply small bits of tinted icing or piping gel to mimic veins and textured brain matter. Use a black edible marker to draw fine lines and details for a creepy appearance.
- Bake according to the package instructions at 350°F (175°C) for 20-25 minutes until golden brown. Keep shape in mind during baking.
- Remove from oven, drizzle with remaining icing, and sprinkle with edible glitter or sprinkles for a ghostly shimmer. Let cool slightly before serving.
Notes
- Use homemade or store-bought cinnamon roll dough depending on your preference.
- You can prepare the shaped brains a day ahead, refrigerate, and bake just before serving.
- For a gluten-free version, use gluten-free cinnamon roll dough or biscuits.
- Opt for sugar-free icing and natural food colorings to make a healthier or dietary-friendly version.
- Prep Time: 15 minutes
- Cook Time: 20 minutes
- Category: Dessert
- Method: Baking
- Cuisine: American
- Diet: Halloween Special
Nutrition
- Serving Size: 1 slice
- Calories: 290 Kcal
- Sugar: 15g
- Sodium: 480mg
- Fat: 14g
- Saturated Fat: 6g
- Unsaturated Fat: 6g
- Trans Fat: 0g
- Carbohydrates: 39g
- Fiber: 1g
- Protein: 4g
- Cholesterol: 50mg
1 thought on “Spooky Delicious Cinnamon Roll Brains!”