
Simple & Sweet Pumpkin Patch Dirt Cups 🎃🍬✨ – The Best Halloween Dirt Cups for Fall!
1. Introduction
Welcome to the ultimate guide on creating Pumpkin Patch Dirt Cups, a delightful and playful Halloween Dirt Cups recipe that’s perfect for fall festivities. These cute and tasty easy fall desserts combine creamy pudding with crushed cookies, mimicking a pumpkin patch. Whether you’re hosting a spooky party or looking for a fun treat for kids, these Halloween Dirt Cups are a crowd-pleaser. Plus, they are quick to assemble, requiring no baking, which makes them an ideal, stress-free sweet project for the whole family.
2. Ingredients Needed for Pumpkin Patch Dirt Cups
- 1 package (3.4 oz) pumpkin-flavored instant pudding mix
- 2 cups cold milk
- 1 cup crushed graham crackers or chocolate cookies
- Plastic spoons or small cups for serving
- Gummy worms or Halloween sprinkles for decoration
- Optional: whipped cream and candy pumpkins for topping
For the full ingredient list and shopping tips, check out our snack section.
3. Step-by-Step Instructions to Make Pumpkin Patch Dirt Cups
Prepare the Pumpkin-Flavored Pudding
Begin by mixing the instant pudding mix with 2 cups of cold milk in a bowl. Whisk vigorously for about 2 minutes until it thickens. Let it set in the refrigerator for at least 5 minutes.
Crush the Cookies
While the pudding is setting, crush your graham crackers or chocolate cookies into fine crumbs. For an easy prep, use a Fullstar Ultimate Veggie Prep Master to crush cookies quickly and evenly.
Assemble the Dirt Cups
In small cups or bowls, layer the crushed cookies at the bottom. Pour the pumpkin pudding over the crumbs, filling each cup about ¾ full. Top with more crushed crumbs to resemble soil.
Decorate as a Pumpkin Patch
Add gummy worms, sprinkles, or candy pumpkins on top for a festive look. You can also pipe whipped cream for a fluffy cloud effect or make mini pumpkin decorations to enhance the theme.
Chill and Serve
Place the assembled Pumpkin Patch Dirt Cups in the refrigerator for at least 30 minutes before serving. Chilling helps the flavors meld and keeps the topping firm.
4. Storage Tips for Pumpkin Patch Dirt Cups
Store any leftovers in an airtight container in the refrigerator for up to 2 days. To prevent the toppings from drying out, keep the cups covered with plastic wrap or foil. These easy fall desserts are best enjoyed fresh but can be prepared a day in advance for convenience.
5. Serving Suggestions for Halloween Dirt Cups
Present your Pumpkin Patch Dirt Cups on a colorful tray filled with autumn leaves or mini pumpkins for a charming fall display. Serve them as part of a Halloween party menu or as a fun kids’ treat. You can also pair these with other seasonal desserts like our fluffy pumpkin pancakes for a festive brunch spread.
6. Frequently Asked Questions About Pumpkin Patch Dirt Cups
Can I use homemade pudding instead of instant?
Yes, homemade pumpkin pudding made from scratch adds a richer flavor, but you’ll need to prepare it in advance and ensure it has a firm texture for layering.
Are these suitable for gluten-free diets?
Absolutely! Opt for gluten-free cookies or gluten-free crushed graham crackers to make this dessert allergy-friendly.
How long does it take to prepare?
The entire process takes about 20-30 minutes, plus chilling time. It’s a quick and easy treat perfect for last-minute Halloween celebrations.
7. Kitchen Tools That You Might Need for This Recipe
- Fullstar Ultimate Veggie Prep Master: Efficiently crush cookies for your dirt layer, saving time and effort.
- CAROTE Nonstick Cookware Set: Perfect for preparing any additional toppings or ingredients.
- Ninja SLUSHi Pro RapidChill Drink Maker: Cool your drinks or create festive beverage pairings to enhance your fall dessert table.
High-quality kitchen tools make assembling Halloween Dirt Cups easier and more enjoyable, ensuring a professional presentation every time.
8. Conclusion
Creating Pumpkin Patch Dirt Cups is a fun, simple way to celebrate the fall season and Halloween. With their adorable appearance and delicious flavors, these pumpkin-themed desserts will impress guests of all ages. Plus, the easy preparation makes them an ideal project for busy weeknights or festive parties. Enjoy making and sharing this sweet treat that perfectly captures the spirit of autumn!
9. Happy Fall Baking! 🍁🎃
Print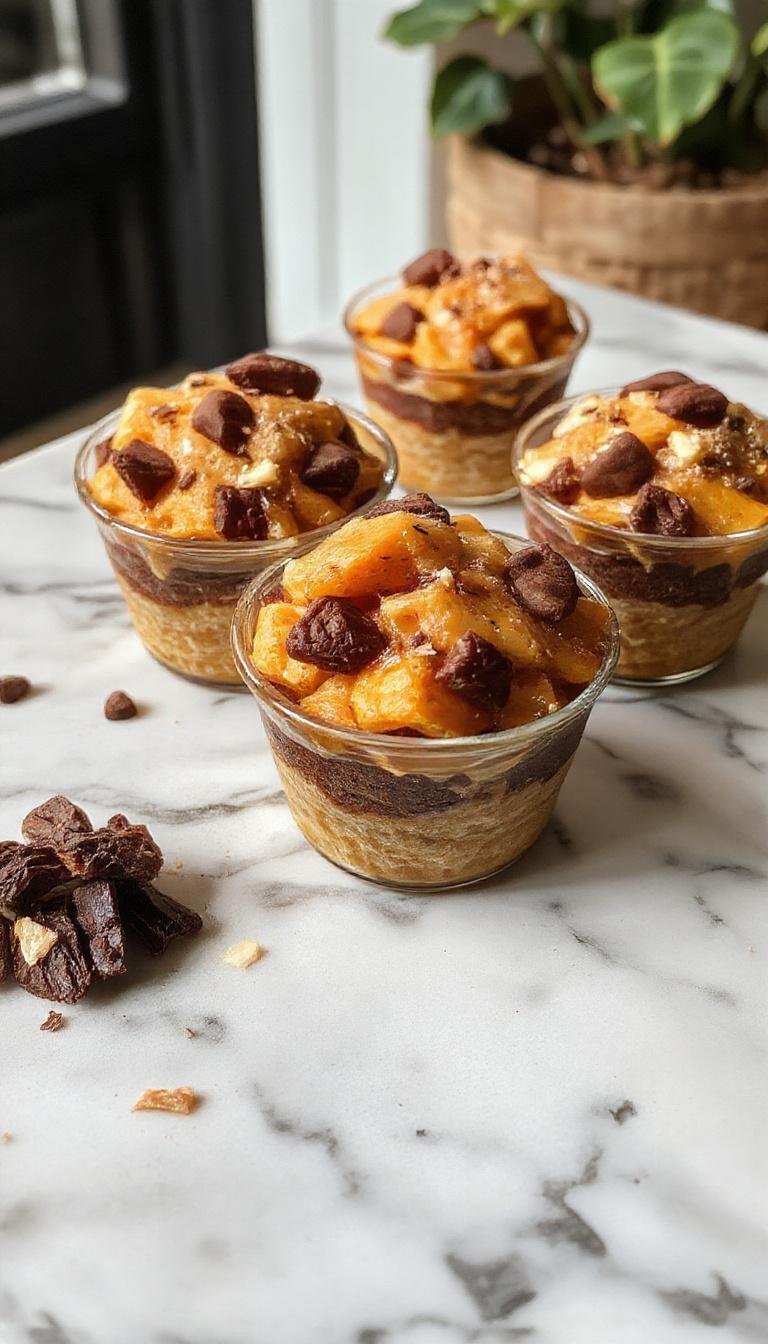
Simple & Sweet Pumpkin Patch Dirt Cups
Learn how to make simple & sweet Pumpkin Patch Dirt Cups, a delightful Halloween treat perfect for fall festivities. These no-bake dessert cups feature creamy pumpkin-flavored pudding layered with crushed cookies, decorated with gummy worms and festive toppings, making them a fun and easy fall dessert for kids and adults alike.
- Total Time: 40 minutes
- Yield: 6 servings
Ingredients
- 1 package (3.4 oz) pumpkin-flavored instant pudding mix
- 2 cups cold milk
- 1 cup crushed graham crackers or chocolate cookies
- Plastic spoons or small cups for serving
- Gummy worms or Halloween sprinkles for decoration
- Optional: whipped cream and candy pumpkins for topping
Instructions
- Mix the pumpkin-flavored instant pudding mix with 2 cups cold milk in a bowl and whisk vigorously for about 2 minutes until thickened. Refrigerate for at least 5 minutes.
- Crush graham crackers or chocolate cookies into fine crumbs using a food processor or a plastic bag and rolling pin.
- Layer crushed cookies at the bottom of small cups or bowls. Pour the pumpkin pudding over the crumbs, filling each cup about ¾ full. Top with more crushed crumbs to resemble soil.
- Decorate with gummy worms, sprinkles, or candy pumpkins on top for a festive look. Add whipped cream for a fluffy cloud effect if desired.
- Chill in the refrigerator for at least 30 minutes to set before serving.
Notes
- Store leftovers in an airtight container in the refrigerator for up to 2 days.
- Cover with plastic wrap or foil to prevent toppings from drying out.
- Use gluten-free cookies for an allergy-friendly version.
- Prep Time: 10 minutes
- Cook Time: 0 minutes
- Category: Dessert
- Method: No-Bake
- Cuisine: American
- Diet: Vegetarian
Nutrition
- Serving Size: 1 cup
- Calories: 180 Kcal
- Sugar: 14g
- Sodium: 150mg
- Fat: 8g
- Saturated Fat: 4g
- Unsaturated Fat: 4g
- Trans Fat: 0g
- Carbohydrates: 24g
- Fiber: 2g
- Protein: 3g
- Cholesterol: 5mg