

Roasted Garlic Hummus Wrap: A Flavor-Packed, Healthy Delight! 🧄🌯😋
1. Introduction
Looking for a quick, healthy, and delicious meal option that won’t leave you feeling sluggish? Look no further than the Roasted Garlic Hummus Wrap! This vibrant and flavorful wrap masterfully combines the creamy, comforting goodness of homemade roasted garlic hummus with crisp, fresh vegetables, all lovingly enveloped in a soft, pliable tortilla. It’s a culinary symphony of flavors and textures!
Perfect for a light yet satisfying lunch, an energy-boosting snack, or even a delightful addition to a picnic basket, this vegan hummus wrap is incredibly versatile and easily customizable to perfectly match your unique taste preferences. What’s more, it’s surprisingly easy to make, even if you consider yourself a beginner in the kitchen. Seriously, you can easily whip up a healthy and incredibly tasty Roasted Garlic Hummus Wrap in just a few minutes, making it an ideal choice for busy weeknights or impromptu gatherings. If you are looking for other quick lunch options, check out these lunch recipes!
This comprehensive article will serve as your ultimate guide, walking you through each step of creating the perfect Roasted Garlic Hummus Wrap. From the simple yet crucial act of roasting the garlic to the artful assembly of the final masterpiece, we’ll cover everything you need to know. This includes careful ingredient selection, detailed step-by-step instructions accompanied by helpful images, and invaluable tips for effortless customization to suit your individual preferences. Get ready to embark on a flavorful journey and experience a delightful burst of flavor and essential nutrition in every single bite of this incredibly satisfying healthy hummus wrap! And if you are looking for a simple, flavorful garlic hummus recipe to wow your friends and family, you’ve come to the right place! You can find even more delicious and easy recipes here.
2. Ingredients for the Perfect Roasted Garlic Hummus Wrap
The key to an exceptional Roasted Garlic Hummus Wrap lies in using high-quality, fresh ingredients. Here’s a list of what you’ll need:
- 1 head of garlic: Choose a firm, plump head of garlic for the best flavor.
- 1 (15-ounce) can of chickpeas, drained and rinsed: Rinsing the chickpeas well helps remove excess starch and improves the hummus texture.
- 1/4 cup tahini: Tahini is a sesame seed paste that adds richness and depth to the hummus.
- Juice of 1 lemon: Freshly squeezed lemon juice brightens the flavors and adds a tangy kick.
- 2 tablespoons olive oil, plus extra for drizzling: Use a good quality extra virgin olive oil for the best flavor.
- 1/2 teaspoon ground cumin: Cumin adds a warm, earthy note to the hummus.
- Salt and pepper to taste: Season generously to bring out all the flavors.
- Large tortillas: Choose your favorite type of tortilla – whole wheat, spinach, or even gluten-free options work well.
- Assorted vegetables (spinach, bell peppers, cucumbers, carrots, tomatoes, etc.): Get creative with your vegetable selection! The more colorful and varied, the better.
3. Roasting the Garlic: The Key to Flavor
The first and arguably most important step in making an exceptional Roasted Garlic Hummus Wrap is the meticulous roasting of the garlic. Roasting transforms the garlic, mellowing its otherwise pungent flavor and coaxing out a naturally sweet, incredibly creamy richness that is absolutely essential for creating truly outstanding hummus. This process unlocks a depth of flavor you simply can’t achieve with raw garlic. Here’s exactly how to do it to perfection:
- Preheat your oven to 400°F (200°C). This ensures even cooking and caramelization.
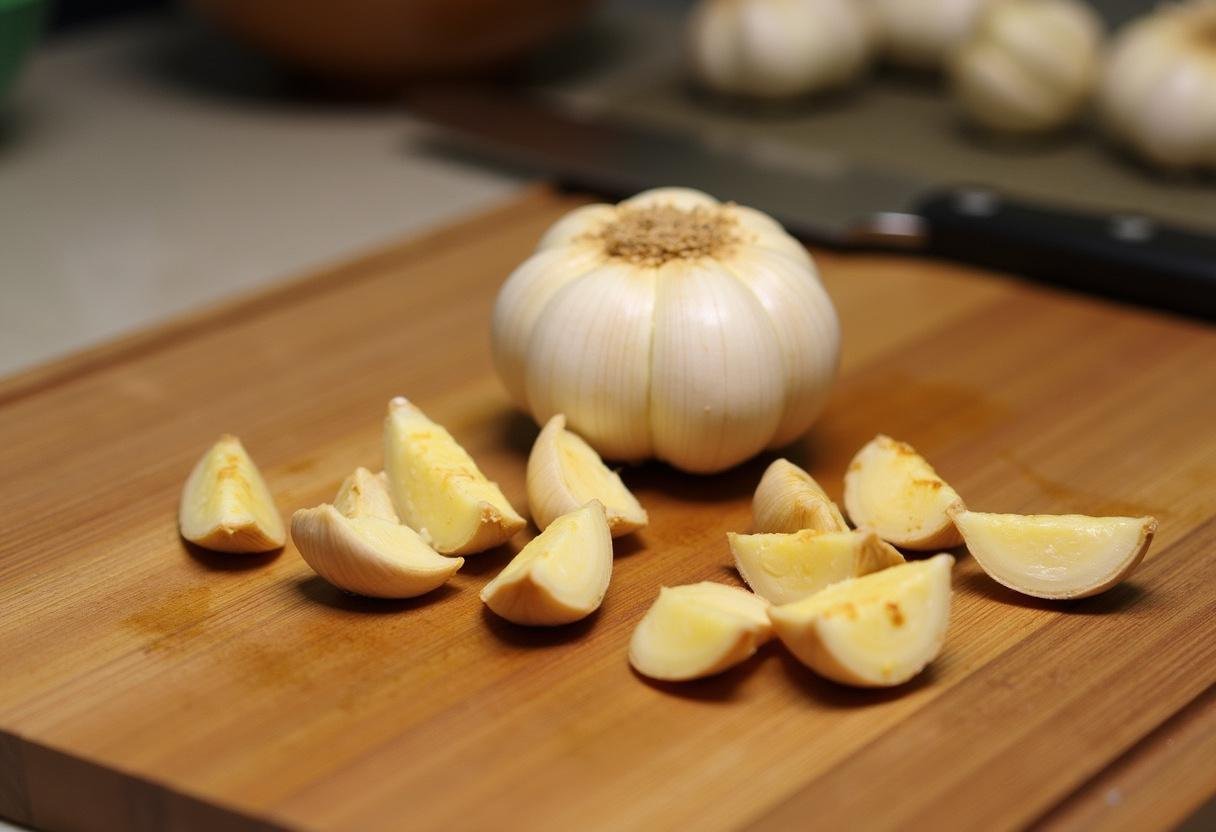
- Carefully cut off the top of the garlic head, exposing the individual cloves. This allows the olive oil to penetrate and infuse each clove with flavor.
- Drizzle the cut surface generously with olive oil and sprinkle with a pinch of salt and pepper. The olive oil helps to soften the garlic and the salt and pepper enhance the natural flavor.
- Wrap the garlic head loosely but securely in aluminum foil to prevent it from burning and to trap in the moisture.
- Place the foil-wrapped garlic head in the preheated oven and roast for approximately 40-50 minutes. The roasting time may vary depending on the size of the garlic head, so keep a close eye on it toward the end. The garlic is ready when the cloves are soft, yielding easily to pressure, and boast a beautiful golden-brown color.
- Carefully remove the roasted garlic from the oven and allow it to cool slightly before handling. This makes it easier to squeeze out the softened cloves without burning your fingers.
4. Making the Roasted Garlic Hummus
Once the garlic has been expertly roasted to golden-brown perfection, you’re finally ready to create the star of your incredible Roasted Garlic Hummus Wrap: the hummus itself! This wonderfully simple garlic hummus recipe guarantees a deliciously creamy and intensely flavorful hummus that will elevate your wrap to a whole new level. Some people prefer to use a food processor and some people prefer to use a blender.
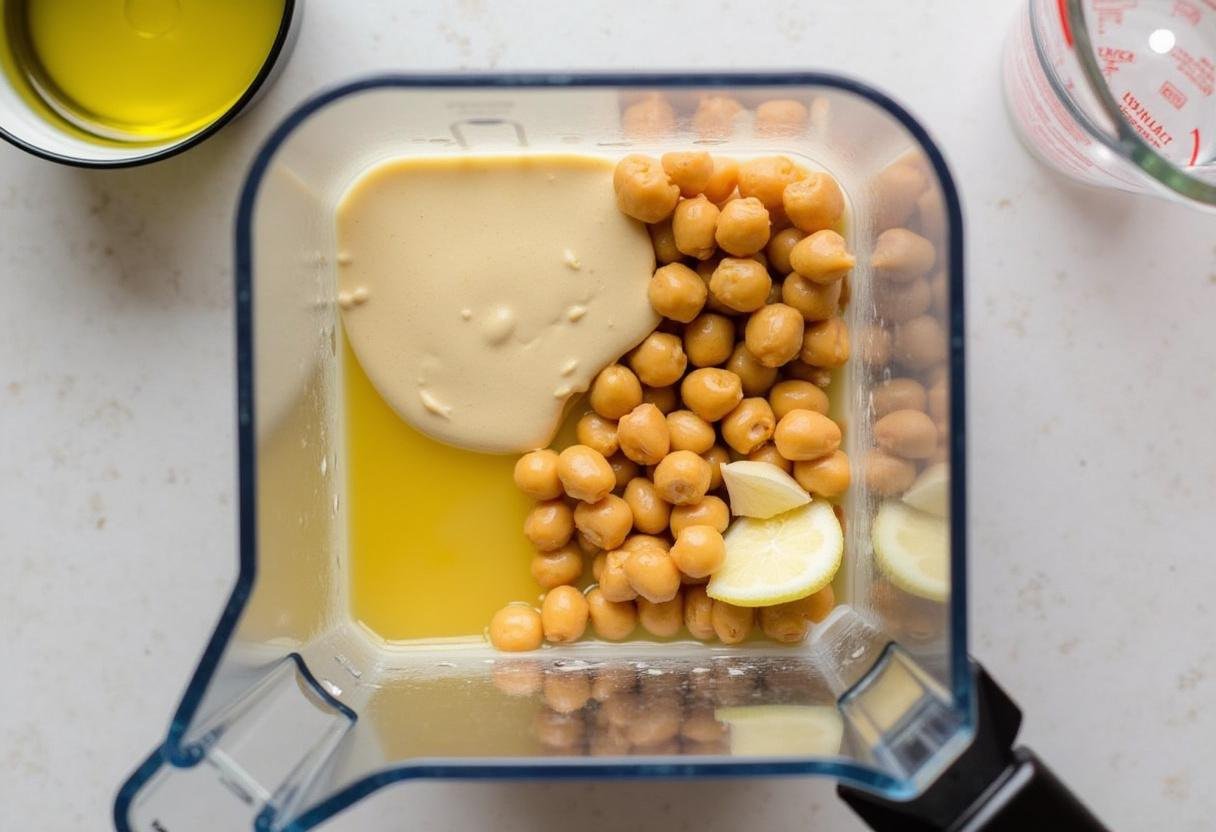
- Gently squeeze the softened, roasted garlic cloves out of their papery skins directly into the bowl of a food processor or a high-powered blender. Be sure to extract every last bit of that flavorful goodness!
- Add the drained and thoroughly rinsed chickpeas to the food processor or blender. Rinsing the chickpeas removes excess starch, resulting in a smoother final texture for your hummus. Then, add the creamy tahini, the freshly squeezed lemon juice (for that essential tang!), the good-quality olive oil, the earthy ground cumin, and a generous pinch of both salt and pepper.
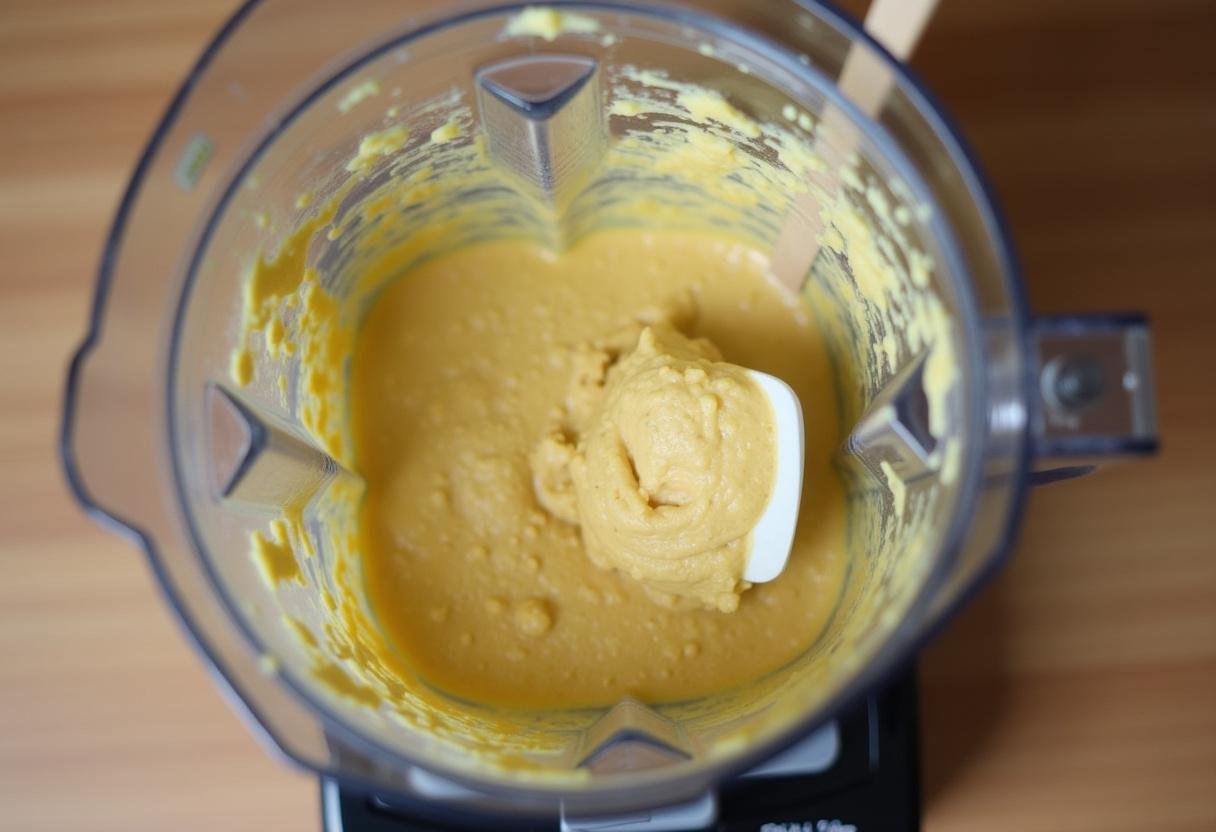
- Now, blend all of the ingredients together until the mixture transforms into a wonderfully smooth and creamy consistency. You may need to pause occasionally to scrape down the sides of the bowl with a spatula to ensure that all ingredients are fully incorporated.
- Once the hummus is blended, take a moment to taste it and adjust the seasoning as needed. You might find that it needs a little more lemon juice to brighten the flavor, or perhaps a touch more salt to bring everything into perfect balance. Don’t be afraid to experiment and customize the flavors to your liking!
5. Preparing Your Vegetables
The addition of fresh, crisp vegetables is absolutely essential for adding both delightful texture, vibrant flavor, and a wealth of essential nutrients to your amazing Roasted Garlic Hummus Wrap. Feel free to choose your own personal favorites and prepare them according to the following guidelines:
- Fresh Spinach: Wash the spinach leaves thoroughly under cold running water to remove any dirt or grit. Then, gently pat them dry with a clean kitchen towel or use a salad spinner to remove excess moisture.
- Colorful Bell Peppers: Slice the bell peppers thinly into strips, ensuring that they are easy to bite into and distribute evenly throughout the wrap.
- Cool Cucumbers: Slice the cucumbers into either thin rounds or strips, depending on your preference. If you’re using a cucumber with thick skin, you may want to peel it first.
- Crunchy Carrots: Shred the carrots using a grater or julienne them into thin matchsticks for a pleasing texture and visual appeal.
- Juicy Tomatoes: Slice the tomatoes into thin rounds, ensuring that they are ripe but not overly soft.
Don’t be afraid to get creative and add other vegetables to customize your very own healthy hummus wrap! Consider incorporating nutrient-packed sprouts, creamy avocado slices, or tangy pickled onions for an extra layer of flavor and complexity. For another great vegetarian option, check out these grilled veggie kabobs!
6. Assembling the Roasted Garlic Hummus Wrap
Now that you have meticulously prepared all of the individual components, the exciting moment has arrived to assemble your very own, personalized Roasted Garlic Hummus Wrap! Here’s a step-by-step guide to ensure a perfectly constructed wrap every single time:
- Begin by gently warming the tortilla. You can do this either in a dry pan over medium heat for a few seconds per side, or by microwaving it briefly. Warming the tortilla makes it significantly more pliable and less likely to crack or tear during the rolling process.
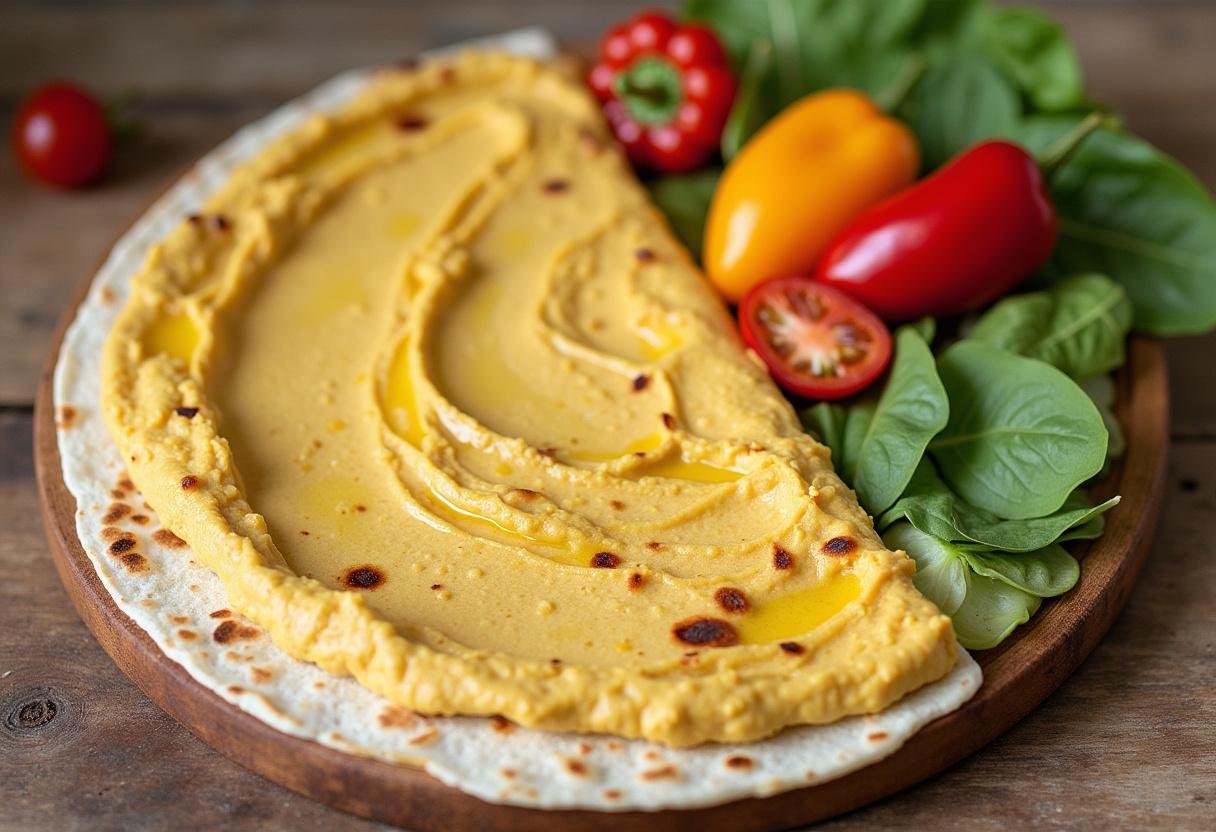
- Next, spread a generous and even layer of your freshly made roasted garlic hummus over the surface of the warmed tortilla, making sure to leave a small, clean border of about an inch around the edges. This border prevents the hummus from squeezing out when you roll up the wrap.
- Arrange your carefully chosen and prepared vegetables artfully on top of the hummus layer. Be mindful not to overfill the wrap, as this will make it very difficult to close properly and could lead to a messy eating experience.
- Before rolling, gently fold in the sides of the tortilla towards the center, creating a neat and secure enclosure for the filling. Then, starting from the bottom edge, tightly roll up the wrap towards the top, using your fingers to keep the filling tucked in as you go.
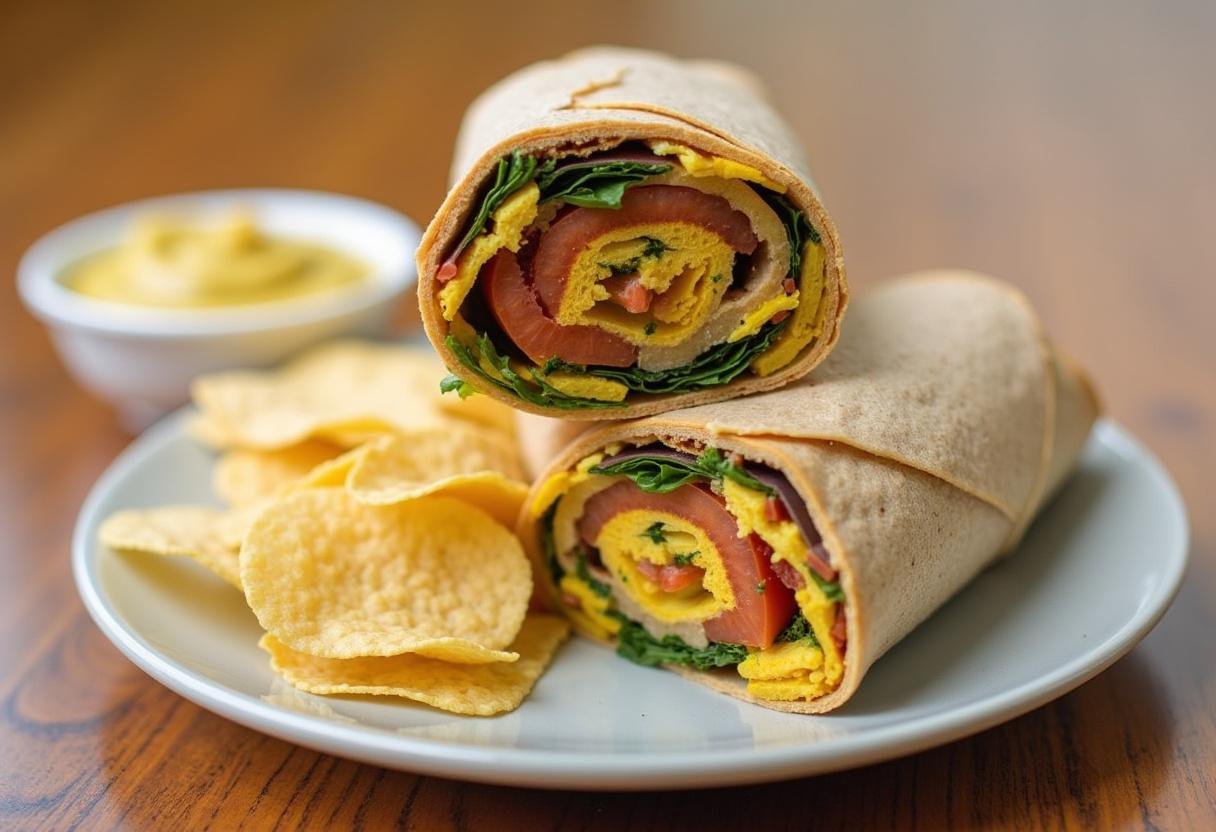
- Once the wrap is fully rolled, use a sharp knife to cut it neatly in half on a diagonal. This not only makes it easier to handle and eat, but also creates an appealing presentation. Serve your delicious Roasted Garlic Hummus Wrap immediately and enjoy!
7. Step-by-Step Instructions with Images
1. Roasting the Garlic
2. Blending the Hummus
3. Achieving Creamy Perfection
4. Wrapping It Up
8. Tips and Variations
The beauty of the Roasted Garlic Hummus Wrap lies in its incredible versatility! Feel free to experiment with different flavors and ingredients to create your own signature version. Here are a few ideas to get you started:
- Spice it up: Add a pinch of cayenne pepper, a drizzle of sriracha, or a dash of your favorite hot sauce to your hummus for an extra kick of heat.
- Add protein: For a more substantial and satisfying meal, consider including grilled chicken or tofu, or even some crispy falafel in your wrap. This will help keep you feeling full and energized for longer. If you like baked chicken, give these baked chicken tenders a shot!
- Use different wraps: Expand your culinary horizons by trying whole wheat, spinach, or sun-dried tomato tortillas for a delightful variety of flavors, textures, and even visual appeal. Each type of tortilla adds its own unique character to the wrap.
- Make it ahead: To save time during busy weeknights, prepare the hummus and chop all of the vegetables in advance. Store them separately in airtight containers in the refrigerator, and then simply assemble your wraps when you’re ready to eat.
- Serve with a side: Enhance your meal by serving your delectable Roasted Garlic Hummus Wrap with a complementary side dish. Consider pairing it with a crunchy side of chips, a refreshing green salad, or some juicy, seasonal fruit.
- For a richer flavor, you can add a tablespoon of olive oil into the garlic hummus recipe while you are blending it. You can find a similar recipe here.
9. Conclusion
The Roasted Garlic Hummus Wrap is more than just a meal; it’s a celebration of fresh flavors, healthy ingredients, and culinary creativity. It is a genuinely delicious, incredibly healthy, and supremely versatile meal option that is remarkably easy to customize to perfectly suit your individual tastes and preferences. Whether you consider yourself a seasoned home cook or are just starting to explore the world of culinary arts, this fantastic recipe is sure to become a beloved staple in your kitchen repertoire. So why not give these roasted radish salad a try too?
Embrace and truly savor the vibrant, fresh flavors and wonderfully satisfying textures of this delightful vegan hummus wrap, and simultaneously feel incredibly good knowing that you are actively nourishing your body with wholesome, nutrient-rich ingredients. So, without further ado, gather your ingredients, put on your favorite apron, and embark on a culinary adventure to create your very own perfect healthy hummus wrap today! With this amazingly simple and oh-so-flavorful garlic hummus recipe as your foundation, you can effortlessly elevate your everyday wrap game to new heights and thoroughly enjoy a taste sensation that is not only incredibly delicious but also truly good for you from the inside out. You might also like these healthy taco bowls!
Print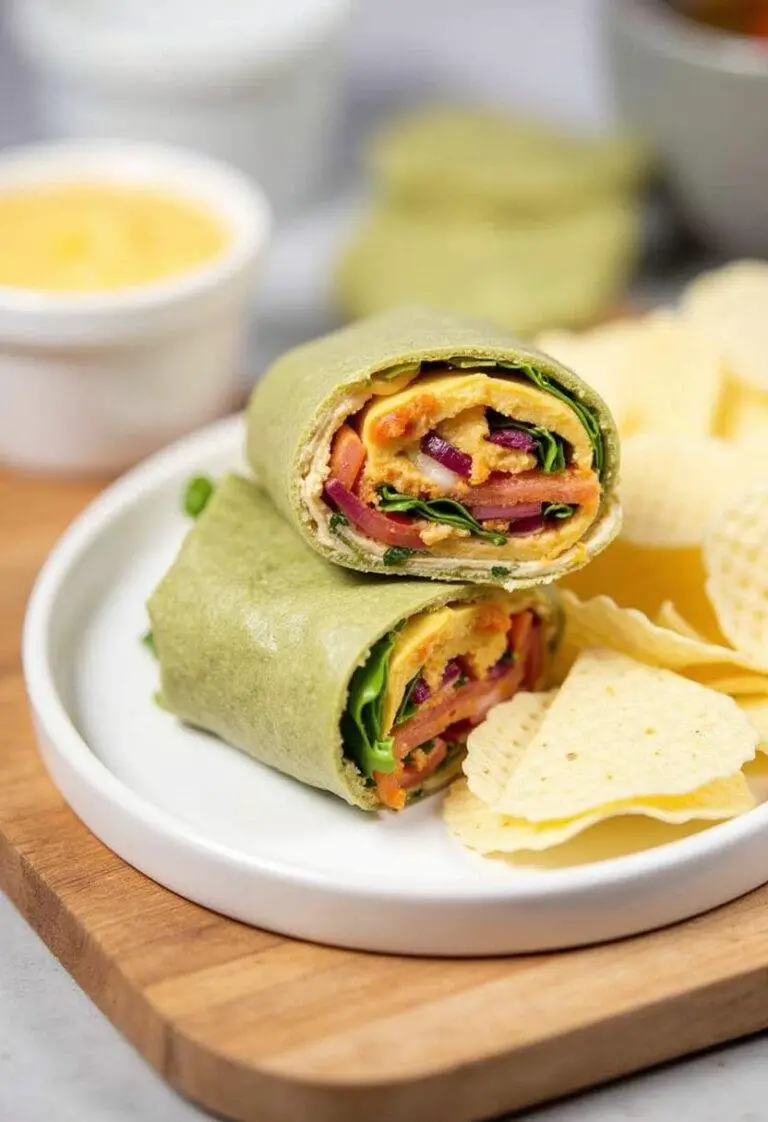
Roasted Garlic Hummus Wrap
Discover the vibrant flavors of the Roasted Garlic Hummus Wrap, a healthy and delicious meal that’s quick and easy to make. Packed with creamy roasted garlic hummus and fresh vegetables, this vegan wrap is perfect for lunch or a snack.
- Total Time: 1 hour 5 minutes
- Yield: 4 wraps
Ingredients
- 1 head of garlic
- 1 (15-ounce) can of chickpeas, drained and rinsed
- 1/4 cup tahini
- Juice of 1 lemon
- 2 tablespoons olive oil, plus extra for drizzling
- 1/2 teaspoon ground cumin
- Salt and pepper to taste
- Large tortillas
- Assorted vegetables (spinach, bell peppers, cucumbers, carrots, tomatoes, etc.)
Instructions
- Preheat your oven to 400°F (200°C).
- Cut off the top of the garlic head, exposing the cloves.
- Drizzle the cut surface with olive oil and sprinkle with salt and pepper.
- Wrap the garlic head loosely in aluminum foil and place it in the oven.
- Roast for 40-50 minutes, or until the cloves are soft and golden brown.
- Let the garlic cool slightly before handling.
- Squeeze the roasted garlic cloves into a food processor with chickpeas, tahini, lemon juice, olive oil, cumin, salt, and pepper.
- Blend until smooth, scraping down the sides as needed. Adjust seasoning as desired.
- Prepare your vegetables by washing, slicing, and shredding as needed.
- Warm the tortilla, spread a layer of hummus, layer vegetables, fold, and roll tightly. Cut in half and serve.
Notes
- For added heat, mix in cayenne pepper or sriracha.
- Include grilled chicken, tofu, or falafel for extra protein.
- Try various wrap types: whole wheat, spinach, or sun-dried tomato.
- Prepare hummus and chop veggies in advance for quick meals.
- Serve with chips, salad, or fruit for a complete meal.
- Add a tablespoon of olive oil in the hummus for richer flavor.
- Prep Time: 15 minutes
- Cook Time: 50 minutes
- Category: Lunch
- Method: Roasting and Blending
- Cuisine: Mediterranean
- Diet: Vegan
Nutrition
- Serving Size: 1 wrap
- Calories: 320 Kcal
- Sugar: 3g
- Sodium: 240mg
- Fat: 16g
- Saturated Fat: 2g
- Unsaturated Fat: 12g
- Trans Fat: 0g
- Carbohydrates: 36g
- Fiber: 8g
- Protein: 12g
- Cholesterol: 0mg