
Mioki’s Exquisite Sushi Creation: A Savory Delight of Flavors and Colors 🍣🌺✨
1. Introduction to the Art of Mioki Sushi
Discover the art of sushi making with Mioki’s Exquisite Sushi Creation, a delightful recipe that brings together fresh ingredients and artistic presentation. This exquisite sushi is not just a treat for the taste buds but also a feast for the eyes. Creating Mioki sushi allows for creativity and customization to suit any palate. Whether you’re hosting a dinner party or savoring a cozy night at home, this recipe ensures your sushi experience is extraordinary. From selecting the perfect ingredients to mastering the rolling technique, every step contributes to an unforgettable culinary adventure. Thinking about trying other recipes? Check out these Pizza Turnovers Best!
Let’s dive into this flavorful journey and explore how to create the perfect Mioki sushi right in your kitchen! Our goal is to provide you with an easy-to-follow guide that enables you to replicate the magic of Mioki sushi. Get ready to transform your kitchen into a sushi bar!
2. Ingredients for the Perfect Mioki Sushi
To make authentic Mioki sushi, you’ll need high-quality ingredients. Here’s a comprehensive list to ensure your Mioki sushi turns out perfectly every time:
- 2 cups sushi rice: The foundation of any great sushi.
- 2 1/2 cups water: Essential for cooking the rice to the right consistency.
- 1/4 cup rice vinegar: Adds the signature tang to sushi rice.
- 2 tablespoons sugar: Balances the acidity of the vinegar.
- 1 teaspoon salt: Enhances the flavors of the rice.
- 4 sheets of nori (seaweed): Provides the structure and adds a subtle sea flavor.
- 1 avocado, sliced: Adds creaminess and healthy fats to your Mioki sushi.
- 1 cucumber, julienned: Provides a refreshing crunch.
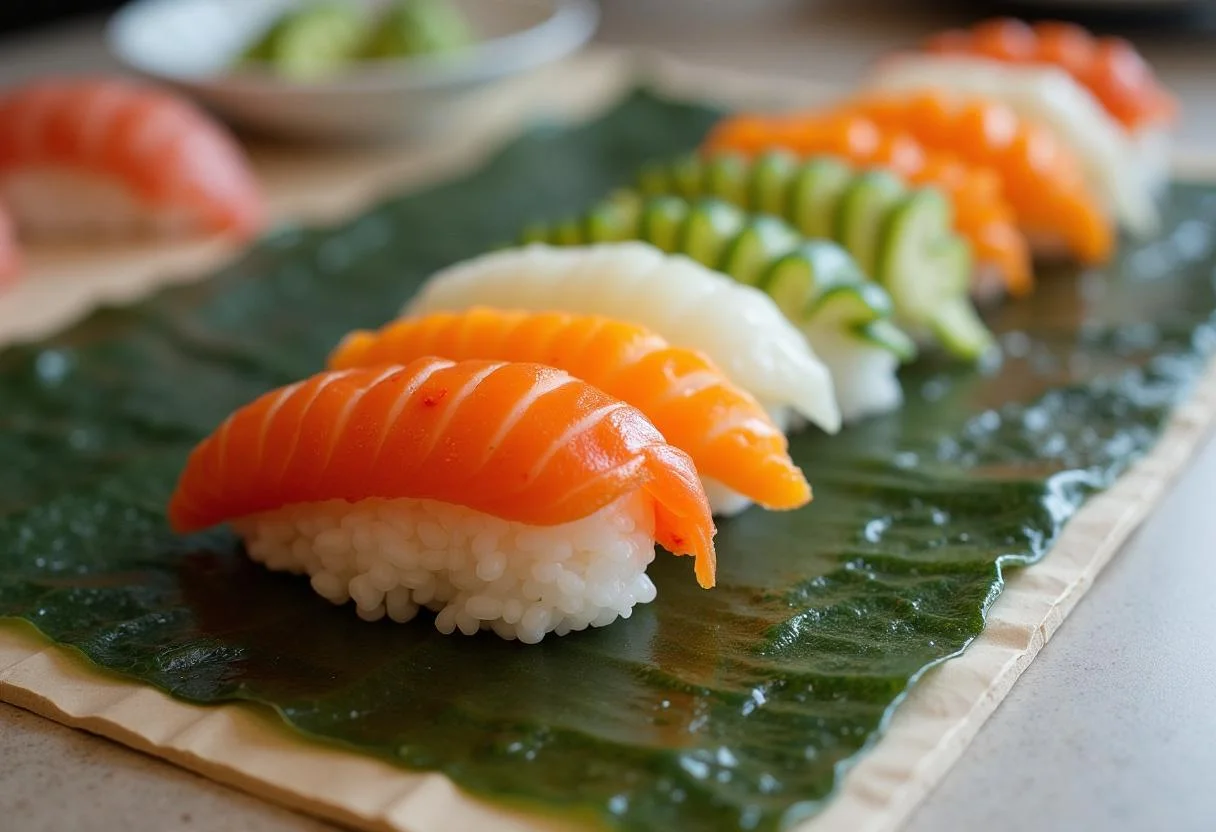
- 1/2 pound fresh sushi-grade fish (e.g., tuna or salmon): The star of the show, ensuring freshness and quality.
- Soy sauce, for serving: The classic dipping sauce.
- Pickled ginger, for serving: Cleanses the palate between bites.
- Wasabi, for serving: Adds a spicy kick.
3. Step-by-Step Instructions for Creating Mioki Sushi
Step 1: Prepare the Sushi Rice for Your Mioki Creation
Begin by rinsing the sushi rice under cold water until the water runs clear. This step removes excess starch and ensures the rice cooks properly. Combine the rinsed rice and water in a rice cooker and cook according to the manufacturer’s instructions. Once cooked, transfer the rice to a large bowl.
In a separate bowl, mix together the rice vinegar, sugar, and salt until dissolved. Gently fold this mixture into the warm rice, ensuring the grains remain intact. This process seasons the rice perfectly for Mioki sushi. Allow the rice to cool to room temperature before proceeding. You want the rice to be sticky but not mushy. Thinking of adding a little spice? You might want to check this Chili Red Pepper Flakes article!

Step 2: Assemble the Sushi Rolls for Your Mioki Special
On a bamboo sushi mat, place one sheet of nori, shiny side down. This helps prevent the rice from sticking to the mat. With wet hands, take a handful of sushi rice and spread it evenly over the nori, leaving a 1-inch border at the top. This border will help seal the roll. Layer avocado, cucumber, and slices of fish in the center of the rice.
Ensure the fillings are neatly arranged for a balanced flavor in every bite of your Mioki sushi. The key is not to overfill, or it will be difficult to roll. For another great snack idea, see these Festive Sugar Cookie Creation tips.
Step 3: Roll the Sushi to Create the Perfect Mioki Roll
Using the bamboo mat, carefully roll the nori away from you, applying gentle pressure to ensure a tight roll. A tight roll is essential for preventing the sushi from falling apart. Continue rolling until the edge of the nori meets the rice. Use a little water to seal the edge. Repeat this process until all ingredients are used, resulting in multiple Mioki sushi rolls ready to be sliced and served. You wil love this intoxicating gas cake euphoria when you get these rolls right and celebrate!

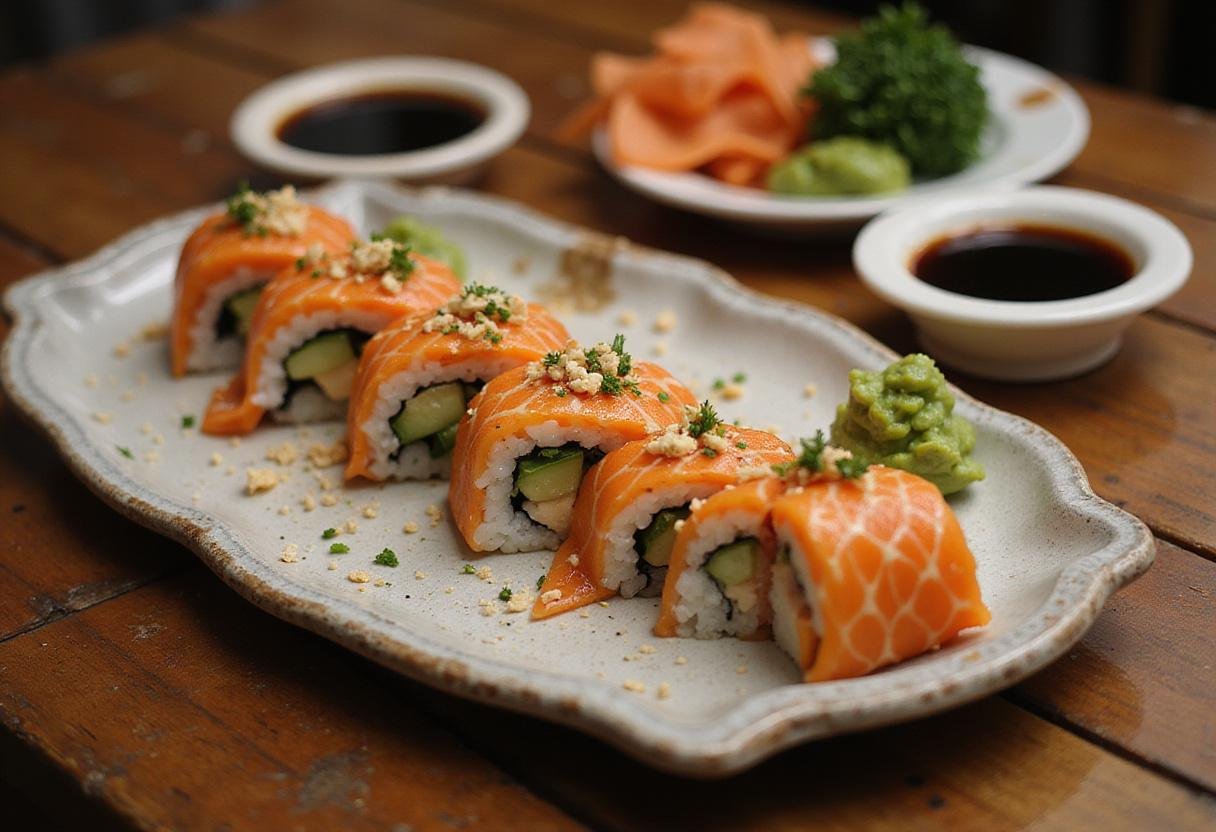
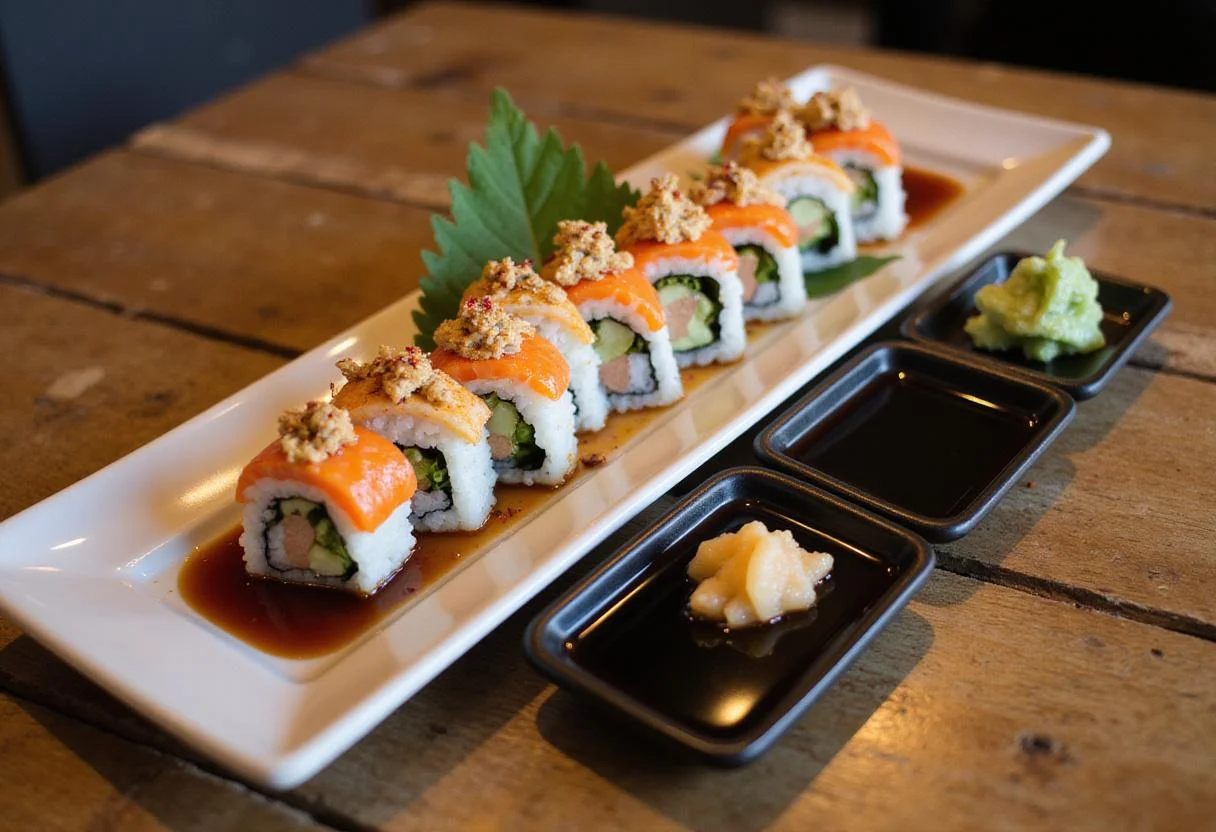
Step 4: Slice and Serve Your Handmade Mioki Sushi
With a sharp knife, slice the rolls into bite-sized pieces, cleaning the knife between cuts for neat slices. This prevents the rice from sticking to the knife and ensures clean cuts. Arrange the sushi pieces on a platter and serve with soy sauce, pickled ginger, and wasabi for an authentic Mioki sushi experience. Feel free to get creative with your presentation!

4. Storage Tips for Mioki Sushi
For optimal freshness, enjoy your Mioki sushi on the same day. If you have leftovers, store them in an airtight container in the refrigerator but consume within 24 hours to retain quality. Cooked sushi is best enjoyed fresh to prevent the rice from hardening and the flavors from diminishing.
5. Serving Suggestions for the Best Mioki Experience
Mioki’s Exquisite Sushi Creation pairs beautifully with a light salad or miso soup. Enhance the experience with green tea or sake for a complete Japanese dining experience. Garnish with sesame seeds or a drizzle of spicy mayo for added flavor. If you’re in Fremont, CA, you might want to compare your homemade sushi with the offerings at Mioki Sushi on Yelp.
For a warm appetizer, consider this delicious paula deens taco soup!
6. FAQs About Making Mioki Sushi
Can I use brown rice for sushi?
Yes, you can use brown rice for a healthier twist on Mioki sushi, but keep in mind that it may require a different cooking time and will have a chewier texture compared to traditional sushi rice. Adjust the water ratio and cooking time accordingly.
What type of fish can I use in Mioki sushi?
For Mioki sushi, use fresh sushi-grade fish such as tuna, salmon, or even shrimp for a flavorful addition. Always ensure the fish is sourced from a reputable supplier to guarantee freshness and safety. Consider also trying yellowtail or eel for variety.
How can I make vegetarian Mioki sushi?
Simply omit the fish and substitute with additional vegetables like bell peppers, carrots, or even marinated tofu for a delicious vegetarian version of Mioki sushi. Add cream cheese or avocado for added richness and flavor. For dessert, you should pick up some Fanta Grape Soda!
7. Conclusion: Enjoying Your Own Mioki Sushi
Crafting Mioki’s Exquisite Sushi Creation at home is not just about enjoying a meal; it’s an art that brings people together. By following this recipe, you’ll master the techniques to impress friends and family with your sushi-making skills. Enjoy the rich flavors and vibrant colors of your handmade sushi rolls. Happy cooking! And if you’re looking for more culinary inspiration, check out our Recipes section.
Print
Mioki’s Exquisite Sushi Creation
Mioki’s Exquisite Sushi Creation is a delightful blend of fresh ingredients and artistic presentation, offering a savory experience for sushi lovers. Ideal for dinner parties or cozy nights at home, this recipe ensures a truly extraordinary sushi experience.
- Total Time: 50 minutes
- Yield: 4 servings
Ingredients
- 2 cups sushi rice
- 2 1/2 cups water
- 1/4 cup rice vinegar
- 2 tablespoons sugar
- 1 teaspoon salt
- 4 sheets of nori (seaweed)
- 1 avocado, sliced
- 1 cucumber, julienned
- 1/2 pound fresh sushi-grade fish (e.g., tuna or salmon)
- Soy sauce, for serving
- Pickled ginger, for serving
- Wasabi, for serving
Instructions
- Rinse sushi rice under cold water until clear. Combine with water in a rice cooker and cook as per instructions. Transfer to a large bowl.
- Mix rice vinegar, sugar, and salt in a bowl until dissolved. Fold into warm rice gently. Cool to room temperature.
- On a bamboo sushi mat, place nori, shiny side down. Spread sushi rice evenly over nori, adding avocado, cucumber, and fish slices in the center.
- Roll nori away from you with gentle pressure to form a tight roll. Seal edges with water. Repeat with remaining ingredients.
- Slice rolls into bite-sized pieces with a sharp knife. Arrange on a platter and serve with soy sauce, pickled ginger, and wasabi.
Notes
- For optimal freshness, enjoy sushi the same day it’s made.
- Store leftovers in an airtight container in the fridge but consume within 24 hours.
- Prep Time: 30 minutes
- Cook Time: 20 minutes
- Category: Main Dish
- Method: Rolling
- Cuisine: Japanese
- Diet: Pescatarian
Nutrition
- Serving Size: 4 pieces
- Calories: 350 Kcal
- Sugar: 2g
- Sodium: 600mg
- Fat: 10g
- Saturated Fat: 2g
- Unsaturated Fat: 8g
- Trans Fat: 0g
- Carbohydrates: 50g
- Fiber: 2g
- Protein: 15g
- Cholesterol: 30mg
6 thoughts on “Mioki’s Exquisite Sushi Creation”