

🍯 Honey Garlic Shrimp with Garlic Butter Sauce 🍤
1. Introduction
There’s something absolutely irresistible about honey garlic shrimp — sweet, sticky, garlicky, and rich with buttery goodness. This quick shrimp dinner comes together in under 20 minutes and delivers high protein in every bite. It’s the perfect weeknight hero: tender shrimp glistening in a glossy, luscious glaze, served over steaming rice or zucchini noodles. Whether you’re cooking for one or feeding a family, this dish is fast, flavorful, and consistently impressive — especially when you use those sweet, plump, peeled and deveined shrimp that truly shine in a recipe like this.
2. Why You’ll Love This Recipe
- Ready in 20 minutes — Ideal for busy weeknights without sacrificing flavor.
- High protein, low carb — Packed with lean shrimp and naturally low in carbs when served over cauliflower rice or zucchini noodles.
- One-pan wonder — Minimal cleanup means more time enjoying the meal.
- Kid-approved (yes, really!) — The sweet-savory glaze wins over even picky eaters.
- Versatile base — Works with rice, pasta, noodles, crusty bread, or even as a wrap filling.
- Freezer-friendly — Pre-cook and reheat for quick future meals.
3. Ingredient Notes
The magic here is in the balance — sharp garlic, thick honey, bright citrus, and clean butter. Never skip fresh garlic; pre-minced can taste metallic and lacks the same depth. I use peeled and deveined shrimp (21/25 or 31/35 count) for convenience without compromising texture. Raw, thawed shrimp is best — but if you’re using frozen, thaw in the fridge overnight or in cold water for 15 minutes.
High-quality swaps: Raw shrimp labeled “no phosphate treatment” holds its shape better and tastes cleaner. Raw Organic Raw Honey adds floral depth, while unsalted European-style butter (like Plugrá) gives the sauce more richness and a silkier mouthfeel. A squeeze of fresh lemon juice at the end cuts through the sweetness and brightens the whole dish.
4. Kitchen Tools You Need
While you can make this in any锅, having the right tools makes all the difference — especially when shrimp cooks fast and overcooks easily.
We love the T-fal 14-Piece Hard Anodized Nonstick Cookware Set — its heavy-gauge aluminum base heats evenly and prevents sticking, essential for getting that perfect golden crust on the shrimp without burning the delicate honey-garlic glaze.
For even faster cleanup and reheating, the Compact 6-in-1 Digital Air Fryer by Amazon Basics doubles as a warming drawer or reheater for sides. Or if you want full versatility, the Ninja Foodi Smart XL Indoor Grill & Air Fryer Combo gives you grill marks and crispy edges without the smoke.
After cooking, store leftovers in the JoyJolt Airtight Glass Food Storage Set — it’s leakproof, microwave-safe, and looks beautiful on your fridge shelf.
5. How to Make Honey Garlic Shrimp
Phase 1: Prep & Pat Dry
Dry the shrimp thoroughly with paper towels — this is crucial for proper searing. Wet shrimp steam instead of sear. While they dry, whisk together the sauce: 3 tbsp honey, 4 minced garlic cloves, 1 tbsp soy sauce (or tamari for gluten-free), 1 tbsp fresh lemon juice, and 1/4 tsp red pepper flakes. Set aside.
Phase 2: Sear to Perfection
Heat 2 tbsp unsalted butter and 1 tbsp olive oil in a large skillet over medium-high heat until shimmering but not smoking. Add shrimp in a single layer — don’t crowd the pan! Sear 1½–2 minutes per side until just pink and *slightly* golden at the edges. They’ll continue cooking in the sauce, so pull them out when they’re just shy of done (they’ll reach ideal doneness at ~120°F internal temp).
Phase 3: Create the Glaze
Reduce heat to low, pour in your honey-garlic sauce, and simmer 1–2 minutes until glossy and slightly thickened. Return shrimp to the pan and toss gently until fully coated. Stir in 1 tbsp cold butter at the end for a rich, emulsified finish — don’t skip this step! It transforms the sauce from sweet syrup to velvety, restaurant-grade perfection.
Phase 4: Garnish & Serve
Sprinkle with toasted sesame seeds and sliced green onions. Serve immediately over jasmine rice, garlic noodles, or a bed of sautéed spinach for a lower-carb option.
Phase-Sensitive Visual Cues
- Shrimp when done: Opaque pink with just a touch of translucence in the very center — not rubbery or chalky.
- Sauce when reduced: Should coat the back of a spoon and leave a clean line when you run a finger down the spoon.
- Fragrance: Deeply aromatic with warm garlic and toasted sugar notes — if it smells burnt, lower heat next time.
6. Expert Tips for Success
Avoid these common pitfalls, even if you’ve made shrimp before:
- Don’t overcrowd the pan: Too many shrimp = steam, not sear. Cook in batches if necessary.
- Add the sauce *after* shrimp are removed: Honey burns easily at high heat. Simmer separately, then return shrimp.
- Cold butter at the end: Adds glossy emulsion, prevents greasiness, and deepens flavor.
- Use tongs, not a fork: Forks pierce delicate shrimp and squeeze out juices.
- Let rest 2 minutes before serving: Allows sauce to re-absorb slightly — no watery puddles on your plate.
7. Variations & Substitutions
Gluten-free? Use tamari (like San-J) instead of soy sauce. Low-sodium? Reduce soy to 1 tsp and add ½ tsp mushrooms powder for savory depth.
Spicier? Add ¼ tsp cayenne or a dash of sriracha to the sauce. Sweeter? Stir in ½ tsp brown sugar or a splash of maple syrup — though the honey already provides enough balance.
Extra protein? Toss in cooked chicken strips or scallops. Vegan? Use giant white beans or tempeh “shrimp” (try The Bright Green label) and swap butter for vegan butter + 1 tsp nutritional yeast.
For a full feast, pair with our Cheesy Potato Soup with Hash Browns — and if you love comfort food, we’ve got you covered with Creamy Homemade Tomato Soup on the side.
8. Storage & Reheating
In the fridge: Keep in airtight container for up to 3 days. Sauce may thicken — stir in 1 tsp warm water or lemon juice when reheating.
In the freezer: Freeze for up to 2 months. Thaw in fridge overnight before reheating.
Reheat guidelines: Stovetop is best — warm over low heat in a covered skillet to retain moisture. Avoid high heat or the shrimp will turn rubbery. If using microwave, cover with a damp paper towel and heat in 20-second bursts.
9. FAQ
Can I use frozen shrimp? Yes — but only if fully thawed and *very* dry. Ice crystals cause splatter and prevent browning.
What size shrimp should I use? We recommend 21/25 or 31/35 count — large enough to stay tender but small enough to eat in one bite.
Is this recipe keto-friendly? Yes — reduce honey to 1 tbsp and use a keto-grade sweetener like monk fruit or allulose. Serve over cauliflower rice (try our Hearty Ground Beef Hobo Casserole for a fully low-carb meal).
Can I make it ahead? Prep the sauce and pat-dry shrimp ahead of time — but cook shrimp fresh for best texture.
10. Conclusion
This honey garlic shrimp checks every box: beautiful, fast, nutritious, and utterly satisfying. With its deep amber glaze and handcrafted aroma, you’ll forget it’s healthy — and your family will beg for seconds. Whether it’s a date-night staple or a “just because” weeknight win, this dish proves that even the simplest ingredients, treated with care, become spectacular. Give it a try and tag us — we love seeing your recreation shots!
Print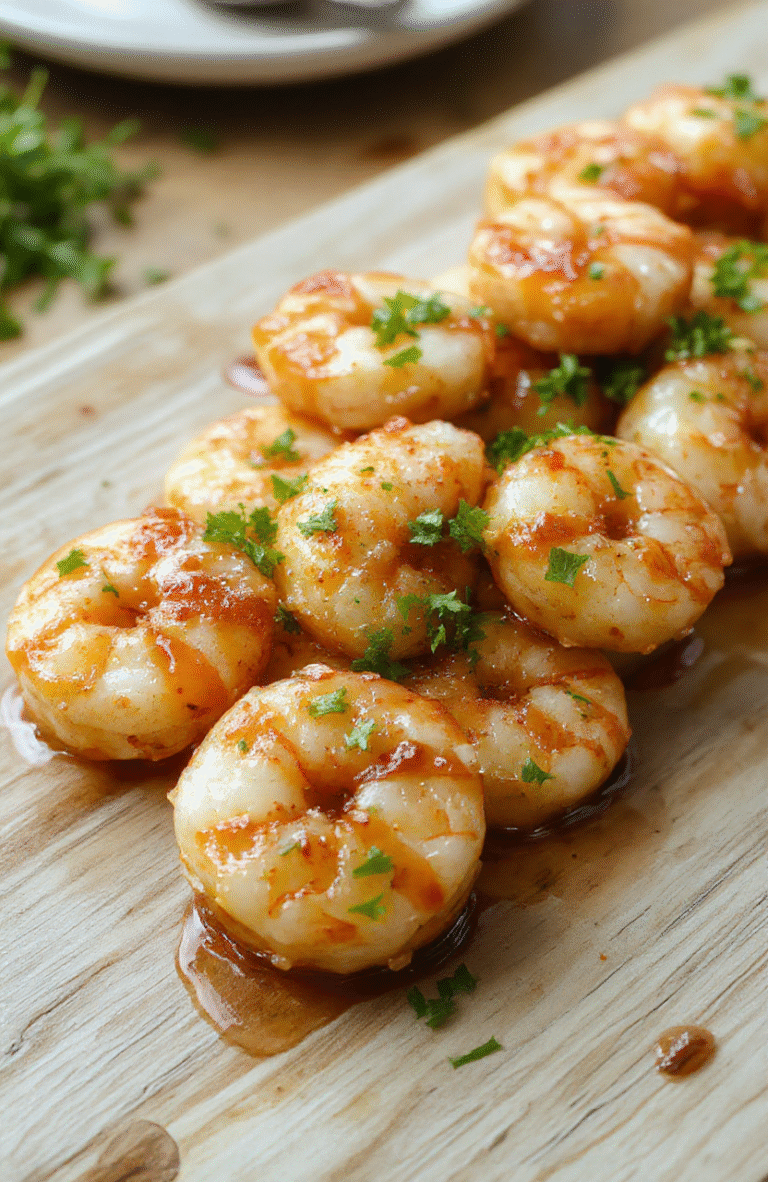
Honey Garlic Shrimp with Garlic Butter Sauce
This healthy honey garlic shrimp is a quick, high-protein dinner ready in under 20 minutes. Low-carb, gluten-free, and packed with flavor.
- Total Time: 20 minutes
- Yield: 4 servings
Ingredients
- 1 lb (450g) raw shrimp, peeled and deveined
- 2 tbsp olive oil
- 3 cloves garlic, minced
- 2 tbsp honey
- 2 tbsp soy sauce (or tamari for gluten-free)
- 1 tbsp lemon juice
- 1/4 tsp red pepper flakes (optional)
- 1/4 tsp black pepper
- 2 tbsp chopped fresh parsley
- Lemon wedges, for garnish
Instructions
- Pat shrimp dry and season with black pepper.
- Heat olive oil in a large skillet over medium-high heat. Add shrimp and cook 2 minutes per side until pink and cooked through. Remove and set aside.
- In the same skillet, add garlic and sauté 30 seconds until fragrant. Stir in honey, soy sauce, lemon juice, and red pepper flakes. Simmer 1–2 minutes until slightly thickened.
- Return shrimp to skillet and toss to coat in sauce. Garnish with parsley and lemon wedges.
Notes
- For extra flavor, add a splash of toasted sesame oil to the sauce.
- Serve over zucchini noodles, cauliflower rice, or quinoa for a complete meal.
- Use medium shrimp (31–40 count) for perfect texture.
- Prep Time: 10 minutes
- Cook Time: 10 minutes
- Method: Stovetop
- Cuisine: Asian-Inspired
- Diet: Gluten-Free, High Protein, Low Carb
Nutrition
- Serving Size: 3 oz (about 5–6 shrimp)
- Calories: 180 Kcal
- Sugar: 12g
- Sodium: 520mg
- Fat: 6g
- Saturated Fat: 1g
- Unsaturated Fat: 4g
- Trans Fat: 0g
- Carbohydrates: 14g
- Fiber: 1g
- Protein: 19g
- Cholesterol: 145mg