
🍯 Sticky Honey Garlic Chicken One-Pan Dinner (Ready in 25 Minutes!) 🍗
1. Introduction
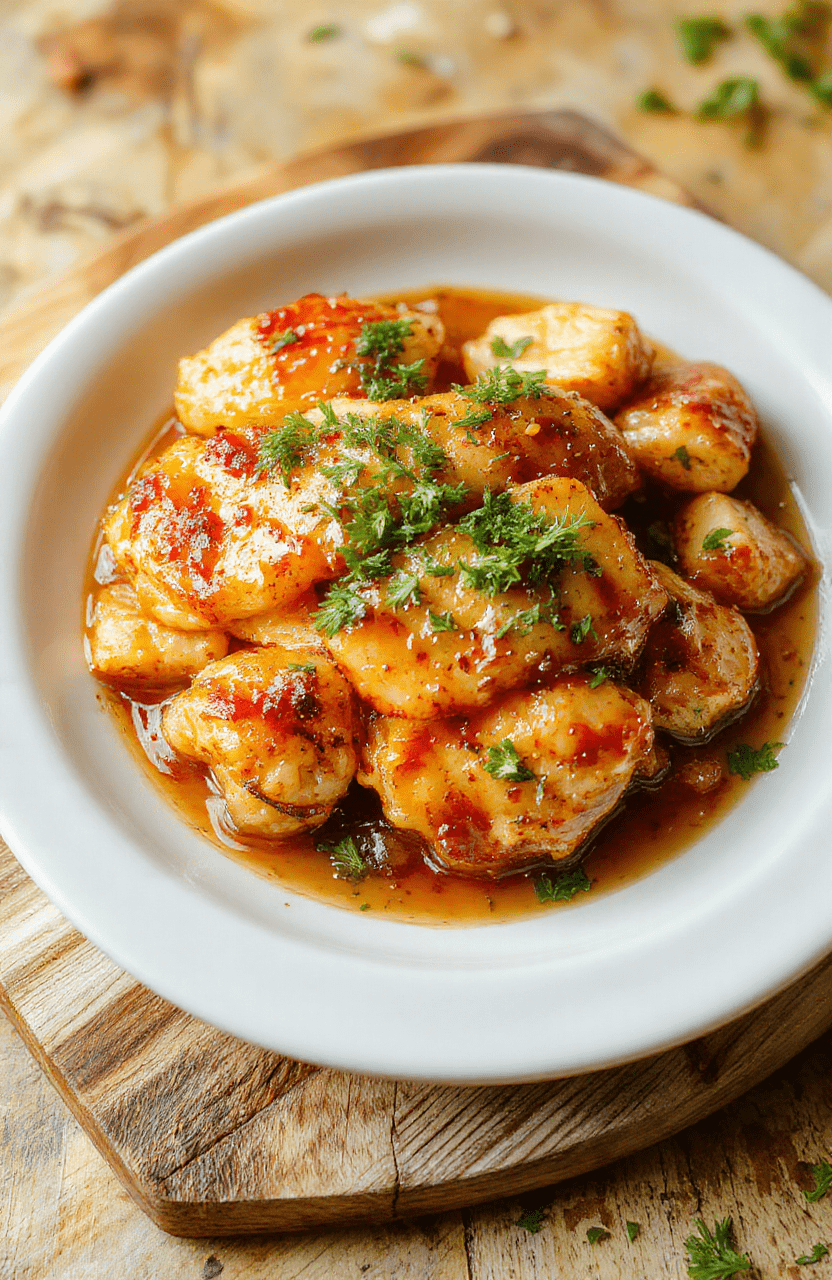
If you’re craving something sweet, savory, and seriously satisfying, this sticky honey garlic chicken is your new weeknight hero. Tender chicken thighs glaze in a glossy, caramelized sauce made with real honey, fresh garlic, and a hint of lemon—then roasted alongside crisp-tender broccoli and baby potatoes for a complete, balanced meal. No fancy techniques, no multiple pots—Just one sheet pan, 10 minutes of prep, and 25 minutes in the oven. It’s the kind of comforting, easy one-pan chicken dinner that smells incredible while it bakes and leaves you with minimal cleanup afterward. And yes, it’s gluten-free, naturally sweetened, and packed with umami depth that will have everyone asking for seconds.
2. Why You’ll Love This Recipe
- 🚀 Ready in under 30 minutes—perfect for busy weeknights.
- 🌿 Healthy honey garlic chicken made with whole-food ingredients (no high-fructose corn syrup or artificial thickeners!).
- 🧂 One-pan simplicity: Reduce cleanup and maximize flavor development through direct pan-searing and roasting.
- icious Icy-sweet & savory contrast: The glaze caramelizes into sticky, clinging perfection without burning.
- 🥬 Balanced & filling: Includes protein (chicken), complex carbs (potatoes), and fiber-rich veggies (broccoli).
- 👨🍳 Beginner-friendly—no experience required. Just follow the step-by-step cues!
3. Ingredient Notes
keyword here, but here’s why every ingredient matters—and where I splurge vs. save:
- Chicken thighs (bone-in, skin-on): Dark meat stays juicy even with long roasting and imparts richer flavor than breasts. I always use skin-on because the fat renders and helps crisp up beautifully—plus, it’s more affordable.
- Raw honey: Not “honey-flavored syrup.” Real honey adds complex floral notes and helpสร้าง that sticky, glossy glaze that caramelizes on contact with heat. Local raw honey? Even better for subtle regional flavor.
- Fresh garlic, minced: Pre-minced garlic *works* in a pinch, but fresh is non-negotiable here. It browns evenly and integrates into the sauce without bitterness.
- Low-sodium soy sauce or tamari: Brings deep umami without overwhelming saltiness. Tamari = gluten-free option.
- Red pepper flakes: A pinch adds warmth, not heat—balance is key.
- Lemon juice & zest: Fresh juice cuts richness; zest adds bright aroma that won’t get cooked away.
- Extra-virgin olive oil: For roasting veggies. Use a good quality one—it enhances flavor *and* helps veggies caramelize evenly.
4. Kitchen Tools You Need
Having the right tools makes this easy one-pan chicken dinner faster, cleaner, and more consistent. Here’s what I rely on:
- T-fal 14-Piece Hard Anodized Nonstick Cookware Set — the stainless steel (*plus* nonstick dishes) is durable, oven-safe to 400°F, and great for searing chicken before roasting (if you don’t have a large rimmed sheet pan).
- Compact 6-in-1 Digital Air Fryer by Amazon Basics — if you’re short on counter or oven space, this air fryer cranks up the crisp factor in 12 minutes while keeping the chicken moist.
- Fullstar Ultimate Veggie Prep Master — chops broccoli florets andradishes in seconds. Saves prep time *and* ensures even cooking.
- JoyJolt Airtight Glass Food Storage Set — store leftovers (or meal prep) for up to 4 days with zero odor transfer.
- Clever Fox DIY Family Recipe Journal — because this recipe *deserves* a home in your family tradition book. Add notes like “add extra honey next time!” 📔
5. How to Make Sticky Honey Garlic Chicken
Phase 1: Prep & Marinate (5 minutes)
Preheat your oven to 425°F (220°C). Line a large rimmed baking sheet with parchment paper for easy cleanup (or lightly grease it).
In a small bowl, whisk together: 3 tbsp honey, 2 tbsp soy sauce, 1 tbsp lemon juice, 1 tsp lemon zest, 4 minced garlic cloves, ½ tsp red pepper flakes, and 1 tbsp olive oil.
Pat chicken thighs *very dry*—this is crucial for crisp skin! Place them in a large bowl, drizzle with half the glaze, and toss to coat. Set aside for 10 minutes (or cover and refrigerate up to 2 hours for deeper flavor).
Phase 2: Sear & Roast (15 minutes + rest)
Arrange chicken, skin-side up, on one side of the sheet pan (don’t crowd!). Toss broccoli florets and baby potatoes with remaining glaze and olive oil, then spread them on the other half of the pan.
Roast for 15 minutes, then pull the pan out. Flip the chicken and carefully flip the potatoes/broccoli. Return to oven for 8–10 more minutes—until chicken hits 165°F (74°C) internally and potatoes are fork-tender.
Phase 3: Final Glaze & Caramelize (3 minutes)
While chicken rests, stir the reserved glaze in the bowl with 1 tsp cornstarch (optional—it thickens for that *stuck-on* silken finish—go ahead if you like extra saucy chicken).
Brush or pour the thickened glaze over the hot chicken and veggies—return to oven for 2–3 minutes until bubbly, glossy, and slightly caramelized. Breathe in that aroma: sweet, garlicky, and deeply savory. Done!
6. Expert Tips for Success
Don’t skip these pro touches—they’re the difference between *good* and *steal-the-recipe*:
- 🔥 Leave the skin on! Removing skin = dry chicken. Skin protects the meat and crisps into edible perfection.
- 🧂 Don’t salt before roasting — soy sauce + honey create enough salt. Over-salting = inedible glaze.
- ⏱ Rest 5 minutes after roasting — juice redistributes = moist every bite.
- 🔥 High heat is key — 425°F ensures honey caramelizes *without* burning. Lower temps = bland, watery glaze.
- 🧄 Use whole garlic cloves, not powdered — only fresh creates the lush, syrupy texture in this sauce.
7. Variations & Substitutions
替换 option for all diets:
- Gluten-free: Use tamari or coconut aminos.
- Sugar-free: Swap honey for sugar-free maple-style syrup (2 tbsp) + ¼ tsp molasses for depth.
- Low-carb: Swap potatoes for cauliflower florets and add broccoli stems (peeled & sliced thin).
- Spicy kick: Add 1 tsp gochugaru or 2 tbsp sriracha to the glaze.
- Citrus swap: Replace lemon with orange juice/zest for mellow sweetness—great with pork chops, too!
8. Storage & Reheating
Leftovers? Squad goals.
– Cool completely, then store in airtight containers (like the JoyJolt Glass Set) for up to 4 days.
– Reheat in oven at 350°F for 10–12 min — microwaving makes the skin soggy. Pro tip: Broil 1–2 minutes at the end to revive crispness.
– Frozen? Yes! Freeze chicken & veggies separately for up to 3 months. Reheat from frozen at 325°F covered, uncovered for last 5 min.
9. FAQ
Can I use chicken breasts instead of thighs?
Yes—but they dry out faster. Reduce roasting time to 12 minutes, then finish 3–4 minutes more. Also, pound them to even thickness for even cooking.
How do I prevent the honey from burning?
Don’t preheat the pan—honey burns at temperatures lower than sugar. Roast on the *bottom rack* (away from top broiler), and always use an oven-safe instant-read thermometer to avoid overcooking.
Can I make this ahead?
Yes! Mix the glaze and marinate chicken up to 24 hours ahead. Prep veggies the morning of—don’t par-cook potatoes—they’ll become mushy.
What sides go best?
This dish is one-pan complete—but if you want a sidings, try: a simple arugula salad (tossed in lemon vinaigrette), steamed jasmine rice, or my Crispy Garlic Parmesan Potato Wedges for extra crunch!
10. Conclusion
This sticky honey garlic chicken one-pan dinner is my go-to “I have no energy but want to feel like a chef” meal. It’s tender, deeply flavorful, Naturally sweet from real honey—and surprisingly healthy. The combo of savory soy, fragrant garlic, and citrus brightness cuts through the richness in the best way. Pair it with a glass of chilled white wine, or simply enjoy it solo while your kitchen smells like a gourmet Asian-bistro dream.
👉 Ready to make it tonight? Grab your sheet pan and let me know how it turns out in the comments below—I read every one! And if you love this, you’ll adore my Zesty Garlic Chicken Broccoli Noodles or my Easy Chicken Sausage Orzo One-Pan Dinner for more one-pan magic.
Print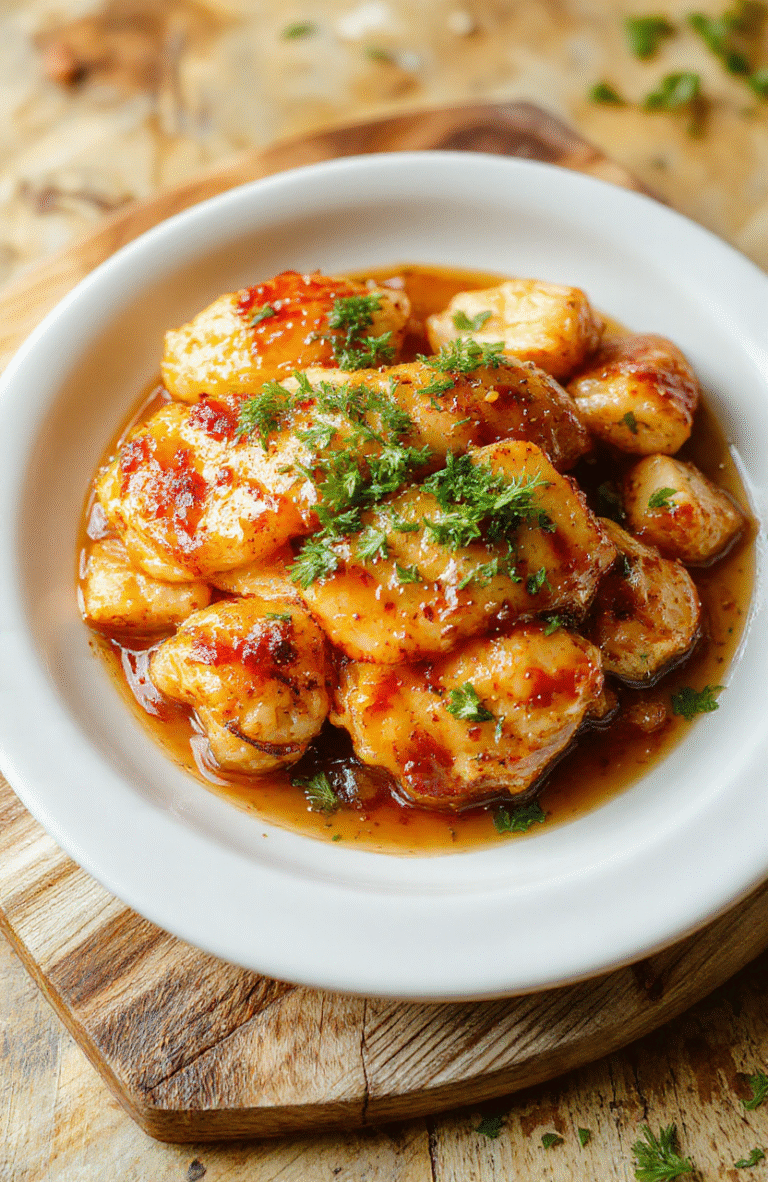
Honey Garlic Chicken One-Pan Dinner
- Total Time: 35 minutes
- Yield: 4 servings
Ingredients
- 1 1/2 lbs boneless, skinless chicken thighs
- 2 tbsp olive oil
- 3 cloves garlic, minced
- 1/4 cup honey
- 3 tbsp soy sauce (low-sodium)
- 1 tbsp apple cider vinegar
- 1 tsp red pepper flakes (optional)
- 1/4 tsp black pepper
- 1/2 tsp salt
- 1 head broccoli, cut into florets
- 10 cherry tomatoes
- Fresh thyme for garnish
Instructions
- Preheat oven to 400°F (200°C).
- In a small bowl, whisk together honey, soy sauce, garlic, apple cider vinegar, red pepper flakes, salt, and black pepper.
- Heat olive oil in a large oven-safe skillet over medium-high heat. Season chicken thighs with salt and pepper, then sear for 3–4 minutes per side until golden.
- Remove chicken from skillet and set aside. Add broccoli florets and cherry tomatoes to the skillet, coating in the remaining oil. Spoon sauce over them.
- Return chicken thighs to the skillet, spooning extra sauce over each piece.
- Bake in oven for 15–18 minutes, or until chicken reaches 165°F (74°C) internal temperature and sauce is bubbly and slightly caramelized.
- Garnish with fresh thyme before serving.
Notes
- For extra caramelization, broil 2–3 minutes at the end (watch carefully).
- Substitute chicken breasts if preferred, but reduce cook time to avoid drying.
- Serve over brown rice or quinoa for added fiber.
- Prep Time: 10 minutes
- Cook Time: 25 minutes
- Method: Baking
- Cuisine: American
- Diet: High Protein
Nutrition
- Serving Size: 1 serving
- Calories: 342 Kcal
- Sugar: 18 g
- Sodium: 620 mg
- Fat: 12 g
- Saturated Fat: 3 g
- Unsaturated Fat: 7 g
- Trans Fat: 0 g
- Carbohydrates: 27 g
- Fiber: 3 g
- Protein: 31 g
- Cholesterol: 95 mg