
© Original recipe by The Culinary Delight ©
🧄🥖 Fluffy Garlic Rolls for the Perfect Side Dish 🥖🧄
1. Introduction
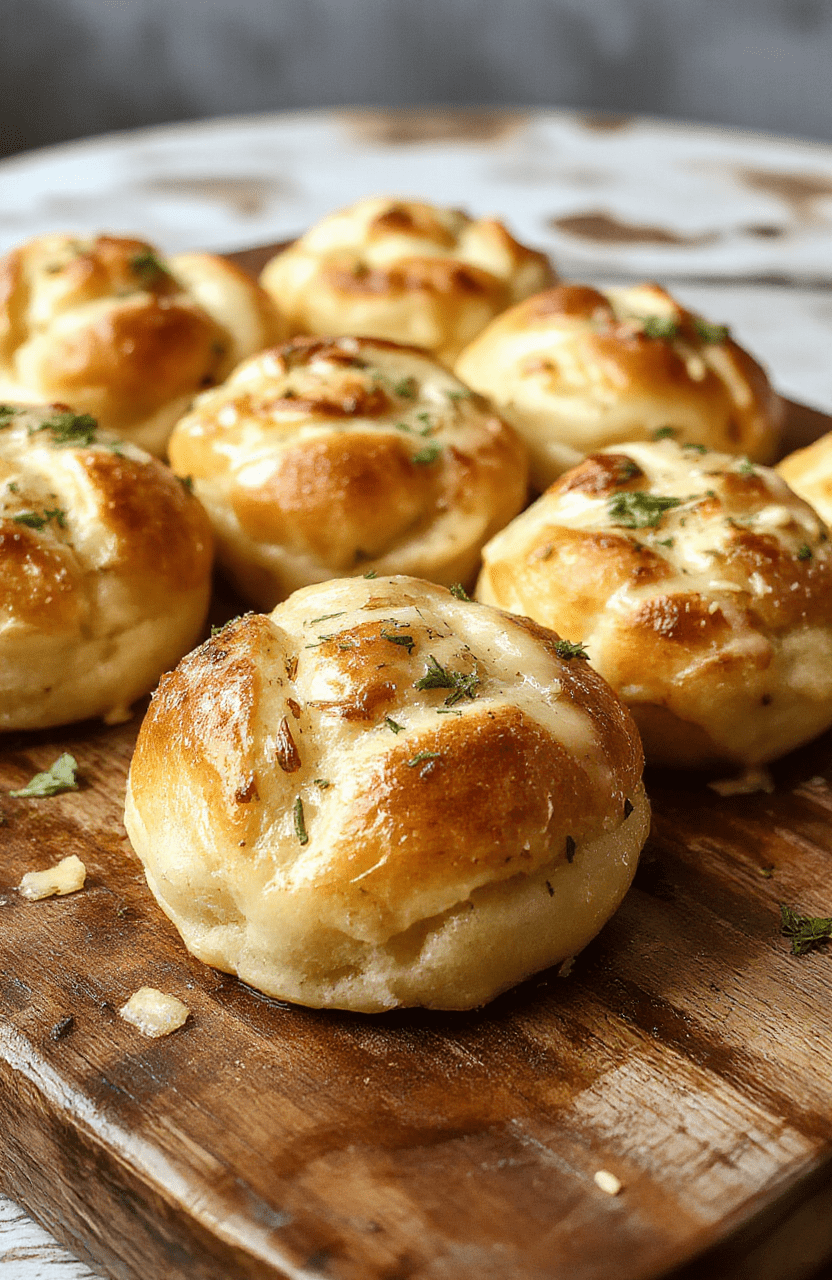
If you’re searching for the ideal garlic bread to elevate your dinner table, look no further than these fluffy garlic rolls. Imagine biting into soft, pillowy bread infused with aromatic garlic and butter, with a hint of herbs—perfect for any celebration or a cozy family dinner. These bread rolls are a crowd-pleaser, with their crisp, golden crust and tender interior, making them the ultimate side dish that complements everything from hearty stews to fresh salads.
What makes these garlic rolls stand out? Well, the secret lies in their airy texture, fragrant garlic butter filling, and a dash of love in every step of the process. Once you master this recipe, it will become your go-to for dinner parties or quick weeknight meals.
2. Why You’ll Love This Recipe
- Ready in 30 minutes — quick enough for a weeknight without sacrificing flavor.
- Soft bread with crispy edges— a delightful textural contrast.
- Versatile side— pairs beautifully with pasta, salads, or soups.
- Easy to customise with herbs or extra garlic for your personal touch.
3. Ingredient Notes
High-quality ingredients make all the difference in achieving that perfect garlic bread flavor. Use fresh, fragrant garlic for a robust aroma. Fresh herbs like parsley or rosemary can elevate the flavor, adding freshness and color.
For the bread, opt for bread flour if you want a more chewable texture or all-purpose flour for a softer crumb. Use unsalted butter for control over the saltiness, and consider clustering in high-quality olive oil for an extra layer of flavor. For best results, choose organic garlic, as it tends to have a sweeter, more intense profile.
4. Kitchen Tools You Need
To craft these irresistible bread rolls, the right tools will make the process seamless. I recommend checking out the Compact 6-in-1 Digital Air Fryer by Amazon Basics. It’s perfect for baking small batches or reheating your garlic rolls to crispy perfection without turning on the oven.
For mixing and kneading dough, a sturdy KitchenAid Artisan 5-Quart Stand Mixer in Scorched Orange speeds up the process and ensures even kneading, leading to fluffy results every time.
5. How to Make Fluffy Garlic Rolls for the Perfect Side Dish
Preparing the Dough
Start by warming your milk slightly until it’s just lukewarm—around 110°F. Activate your yeast by mixing it with a pinch of sugar and warm milk; it should froth and become bubbly in about 5 minutes, signaling good yeast vitality. While waiting, melt butter and crush fresh garlic—this will fill your house with a rich, inviting aroma.
In a large bowl or stand mixer, combine flour, salt, and sugar. Slowly add the yeast mixture, melted butter, crushed garlic, and a splash of olive oil. Knead until the dough is smooth and elastic—this takes about 8-10 minutes by hand or 5 minutes in a stand mixer with a dough hook. At this stage, your dough should be slightly sticky but manageable.
Shaping and Baking
Once the dough has risen until doubled in size, punch it down and divide into equal portions. Roll each piece into a ball and place them close together in a greased baking dish or on a parchment-lined baking sheet. Cover with a damp cloth and let them rest for about 15 minutes. They should look puffed up and ready for their final bake.
Bake in a preheated oven at 375°F for approximately 15-20 minutes. The rolls should turn a beautiful golden-brown, with a fragrant, crispy crust and a soft, airy interior. When you pull them out, brush with extra garlic butter for an irresistibly shiny, flavorful finish.
6. Expert Tips for Success
- Use fresh yeast for optimal rising; expired yeast can lead to dense breads.
- Don’t over-flour—keep the dough slightly sticky for fluffiness.
- Allow the dough to rise fully—a warm, draft-free environment works best.
- Skip rushing baking; a gentle, consistent oven temperature yields the best crust and texture.
7. Variations & Substitutions
- Herb-infused garlic rolls: Add chopped fresh herbs like rosemary, thyme, or parsley to the dough or butter mixture for extra flavor.
- Vegan option: Replace butter with vegan margarine and use plant-based milk.
- Cheesy garlic rolls: Sprinkle shredded mozzarella or parmesan on top before baking for an indulgent twist.
8. Storage & Reheating
Store leftovers in an airtight container at room temperature for up to 2 days, or freeze for up to 3 months. To reheat, briefly warm in the air fryer or oven until the crust crisps up and the inside remains soft and warm.
9. FAQ
Can I make garlic rolls ahead of time?
Absolutely! Assemble the rolls, cover tightly with plastic wrap, and refrigerate overnight. Let them come to room temperature before baking for fresh, fluffy results.
What is the best way to get crispy crust?
Baking at a slightly higher temperature and brushing the rolls with garlic butter right after baking helps achieve a crispy, flavorful crust.
Can I freeze these garlic rolls?
Yes, freeze before the second rise—wrap tightly and store in a freezer bag. Thaw overnight and reheat for fresh, soft bread rolls anytime.
10. Conclusion
These fluffy garlic rolls are a delightful, aromatic addition to any meal. With a perfect balance of soft, airy interior and crispy, garlicky crust, they make every dinner feel like a celebration. Whether as a side or a snack, mastering this recipe will surely impress your family and guests alike. Happy baking!
Print
Fluffy Garlic Rolls for the Perfect Side Dish
Light, airy, and infused with garlic and herbs, these garlic rolls are the perfect side dish that pairs well with any meal.
- Total Time: 2 hours
- Yield: 12 rolls
Ingredients
- 2½ cups all-purpose flour
- 1 packet (2¼ teaspoons) active dry yeast
- 1 cup warm milk
- ¼ cup unsalted butter, melted
- 1 teaspoon sugar
- 1 teaspoon salt
- 3 cloves garlic, minced
- 2 tablespoons chopped fresh parsley
Instructions
- Activate yeast: In a small bowl, combine warm milk, sugar, and yeast. Let sit for 5 minutes until frothy.
- Prepare dough: In a large bowl, mix flour and salt. Add yeast mixture and melted butter. Knead until smooth and elastic, about 8 minutes.
- First rise: Cover the dough with a damp cloth and let rise in a warm place for 1 hour or until doubled in size.
- Shape rolls: Punch down the dough and divide into 12 equal pieces. Shape each into a ball and place on a greased baking sheet.
- Second rise: Cover and let rise for 30 minutes until puffy.
- Bake: Preheat oven to 375°F (190°C). Mix minced garlic and parsley; brush rolls with melted butter mixed with garlic and herbs. Bake for 15-18 minutes until golden brown.
- Serve: Enjoy warm with extra garlic butter if desired.
Notes
- You can add grated Parmesan cheese to the garlic butter for extra flavor.
- For softer rolls, cover with foil during the last 5 minutes of baking.
- Prep Time: 20 minutes
- Cook Time: 18 minutes
- Method: Baking
- Cuisine: American
- Diet: Vegetarian
Nutrition
- Serving Size: 1 roll (about 40g)
- Calories: 150 Kcal
- Sugar: 3g
- Sodium: 180mg
- Fat: 7g
- Saturated Fat: 4g
- Unsaturated Fat: 2g
- Trans Fat: 0g
- Carbohydrates: 20g
- Fiber: 1g
- Protein: 4g
- Cholesterol: 10mg