
🧀 Crispy, Cheesy, Comfort in Every Bite: Easy Pierogi Casserole in Just 30 Minutes!
1. Introduction
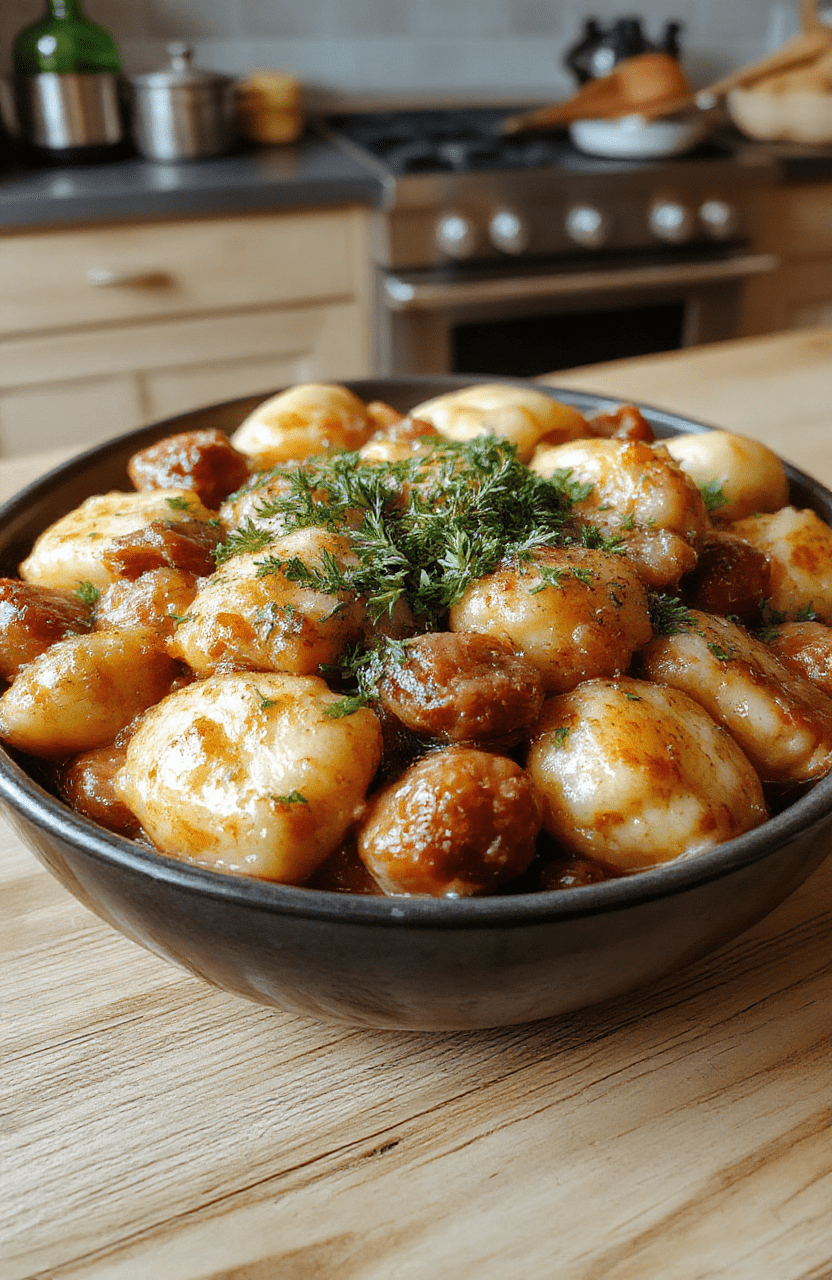
When comfort food calls—and it *always* calls on busy weeknights—there’s no better answer than this easy pierogi casserole. Think golden-brown, pan-seared kielbasa, tender boiled pierogi, caramelized onions, and a golden cheese top that bubbles and cracks just enough to let that rich, savory aroma fill your kitchen. This one-pan wonder brings together the best of Polish comfort cooking with modern speed—no fancy techniques, no obscure ingredients. Just familiar, crave-worthy flavors in half an hour. If you love hearty, satisfying meals like our Zesty Garlic Chicken & Broccoli Noodles or our Easy Chicken Sausage Orzo One-Pan Dinner, this casserole is your new weeknight hero.
2. Why You’ll Love This Recipe
- Ready in 30 minutes—faster than delivery, healthier than takeout
- One-pan convenience—fewer dishes to clean after dinner
- Pantry-friendly—uses common staples and frozen pierogi
- Crowd-pleasing—kids adore it, adults savor every bite
- Make-ahead friendly—assemble ahead and bake when hungry hours strike
3. Ingredient Notes
I know what you’re thinking: “Can I use *any* pierogi?” Absolutely—but the *right* kind makes all the difference. I recommend using frozen potato & cheese or pan-fried kielbasa-style pierogi for maximum heartiness. Look for brands with clean labels (no artificial fillers or excessive starch). If you’re feeling nostalgic, homemade works—but boiling 2+ dozen fresh pierogi adds precious minutes. Save that effort for Sunday.
For the kielbasa, smoked Polish kielbasa is traditional—but smoked turkey kielbasa cuts the fat and still delivers that deep, chargrilled depth. Don’t skip the yellow onions sautéed until deep golden—that sweetness balances the salty meat and tangy cheese. And speak up for the sharp cheddar: aged cheddar browns beautifully and melts with creamy resilience. Mild cheddar?它 melts, but lacks the *pop*.
Optional but oh-so-worth-it: a splash of homemade garlic oil drizzle or a handful of fresh dill. That’s where “home chef” meets “restaurant magic.”
4. Kitchen Tools You Need
You won’t need much—just one large skillet (and optionally, a baking dish if finishing in the oven for extra browning). But having the right tools can cut prep time and guarantee success. For busy cooks, a **nonstick skillet with oven-safe handles** is non-negotiable. I rely on my T-fal 14-Piece Hard Anodized Nonstick Cookware Set—the even heat distribution prevents hot spots and ensures that pierogi crust gets uniformly crispy, never burnt.
If you love speed *and* crispiness, consider upgrading to the Compact 6-in-1 Digital Air Fryer by Amazon Basics. Sauté kielbasa and onions in your skillet, then finish pierogi in the air fryer for 3 minutes—crunchy edges, fluffy center. Or go all-in with the Ninja Foodi Smart XL Indoor Grill & Air Fryer Combo for a *smoke-free* grill char alongside your casserole.
And if storage’s a priority? A *clean* kitchen starts with smart organization. Keep leftovers fresh in JoyJolt Airtight Glass Food Storage Sets—stackable, microwave-safe, and freezer-friendly. Perfect for meal prepping this casserole all week.
5. How to Make Easy Pierogi Casserole
Tip: Have all ingredients prepped and within reach before you start heating the pan—you’ll move at lightning speed.
Phase 1: Sear & Sauté (8 minutes)
Heat 2 tablespoons of neutral oil (or a mix of oil and butter for richness) in a large 12-inch oven-safe skillet over medium-high heat. Add 1 lb of sliced kielbasa (1/2-inch thick rounds) and sear until deeply browned—about 2–3 minutes per side. Transfer kielbasa to a plate.
In the same skillet, add 1 large halved and thinly sliced yellow onion. Cook, undisturbed, for 2 minutes, then stir and continue cooking until deeply golden caramelized (5–6 minutes total). Stir in 2 minced garlic cloves and cook 30 seconds until fragrant.
Phase 2: Layer & Layer Again (5 minutes)
Reduce heat to low. Add 2 cups of frozen pierogi (thawed briefly under warm water—don’t let them become soggy!) and gently nestle them into the onion-Kielbasa base. Sprinkle 1 cup shredded sharp cheddar and ½ cup grated Parmesan evenly over the top. If you like, stir in ¼ cup heavy cream or milk for extra richness (optional, but highly encouraged!).
Phase 3: Finish & Brown (10–12 minutes)
Transfer the skillet to the center rack of a preheated 375°F (190°C) oven. Bake 10–12 minutes, until the cheese is bubbly and starting to golden. For extra crunch, switch to Broil (Low position) for 1–2 minutes—watch closely!
Remove, let rest 2–3 minutes (the top sets beautifully), then garnish with chopped chives or dill. Serve warm.
6. Expert Tips for Success
Here’s where experience matters: Don’t thaw pierogi completely. Slightly icy on the outside keeps them firm—they’ll crisp up beautifully on the stovetop without turning mushy.
Pat the kielbasa dry before slicing. Wet meat steams instead of searing—and we want that caramelized crust for fond (those tasty brown bits stuck to the pan—the *foundation* of flavor!).
Use packed shredded cheese, not pre-grated. Pre-shredded cheese contains cellulose (to prevent clumping), which can make melted cheese grainy. A quick grate from a block? Silky, glossy melt every time.
For extra depth: deglaze with ¼ cup dry white wine or broth *before* adding onions. Let it bubble away, then add onions—adds layers without extra fat.
7. Variations & Substitutions
Vegetarian? Swap kielbasa for plant-based smoked sausage (Our Lady of the Rosary or Yves work well) or roasted mushrooms + toasted walnuts for umami depth. Add 1 cup sautéed spinach at the end for green goodness.
Gluten-free? Most frozen pierogi are gluten-free—but *always check labels*. Or make your own using Philips 7000 Series Pasta Maker and GF flour blend (King Arthur or Caputo gluten-free works beautifully).
Low-carb? Replace half the pierogi with riced cauliflower or shredded zucchini. Increase cheese slightly to bind. Or go full keto with mashed cauliflower + shredded potatoes “casserole” in a skillet.
Spice it up? Add ½ tsp smoked paprika with the garlic, or a pinch of red pepper flakes with the onions. A dash of hot sauce at the end (I love this homemade chipotle mayo swirl) is next-level.
8. Storage & Reheating
Let the casserole cool completely, then cover tightly and store in the JoyJolt Glass Food Storage Set for up to 4 days.
Reheat:
– Oven (best texture): 350°F for 15–20 minutes, covered with foil, then uncover 3 minutes to re-crisp.
– Skillet: Medium-low heat with a splash of broth—cover until warmed through.
– Air fryer: 350°F for 5–7 minutes—excellent for individual servings.
Avoid the microwave if possible—it turns pierogi rubbery and cheese oily.
9. FAQ
Q: Can I make this ahead and freeze?
A: Yes! Assemble in a disposable aluminum pan (skip the skillet). Freeze un-baked, then bake straight from frozen—add 15–20 minutes to bake time, covered with foil.
Q: Why did my pierogi sink to the bottom?
A: Over-thawing or overcrowding the pan. Always thaw *just* enough to separate, and don’t pack too tightly—give them room to crisp.
Q: Can I use fresh pierogi?
A: Absolutely! Reduce the bake time to 8–10 minutes—they cook faster than frozen.
Q: What’s the best side for this casserole?
A: A simple green salad or roasted vegetables. My go-to? Crispy Roasted Potatoes on the side for extra starch delight—or Turmeric Rice Bowl for contrast. Bright acidity (pickled onions, sauerkraut) cuts the richness perfectly.
10. Conclusion
This easy pierogi casserole is the cozy embrace your weeknights deserve—creamy, crispy, savory, and ready before your takeout arrives. It’s flexible enough to adapt to your pantry, your diet, or your mood—even better the next day. So preheat that skillet, grab your favorite cheese, and savor the simplicity.Because comfort food shouldn’t be complicated.
Print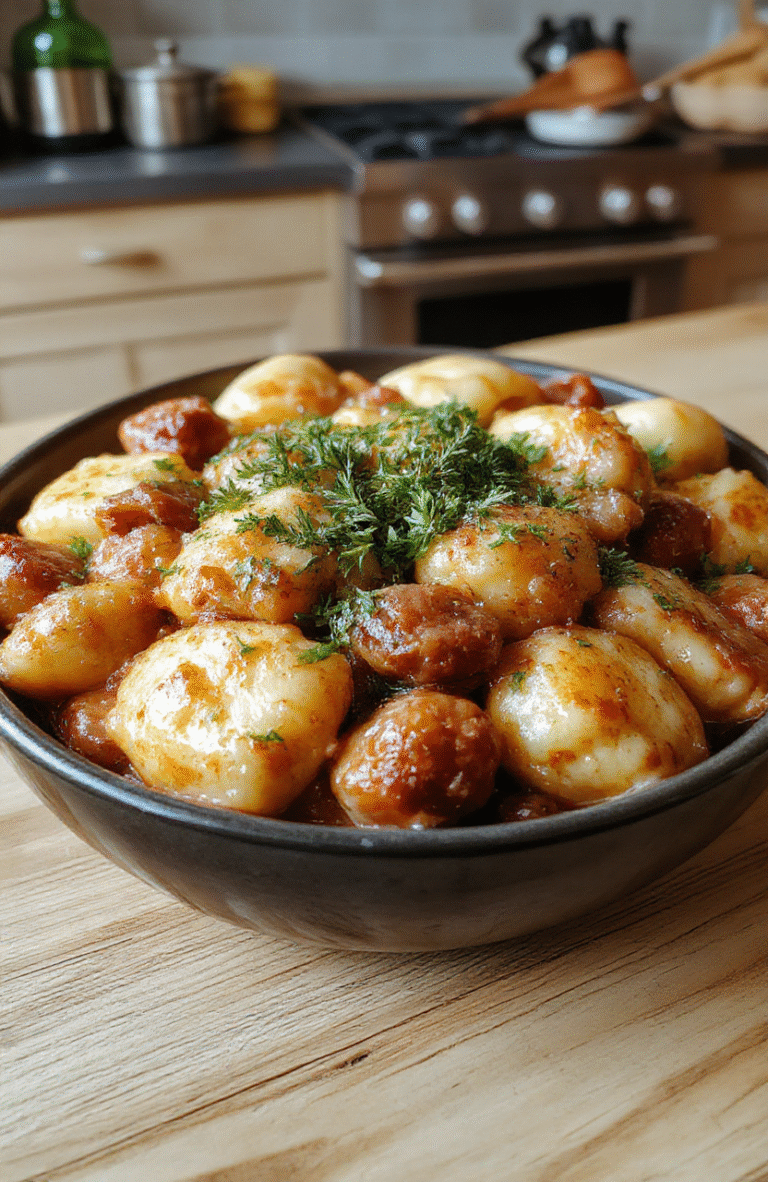
Easy Kielbasa & Pierogi Casserole in 30 Minutes
A hearty, comforting 30-minute casserole using store-bought or homemade pierogi, kielbasa, onions, and cheese.
- Total Time: 30 mins
- Yield: 6 servings
Ingredients
- 24 oz frozen pierogi (potato & cheese or bacon & cheddar)
- 12 oz kielbasa, sliced into 1/2-inch rounds
- 1 tbsp olive oil
- 1 large yellow onion, thinly sliced
- 1 cup sour cream
- 1/2 cup grated cheddar cheese
- 1/4 cup milk
- 1 tsp garlic powder
- Salt & pepper to taste
- Fresh parsley, chopped (for garnish)
Instructions
- Preheat oven to 400°F (200°C). Lightly grease a 9×13-inch baking dish.
- Heat olive oil in a skillet over medium heat. Add kielbasa and cook until browned (about 4–5 mins). Transfer to a plate.
- In the same skillet, add onions and sauté until caramelized (5–7 mins). Set aside.
- In a bowl, mix sour cream, milk, garlic powder, salt, and pepper.
- Layer half the pierogi in the baking dish, cover with half the kielbasa, half the onions, and half the sour cream mixture. Repeat layers. Top with grated cheddar.
- Bake for 15–18 minutes until bubbly and golden. Garnish with parsley and serve.
Notes
- For extra crispiness, broil 2–3 minutes at the end.
- Use full-fat ingredients for best texture & flavor.
- Leftovers reheat well in the microwave or air fryer.
- Prep Time: 10 mins
- Cook Time: 20 mins
- Method: Baking
- Cuisine: Polish-American
- Diet: Contains Dairy, Gluten
Nutrition
- Serving Size: 1/6 of casserole
- Calories: 420 Kcal
- Sugar: 4g
- Sodium: 860mg
- Fat: 28g
- Saturated Fat: 14g
- Unsaturated Fat: 12g
- Trans Fat: 0.5g
- Carbohydrates: 30g
- Fiber: 2g
- Protein: 14g
- Cholesterol: 65mg