
1. Introduction
In recent years, sustainable living has gained tremendous momentum as more households seek eco-friendly solutions to reduce plastic waste and protect the environment. One highly effective and popular method is creating DIY beeswax wraps, which serve as a natural, reusable, and stylish alternative to traditional plastic wraps. These handmade wraps not only help minimize your household’s reliance on single-use plastics but also bring a touch of personalized charm to your kitchen. With just a few simple kitchen items, such as a Fullstar Vegetable Chopper and Spiralizer and some cotton fabric, you can craft your own beeswax wraps at home. This project is perfect for eco-conscious households looking to make an impactful difference while enjoying a fun, DIY activity.
2. Why Choose DIY Beeswax Wraps Over Plastic Wrap
DIY beeswax wraps are an increasingly popular choice for sustainable kitchens because they are biodegradable, reusable, and made from natural ingredients. Unlike plastic wraps, which contribute to environmental pollution and can release harmful chemicals, beeswax wraps are a healthier and eco-friendly alternative that protects your food while supporting environmental conservation efforts. Additionally, crafting your own beeswax wraps offers a unique opportunity for customization—selecting your preferred patterns, sizes, and even adding natural scents, such as essential oils, to enhance aroma and efficacy. Using a KitchenAid Classic Series Stand Mixer can help melt beeswax efficiently, making the process smoother and more enjoyable.
3. Essential Kitchen Items for Making Beeswax Wraps
Before you start creating DIY beeswax wraps, it’s important to gather the right kitchen items. These tools are fundamental for ensuring your wraps are durable, effective, and environmentally friendly. You’ll need:
- Beeswax blocks or pellets — the essential ingredient for the wrap’s sticky, pliable coating.
- High-quality cotton fabric — preferably organic and tightly woven, to hold the beeswax properly.
- Sharp scissors — for cutting the fabric into your desired shapes and sizes.
- Paintbrush or sponge brush — to evenly coat the fabric with melted beeswax.
- Parchment paper or silicone baking mat — for protecting surfaces during application and heating.
- Iron (optional) — useful for setting the beeswax on the fabric, if desired.
Having these items on hand ensures a smooth and successful DIY beeswax wrap creation process.
4. Step-by-Step Guide to Making DIY Beeswax Wraps
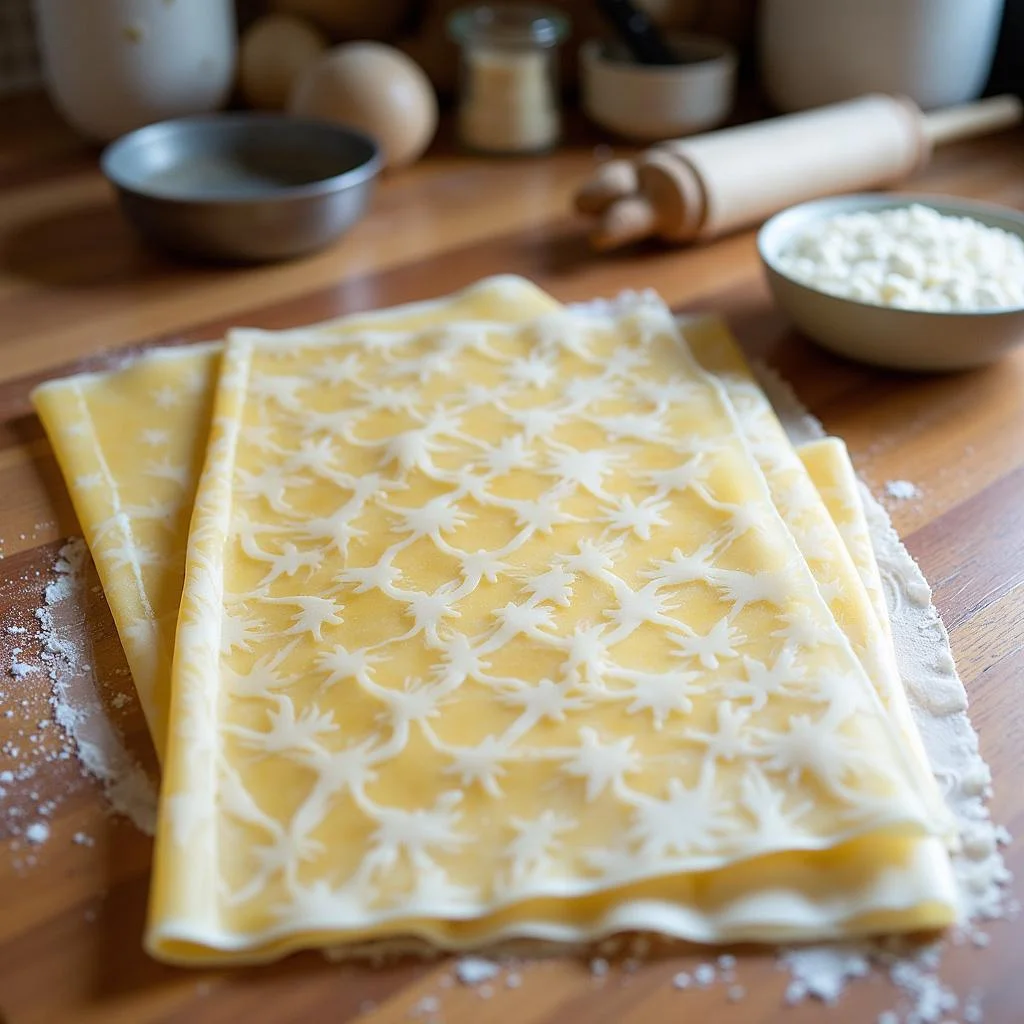
Prepare Your Fabric
Begin by selecting your favorite cotton fabric and cutting it into practical sizes, such as sandwich or vegetable wraps. For best results, wash the fabric to remove any chemicals or residues from manufacturing, then dry thoroughly. Clean fabric ensures optimal adhesion of the beeswax, making your wraps more durable and effective. To add a touch of creativity, consider using a Clever Fox Recipe Book to jot down your custom designs or patterns. Once prepped, lay the fabric flat on a silicone baking mat or parchment paper for easy handling during application.
Melt the Beeswax
The key to creating a pliable, sticky beeswax coating lies in properly melting your beeswax blocks. Use a double boiler or microwave in short bursts, stirring to distribute heat evenly. For a more efficient melting process, a stand mixer with melting capabilities can be ideal. Once melted, carefully transfer the beeswax to a container ready for application. This warm, liquid beeswax forms the foundation for your eco-friendly wraps.
Applying Beeswax to Fabric
Place your prepared fabric on the parchment paper or silicone mat. Use your brush to spread the melted beeswax evenly across the fabric surface, ensuring all areas are coated. For larger wraps, another option is to immerse the fabric in melted beeswax for quicker coverage. Applying a consistent layer is essential for the waterproof and anti-microbial properties of your wraps. Think of this step as creating the essential induction-compatible, non-stick coating on your fabric.
Heating the Wrap
Preheat your oven to approximately 180°F (80°C). Place your coated fabric on a baking sheet lined with parchment or silicone mat and warm it for 2–3 minutes. This gentle heat helps the beeswax to fully saturate the fibers, making the wrap flexible and easy to mold. For a seamless process, a microwave can be used for quick heating, but oven heating tends to give more even results.
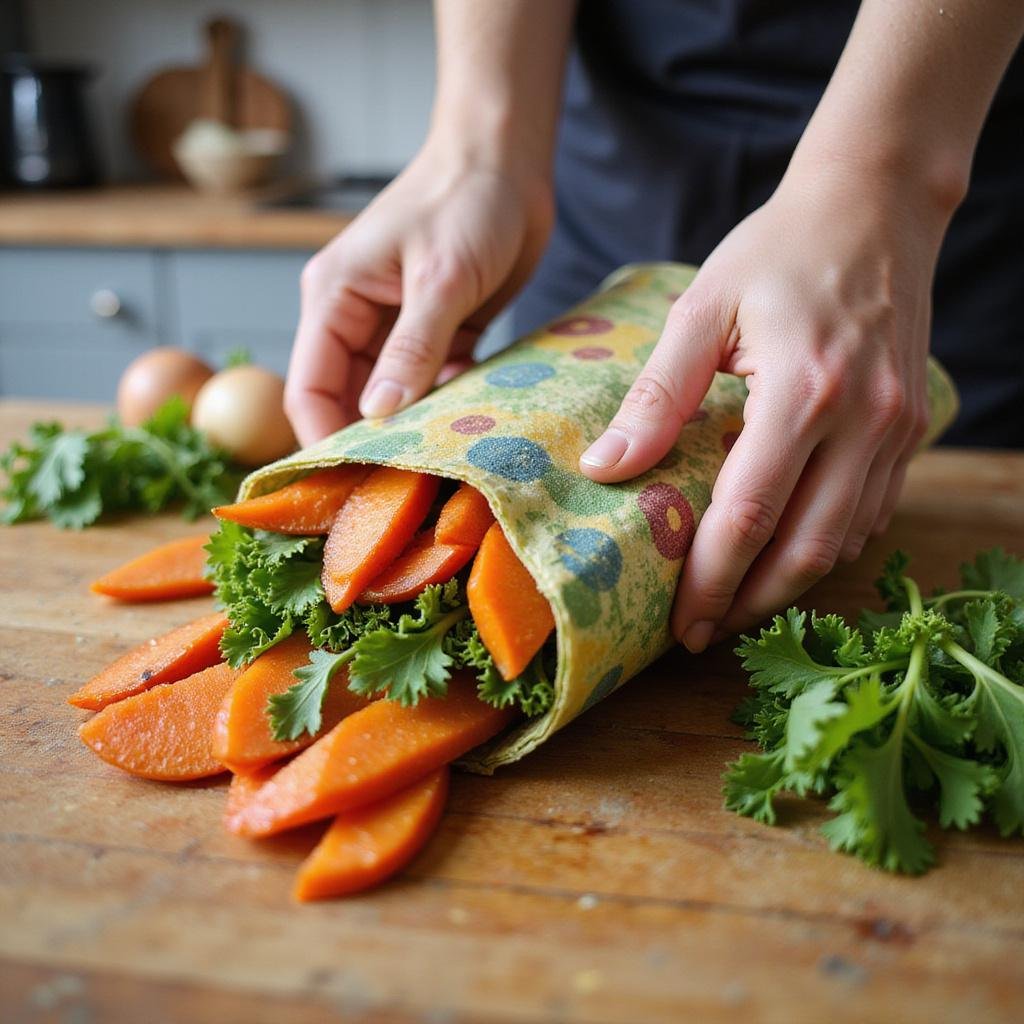
Cooling and Shaping
Remove the fabric from the oven and allow it to cool slightly. While still warm, mold the wrap around containers or directly on food items, shaping it with your hands. The warmth from your fingers helps customize the fit, ensuring a snug and secure seal. Store your homemade beeswax wraps in a cool, dry place to maximize their lifespan.
5. Tips for Making Durable and Eco-Friendly Beeswax Wraps
- Select high-quality beeswax for optimal adhesion, flexibility, and longevity.
- Keep oven temperatures low to prevent fabric damage—about 180°F (80°C) is ideal.
- Apply the beeswax evenly to ensure flexible, yet durable wraps capable of handling various food types.
- Store your DIY beeswax wraps in a cool, dry environment and avoid exposing them to heat or direct sunlight, which can melt the wax.
- Utilize a food chopper to prepare ingredients or to help incorporate natural scents into your wraps for added freshness.
6. How to Maintain and Reuse Your Beeswax Wraps
To preserve the quality of your DIY beeswax wraps, wash them gently with cold water and mild soap after each use. Hot water or harsh detergents can melt or damage the beeswax coating. Air dry thoroughly before storing. When your wraps begin to lose their stickiness or show signs of wear, simply reapply beeswax using your melting pot or iron. This reconditioning process extends the life of your wraps, making them a valuable and eco-friendly asset in your kitchen.
7. Frequently Asked Questions About DIY Beeswax Wraps
Can I make beeswax wraps at home without special kitchen items?
Absolutely! Most of the essential tools, such as scissors, a brush, beeswax, and common kitchen gadgets, are already available in your home or can be easily purchased. Just ensure you have the right fabric and a safe way to melt the beeswax, whether using a stand mixer or microwave.
How long do DIY beeswax wraps last?
With proper care, DIY beeswax wraps can last up to 12 months. Regular cleaning with cold water and gentle handling will prolong their usability, and reapplication of beeswax will restore their sealing capabilities.
Are beeswax wraps safe for all types of food?
Yes, beeswax wraps are non-toxic and safe for most foods, including fruits, vegetables, and baked goods. However, it’s advisable to avoid using them with raw meats or oily foods to prevent contamination and to preserve the integrity of the wraps.
Can I customize my beeswax wraps?
Definitely! You can choose different fabrics, add natural scents with essential oils, and create various sizes to suit your needs, making your wraps truly personalized and eco-friendly.
8. Conclusion
Making DIY beeswax wraps with basic kitchen items is an environmentally responsible, cost-effective, and rewarding activity that enhances your sustainable lifestyle. By utilizing tools like food processors, stand mixers, and simple fabric, you can craft versatile wraps that not only reduce plastic waste but also add a personal touch to your food storage solutions. Embrace this eco-conscious habit today to support greener living and enjoy the satisfaction of creating your own sustainable food wraps.