
© Original Recipe By Mom’s Meals ©
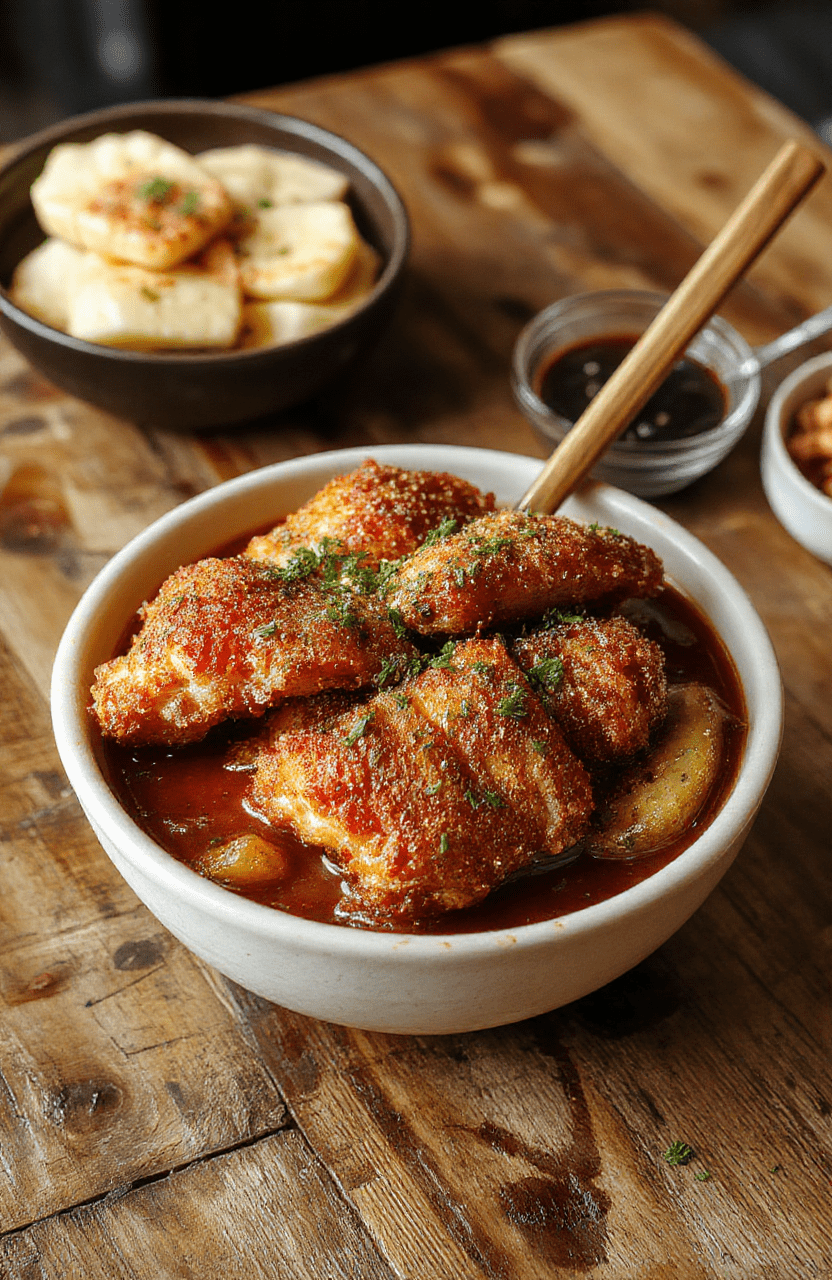
🍚🔥 Crispy Japanese Katsu Bowls with Homemade Tonkatsu Sauce — Dive into Asian Comfort Food!
1. Introduction
If you’re craving a dish that combines crispy texture with savory, rich flavors, then Japanese Katsu Bowls are your perfect match. These bowls showcase perfectly breaded, golden-brown cutlets topped with an aromatic, homemade tonkatsu sauce that transports your taste buds straight to Tokyo’s bustling streets. The beauty of this dish is in its balance—crispy, juicy, spicy, and sweet—all served over a bed of fluffy rice. Whether you’re a seasoned home cook or new to Japanese cuisine, these crispy katsu curry rice bowls promise a delightful culinary experience.
2. Why You’ll Love This Recipe
- Ready in 30 minutes — Perfect for busy weeknights or weekend indulgence.
- One-pan-friendly — Minimal clean-up with efficient cooking techniques.
- Flavor-packed — Experience a harmonious blend of crunchy, juicy, and tangy notes.
- Customizable — Adjust spice levels or make it vegetarian easily.
3. Ingredient Notes
Creating authentic Japanese Katsu Bowls begins with selecting high-quality ingredients. For the crispy cutlets, choose a good cut of boneless pork loin or chicken breast—fresh, and ideally, from a trusted butcher. Using panko breadcrumbs lends that signature light, crunchiness, so avoid seasoned or coarse varieties for this dish. The homemade tonkatsu sauce adds depth—opt for a rich blend of soy sauce, Worcestershire, and a hint of honey or sugar for sweetness.
For rice, jasmine or sushi rice work beautifully for their aromatic quality. Don’t forget fresh garnishes like shredded cabbage, scallions, and sesame seeds to heighten flavors and textures. Use premium sesame oil and a good-quality cooking oil to ensure crispiest results.
4. Kitchen Tools You Need
To make this recipe a breeze, invest in reliable kitchen tools. The Compact 6-in-1 Digital Air Fryer makes achieving that perfect crispy coating without deep frying hassle-free. A sharp KitchenAid Artisan Stand Mixer can help prep your ingredients or make rice effortlessly. A sturdy pressure cooker or rice cooker ensures fluffy rice every time. Modern cookware like the Ninja Foodi Smart XL Indoor Grill & Air Fryer is versatile and perfect for getting that crisp without excess oil.
5. How to Make Crispy Japanese Katsu Bowls
Prepare the Protein
Start by seasoning your chicken or pork with a pinch of salt and pepper. Set up your breading station with flour, beaten eggs, and panko breadcrumbs. Dip your cutlets first into flour, then egg, and finally coat generously with panko. For an extra crust, press the breadcrumbs onto the meat firmly. If using an air fryer, preheat it to 400°F (200°C). Place the coated cutlets inside the basket, and cook for about 10-12 minutes until golden and crispy. You’ll smell a rich, toasty aroma that signals perfection.
Prepare the Rice and Vegetables
While the katsu cooks, prepare your rice. Use a rice cooker or pot to make fluffy, slightly sticky rice—aromatic jasmine rice adds a lovely fragrance. Thinly slice fresh cabbage or lettuce for crunch, and set aside. These fresh toppings provide contrast to the crispy cutlet.
Make the Tonkatsu Sauce
In a small bowl, whisk together soy sauce, Worcestershire sauce, honey or sugar, grated ginger, and a splash of rice vinegar. Adjust to taste—this sauce is sweet, tangy, and savory, perfect for drizzling over the crispy katsu. For convenience, consider using a ready-made home recipe as inspiration for your own homemade sauce.
Assemble the Bowls
Start with a bed of rice, arrange the crispy cutlet on top, and generously spoon on the tonkatsu sauce. Garnish with shredded cabbage, sliced scallions, and sesame seeds for extra flavor and crunch. Serve immediately to enjoy that irresistible crispy texture paired with tender meat and flavorful sauce.
6. Expert Tips for Success
- Use cold pork or chicken to ensure a crispier coating—warm meat can cause sogginess.
- Double breading (pressing breadcrumbs into the meat again) enhances the crunch.
- If you prefer not to fry, the air fryer produces equally crispy katsu with much less oil.
- For best flavor, let the cooked katsu rest for a few minutes before slicing to keep juices inside.
7. Variations & Substitutions
Try substituting chicken with tofu or tempeh for a vegetarian or vegan twist. Use gluten-free panko and soy sauce options as needed. For a spicy kick, add a dash of hot sauce to the tonkatsu sauce or sprinkle with chili flakes. Serving the katsu with different grains, like quinoa or cauliflower rice, offers nutritious alternatives.
8. Storage & Reheating
Store any leftovers in an airtight container in the fridge for up to 2 days. To reheat, use the air fryer at 350°F for 3-5 minutes until crisp. The rice can be microwaved with a damp towel over for softness. Recrisp the katsu for maximum texture and flavor!
9. FAQ
Can I make Japanese Katsu Bowls gluten-free?
Absolutely! Use gluten-free panko breadcrumbs and tamari instead of soy sauce. Most supermarkets now carry gluten-free breading options that work perfectly.
What is the best oil for frying katsu?
Use neutral oils with high smoking points, such as vegetable, canola, or rice bran oil, for crisp and healthy results.
Can I prepare the katsu ahead of time?
Yes, you can bread the cutlets ahead, refrigerate them, and cook just before serving for the freshest crunch.
10. Conclusion
Enjoying a bowl of Japanese Katsu is a sensory delight—crispy, tender, sweet, and savory all at once. With simple ingredients and easy-to-follow steps, you can recreate this restaurant-quality dish at home. Whether for a quick weeknight dinner or a special weekend treat, these bowls satisfy the most ambitious Asian cuisine cravings. Dive in, and savor the layered textures and authentic flavors that make this dish a perennial favorite!
Print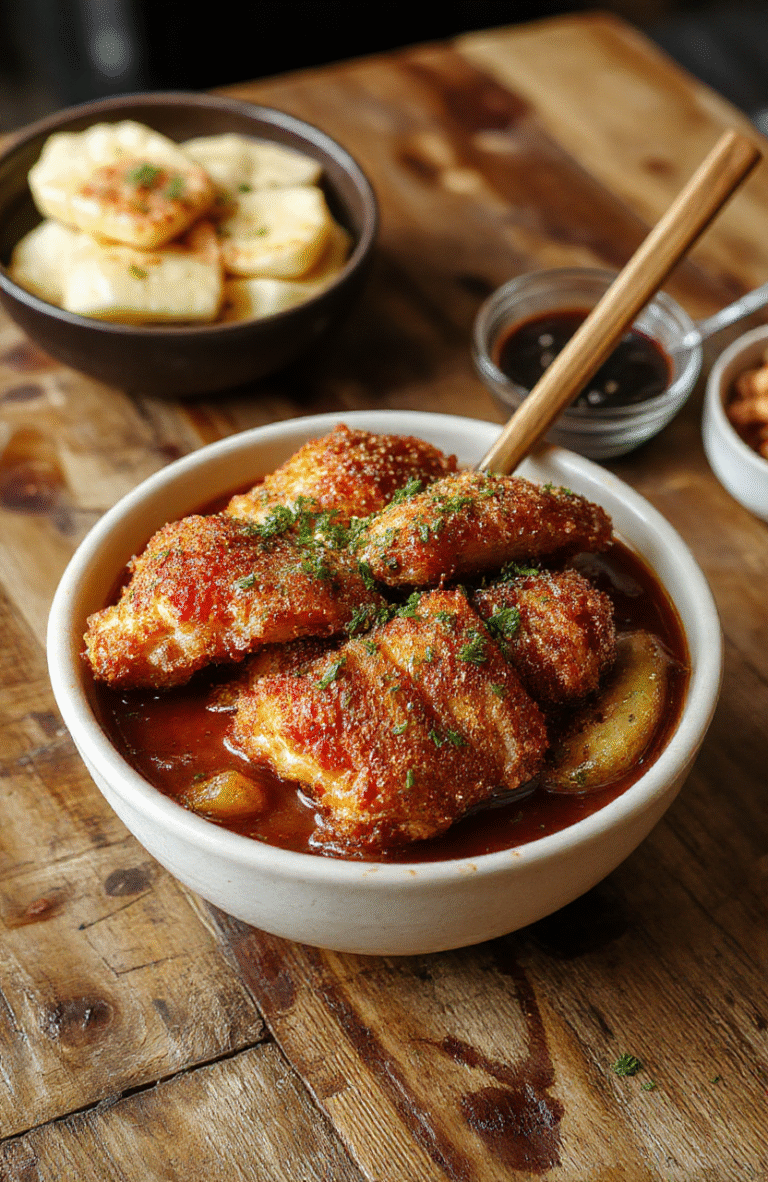
Crispy Japanese Katsu Bowls with Homemade Tonkatsu Sauce
Crispy breaded pork cutlets served over rice with homemade tonkatsu sauce, shredded cabbage, and green onions.
- Total Time: 35 minutes
- Yield: 4 servings
Ingredients
- 4 boneless pork loin chops
- 1 cup panko breadcrumbs
- 1/2 cup all-purpose flour
- 2 large eggs
- Salt and pepper to taste
- Vegetable oil for frying
- 2 cups cooked rice
- 1 cup shredded cabbage
- Green onions, sliced for garnish
- Sesame seeds for garnish
Instructions
- Season pork chops with salt and pepper.
- Set up breading stations: flour, beaten eggs, and panko breadcrumbs.
- Dredge pork in flour, dip in eggs, then coat with panko.
- Heat oil in a skillet over medium heat. Fry pork until golden brown and cooked through, about 4-5 minutes per side. Drain on paper towels.
- Slice pork into strips.
- Serve sliced pork over cooked rice, topped with shredded cabbage, and drizzled with homemade tonkatsu sauce. Garnish with green onions and sesame seeds.
Notes
- Ensure the pork is evenly coated for a crispy texture.
- Use a thermometer to check that pork reaches 145°F for safe consumption.
- Adjust sauce ingredients to taste for sweetness or tanginess.
- Prep Time: 15 minutes
- Cook Time: 20 minutes
- Method: Frying, Breading
- Cuisine: Japanese
- Diet: Pork, Gluten
Nutrition
- Serving Size: 1 bowl
- Calories: 620 Kcal
- Sugar: 8g
- Sodium: 750mg
- Fat: 30g
- Saturated Fat: 10g
- Unsaturated Fat: 18g
- Trans Fat: 0.5g
- Carbohydrates: 65g
- Fiber: 3g
- Protein: 32g
- Cholesterol: 125mg