
🍗 Crispy Japanese Katsu Bowls That’ll Transport You to Tokyo — Ready in Under 45 Minutes! 🍚✨
1. Introduction
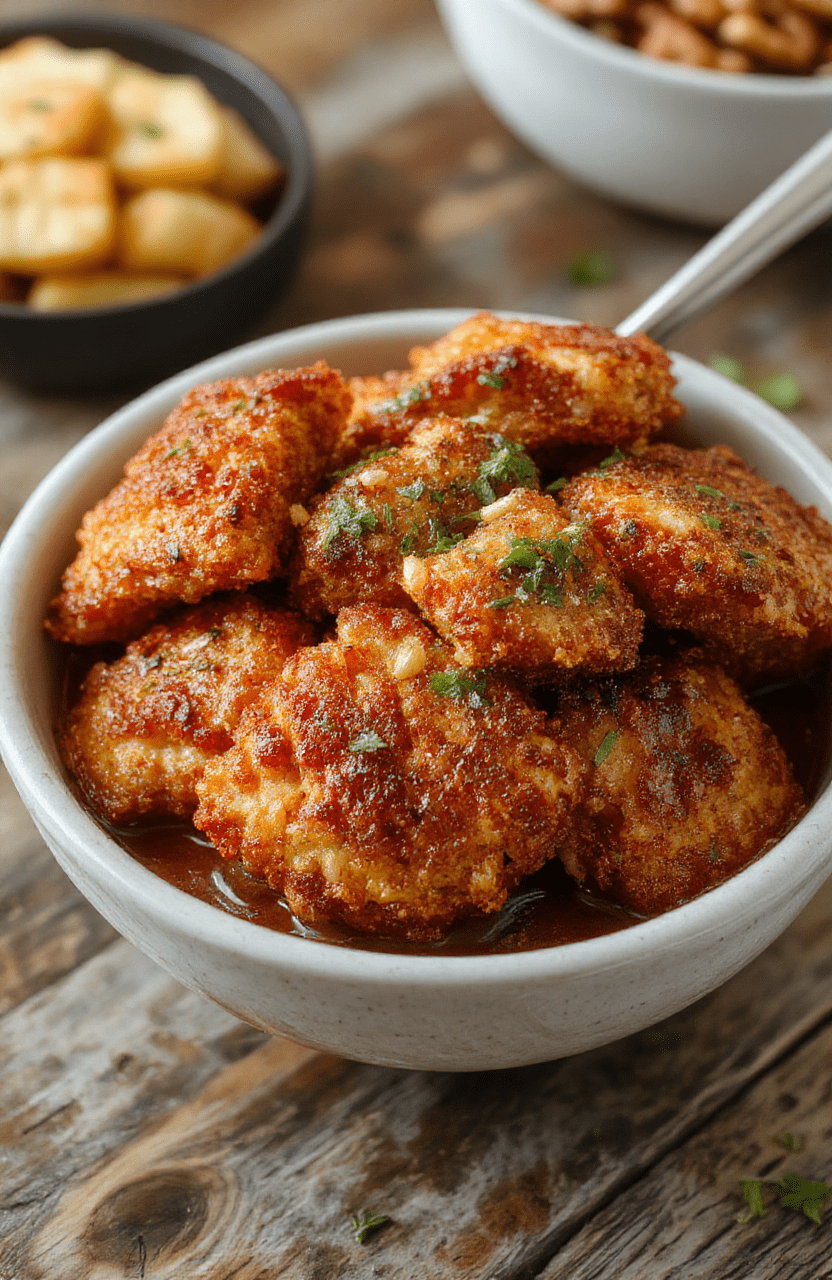
There’s something deeply comforting about a chicken katsu bowl — golden, panko-crusted chicken cutlets resting atop fluffy white rice, drizzled with rich, savory tonkatsu or teriyaki sauce, and crowned with crisp shredded cabbage, pickled vegetables, and a perfectly fried egg. This Japanese katsu饭 (katsu饭 = katsu bowl in Japanese) is the ultimate fusion of convenience and luxury: a hearty lunch or dinner that feels indulgent but is surprisingly easy to make at home. I first fell in love with katsu bowls on a rainy evening in Osaka, where street-side cafes served them wrapped in parchment paper with a side of miso soup. Back home, I refined the recipe using an air fryer for that crispy yethealthy crunch — no deep-frying required. Bonus: it reheats beautifully for meal prep, so your future self will thank you on a busy Tuesday.
2. Why You’ll Love This Recipe
- Ready in 40 minutes — faster than delivery, and way more satisfying.
- Air-fried for crispy results without the greasy residue (hello, clean kitchen!).
- One-bowl wonder — minimal cleanup, max flavor.
- High-protein & balanced with rice, veggies, and tender chicken.
- Meal prep friendly — store components separately and assemble fresh.
- Kid-approved — even picky eaters clean their plates (seriously, my 6-year-old asks for seconds).
3. Ingredient Notes
Quality ingredients make all the difference in a teriyaki katsu bowl. Here’s why I’m particular about each component:
- Chicken thighs (boneless, skin-on) — They’re more forgiving than breast meat and deliver rich, juicy flavor. Skin-on adds extra crispness and fat for basting. If you prefer leaner, use skinless thighs — just brine them for 15 minutes in salt water before breading to prevent dryness.
- Panko breadcrumbs — Japanese-style panko has larger, flakier crumbs that stay crispier longer than regular breadcrumbs. Look for “toasted” panko for extra crunch without extra oil.
- Flour & cornstarch combo — The double dredge (flour → egg → cornstarch → panko) creates a stronger crust that resists sogginess when coated in sauce.
- Kewpie mayo (optional but recommended) — This egg-rich Japanese mayo adds tang and creaminess to the dressing or dips. You’ll find it in most grocery stores or online.
- Homemade tonkatsu sauce — Store-bought versions can be overly sweet or salty. I simmer ketchup, Worcestershire, soy, mirin, and a splash of apple cider vinegar for 5 minutes — it’s closer to what you’d get in Kyushu.
- Shirataki noodles (optional swap) — For a low-carb version, replace half the rice with konjac noodles. They’re flavor-absorbent and add fiber.
4. Kitchen Tools You Need
Few tools make katsu bowls easier—and tastier—than having the right gear. Here’s what I rely on:
- Compact 6-in-1 Digital Air Fryer by Amazon Basics — Perfect for small batches or single servings. It heats evenly, so every katsu piece browns to a perfect gold. Lightweight, affordable, and fits on any countertop.
- Ninja Air Fryer Pro Crisp & Roast 4-in-1 — Larger capacity (5.5 qt) and dual heating elements mean extra-crispy katsu with no flipping needed. Great for meal prepping 4+ servings.
- Cuisinart 2-Quart Stainless Steel Ice Cream Maker with LCD Timer — Wait, ice cream? Not for this dish — but if you’re making matcha mochi ice cream or a mango sticky rice dessert to finish your katsu bowl, this is a joy to use (and surprisingly quiet!).
- JoyJolt Airtight Glass Food Storage Set — Store leftover katsu (without sauce) and rice separately to avoid sogginess. The glass is microwave-safe and keeps food fresh for up to 5 days.
- Crock-Pot Family-Size Slow Cooker — Not for this recipe — but if you’re prepping tonkatsu sauce in bulk, the “warm” setting holds it for hours. Also great for sticky honey garlic chicken on slower days.
Pro tip: Use a thermometer — chicken must reach 165°F internal temp. No guessing!
5. How to Make Crispy Japanese Katsu Bowls
This method uses an air fryer for a crispy, low-fat katsu with minimal cleanup. I’ll walk you through it in 3 phases:
Phase 1: Prep & Dredge (10 minutes)
Start by pounding chicken thighs to an even ½-inch thickness — this ensures even cooking. Cut into 2-ounce portions (about the size of a smartphone). Now comes the dredge station, set up in this order:
- Season 1 cup all-purpose flour with 1 tsp salt and ½ tsp black pepper.
- Beat 2 large eggs in a shallow bowl with 1 tbsp water (helps bind the crumb).
- Pour 1¼ cups panko + 2 tbsp cornstarch into a third dish — this combo is the secret to extra crunch.
Now coat each piece: flour (shake off excess) → egg (let excess drip) → panko mix (press firmly with your fingertips — don’t skip this step, it adheres the crumbs!).
Phase 2: Air Fry to Crispy Perfection (12 – 15 minutes)
Preheat air fryer to 400°F (200°C) for 3 minutes. Lightly spray basket with oil to prevent sticking — or line with parchment perforated for airflow. Arrange chicken in a single layer (don’t overcrowd — work in batches).
Air fry for 6 minutes. Flip carefully using tongs, spritz top with oil, and cook 4–5 more minutes until golden brown and internal temp hits 165°F. Let rest 3 minutes — the residual heat finishes the job, and the crust stays crisp.
Sensory checkpoint: Look for deep amber-gold coloring, and listen for a faint crunch when you press gently. It should spring back.
Phase 3: Assemble the Bowl (5 minutes)
While katsu rests, whisk together 2 tbsp ketchup, 1 tbsp Worcestershire, 1 tbsp soy sauce, 1 tbsp mirin, and 1 tsp brown sugar — that’s your quick tonkatsu sauce. Warm it in a skillet for 2 minutes if desired.
Now build your katsu lunch bowl:
- Base: 1 cup jasmine rice (or cauliflower rice for low-carb)
- Layer: Shredded green cabbage (raw or lightly blanched)
- Toppings: Sliced tomato, quick-pickled carrots & daikon (see tip below), and the warm chicken cutlet.
- Drizzle: Tonkatsu sauce + a nest of Kewpie mayo swirled with Sriracha (my “spicy mayo” riff!)
- Finish: Cracked sesame seeds, nori strips, and a gently fried egg with runny yolk.
6. Expert Tips for Success
- Cold chicken = crispier crust. After dredging, refrigerate for 10 minutes. This dries the surface and prevents oil (or air fryer heat) from making it soggy.
- Don’t skip the cornstarch. It absorbs less moisture than flour alone, keeping the exterior ultra-crisp even after saucing.
- Sauce on the side — never pour hot sauce directly on breaded chicken before air frying. The steam softens the crust.
- Quick-pickled carrots & daikon: Thinly slice ½ cup carrots and daikon, soak in ½ cup rice vinegar + 1 tbsp sugar + ½ tsp salt for 15 minutes. Adds brightness and cuts through richness.
- Re-crisp leftovers: Store katsu and rice separately. Reheat chicken in air fryer at 370°F for 3 minutes — never microwave (it turns leathery).
7. Variations & Substitutions
Protein swaps: Use pork切 (pork cutlet) — just increase air fry time by 2–3 minutes. Ground tofu crumbled and-formed into cutlets works for vegan katsu (press well beforehand).
Gluten-free: Swap regular soy for tamari, use GF flour and GF panko (or crushed rice crackers).
Spicy katsu bowl: Add 1 tsp gochugaru to the egg wash or mix sriracha into the mayo drizzle.
Low-carb version: Serve over cauliflower rice, roasted broccoli florets, or shirataki noodles. You’ll still get that satisfying crunch without the carbs.
Budget-friendly: Use chicken drumsticks (meatier, cheaper). Debone and pound them flat before breading.
8. Storage & Reheating
Storing: Keep components in separate airtight containers in the fridge for up to 4 days. Sauce keeps 1 week.
Reheating katsu: Air fryer is king — 350°F for 4–5 minutes. Oven (400°F for 8–10 minutes) works, but won’t crisp as well.
Reheating rice: Splash 1 tsp water over rice, cover with a damp paper towel, and microwave 60 seconds. Stir and fluff — it’ll taste freshly cooked.
Frozen option: Freeze breaded (uncooked) katsu cutlets on a tray, then transfer to bags. Fry from frozen — add 3–4 minutes to cook time.
9. FAQ
Q: Can I bake katsu instead of air frying?
A: Yes! Bake at 425°F on a wire rack over a baking sheet for 18–22 minutes, flipping halfway. You’ll get crisp, but air fryer wins for speed and crunch.
Q: Why did my katsu come out soggy?
A: Most commonly: Not pressing the panko firmly enough, cold air fryer basket, or overcrowding. Also — if sauce was applied before cooking.
Q: Can I use an egg substitute for the dredge?
A: For allergen-free: Use aquafaba (3 tbsp per egg) or a flax egg (1 tbsp ground flax + 3 tbsp water). Crispy results vary — panko press is extra critical.
Q: What to serve with katsu bowls?
A: Try healthy chicken avocado wraps for lunch combo meals, or fluffy egg white bites as a protein boost. For sides: miso soup, grilled edamame, or a simple cucumber-sesame salad.
10. Conclusion
This chicken katsu bowl is more than just dinner — it’s a little taste of Japan with home-cooked ease. Between the crispy crust, glossy sauce, and sunny egg, it’s a meal that feels fancy enough for date night yet simple enough for a Monday. Plus, with flexible substitutions, it adapts to your lifestyle, dietary needs, or even whatever’s in your fridge. So fire up that air fryer, assemble your bowl, and savor that first crunch. You’ve earned it.
Loved this recipe? Pin it for later or share with a friend who craves quick, crave-worthy Asian bowls! Print

Crispy Japanese Katsu Bowls
A quick, family-friendly Japanese-inspired bowl with crispy breaded chicken, steamed rice, and tangy-sweet sauce.
- Total Time: 25 minutes
- Yield: 2 servings
Ingredients
- 2 boneless, skinless chicken breasts
- 1/2 cup all-purpose flour
- 2 large eggs, beaten
- 1 cup panko breadcrumbs
- Salt and pepper, to taste
- 2 tbsp vegetable oil, plus more for frying
- 1 cup jasmine rice, cooked
- 1/2 cup shredded cabbage
- 2 tbsp teriyaki or tonkatsu sauce
- Sesame seeds and green onions, for garnish
Instructions
- Pound chicken breasts to 1/2-inch thickness. Season with salt and pepper.
- Set up a breading station: flour in one bowl, eggs in another, panko in a third.
- Dredge each chicken piece in flour, shake off excess, dip in egg, then coat evenly with panko.
- Heat oil in a skillet over medium-high heat. Fry katsu 3–4 minutes per side until golden and internal temperature reaches 165°F.
- Let rest 5 minutes, then slice into strips.
- Assemble bowls: fill with rice, top with katsu, shredded cabbage, and drizzle with sauce. Garnish with sesame seeds and green onions.
Notes
- For extra crispiness, chill breaded chicken for 10 minutes before frying.
- Make ahead: cook katsu and store in fridge for up to 2 days; reheat in air fryer to restore crunch.
- Prep Time: 10 minutes
- Cook Time: 15 minutes
- Method: Pan-frying
- Cuisine: Japanese
- Diet: Contains gluten, dairy-free option
Nutrition
- Serving Size: 1 bowl
- Calories: 480 Kcal
- Sugar: 8g
- Sodium: 620mg
- Fat: 22g
- Saturated Fat: 4g
- Unsaturated Fat: 13g
- Trans Fat: 0g
- Carbohydrates: 42g
- Fiber: 2g
- Protein: 34g
- Cholesterol: 115mg