
🥗✨ Crispy Chicken Caesar Sandwich: The Quick Weeknight Sandwich That Wins Hearts (and Crumbles!) ✨🥗
1. Introduction
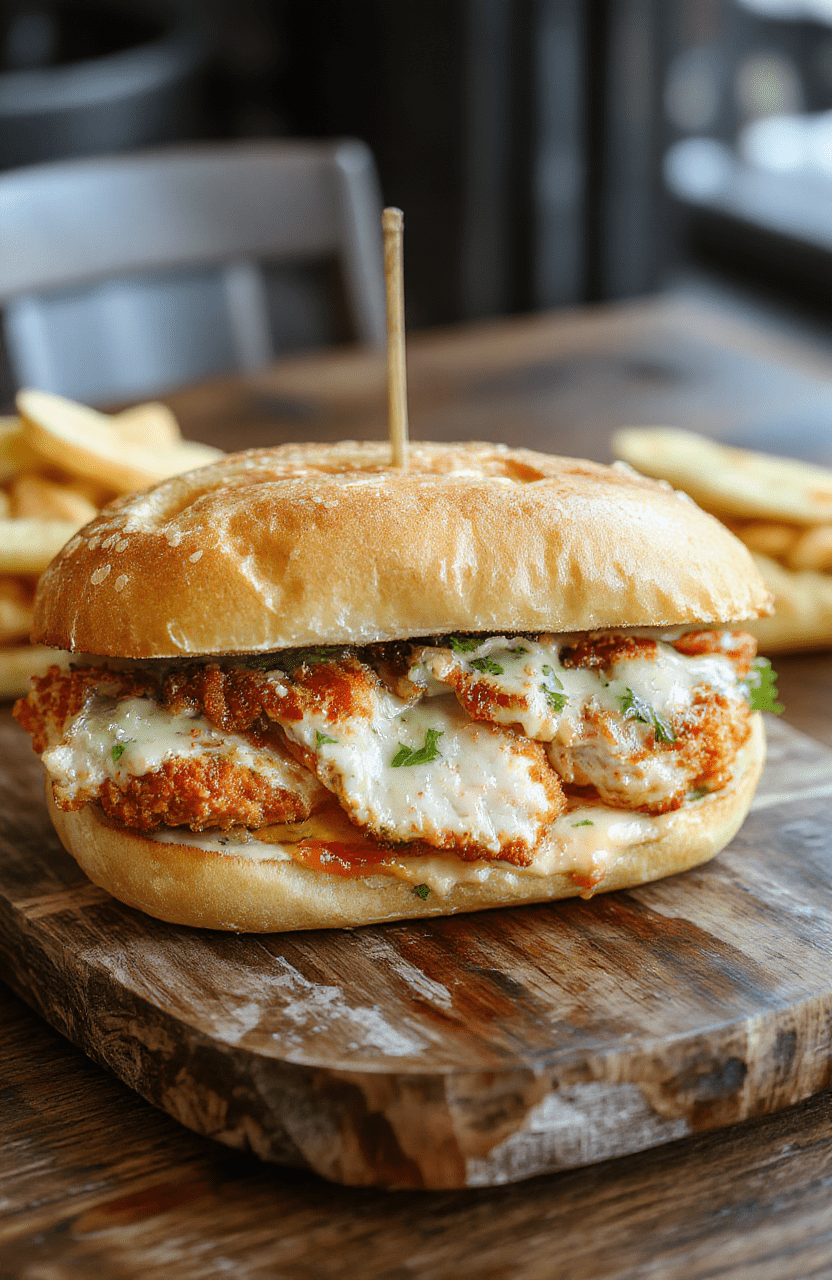
There’s something irresistible about a crispy chicken caesar sandwich — golden, crackling exterior giving way to juicy, herb-kissed chicken, all nestled between toasted sourdough with creamy Caesar, crisp romaine, and that coveted parmesan crunch. This isn’t your average lunch recipe; it’s a 30-minute win that delivers restaurant-quality satisfaction on a plate. Whether you’re rushing to feed the kids after soccer practice or treating yourself on a quiet weeknight, this sandwich fits like a charm. And yes — I’ll admit, I’ve made it three times in one week. The crunch? Non-negotiable. The flavor? Unforgettably balanced.
2. Why You’ll Love This Recipe
- Ready in under 30 minutes — faster than takeout and infinitely more satisfying.
- One-pan cooking (if you’re using the stovetop or air fryer), which means minimal cleanup.
- Highly customizable — swap proteins, go gluten-free, or add extras like avocado or roasted red peppers.
- Perfect balance of textures — crispy + tender + creamy + crunchy + tangy.
- Family-friendly — kids love the crunch and the familiar Caesar twist, adults appreciate the depth of flavor.
3. Ingredient Notes
Every element in this sandwich plays a role — and quality makes all the difference. Here’s how to get it right:
Chicken breast: Boneless, skinless is standard, but I recommend pounding them to an even ½-inch thickness. Why? Even cooking. Thick spots stay raw; thin spots dry out. Aim for uniformity.
Caesar dressing: Go beyond the bottle. A homemade dressing (oregano, anchovy, garlic, Dijon, lemon juice, and olive oil) gives this sandwich a bright, umami-rich backbone. If short on time, choose a brand with real anchovies — no “anchovy-flavor” substitutes.
Romaine lettuce: Not iceberg. Romaine has structural integrity and holds up to warm bread and dressing without wilting into sad lettuce soup. Chop it just before assembling.
Parmesan cheese: Freshly grated from a wheel or block. Pre-grated parmesan has anti-caking agents and won’t melt or crisp the same way.
Bread: A sturdy sourdough or ciabatta roll is ideal — think: a crunch *without* crumbling into your lap. Toast it lightly before building the sandwich.
4. Kitchen Tools You Need
While you *can* make this sandwich with just a skillet and spatula, the right tools elevate consistency and save time — especially on busy weeknights.
Ninja Air Fryer Pro Crisp & Roast 4-in-1 — my go-to for perfectly golden, evenly crisp chicken without oil splatter. The CrispTech™ algorithm adapts to food weight and type, eliminating guesswork. No more dry chicken or soggy breading.
Prefer stovetop? T-fal 14-Piece Hard Anodized Nonstick Cookware Set ensures heat distribution and effortless release. That nonstick surface means your panko crust stays intact — no scraping or sticking.
For speed prep: Fullstar Ultimate Veggie Prep Master shreds cabbage, chips tomatoes, and finely shreds romaine in seconds — saving you 10 minutes in prep. Perfect for a quick Caesar slaw layer if you want extra crunch.
All-in-one power? Ninja Foodi Smart XL Indoor Grill & Air Fryer Combo gives that “char-grilled” flavor and airy crisp without opening the oven. Ideal for warmer months.
5. How to Make Crispy Chicken Caesar Sandwich
Phase 1: Prep the Chicken (10 minutes)
Season two 6-oz chicken breasts with salt, black pepper, garlic powder, and a pinch of red pepper flakes. Then, set up your breading station: 1 cup panko breadcrumbs (for that unbeatable crunch), ¼ cup grated parmesan, and 1 tsp dried oregano in a shallow dish. In a second bowl, whisk 2 large eggs with 1 tbsp milk and a splash of lemon juice. Dip each chicken cutlet into the egg wash, let excess drip, then press firmly into the panko mixture — coat both sides evenly. Let rest for 5 minutes. This “resting” step helps the coating adhere during cooking.
Phase 2: Cook the Chicken (8–10 minutes)
Stovetop method: Heat 1 tbsp olive oil in a large skillet over medium-high heat. Cook chicken for 4–5 minutes per side, until golden brown and internal temp hits 165°F. Don’t crowd the pan — two at a time if needed.
Air fryer method (my top pick): Preheat to 400°F. Spray the basket lightly with oil. Air fry for 10 minutes, flip, and cook 3–5 more minutes until crispy and cooked through. The result? A shattering crust with zero oil absorption.
Phase 3: Toast the Bread & Prep the Slaw (5 minutes)
Slice and lightly toast your sourdough or ciabatta. In a small bowl, toss 1 cup shredded romaine with 1 tbsp Caesar dressing, a squeeze of lemon, and a pinch of garlic salt. Set aside — this “slaw” adds freshness and structure.
Phase 4: Assemble & Serve (3 minutes)
Spread 1 tbsp Caesar dressing on each bun. Layer: toasted bottom → Caesar slaw → sliced tomato (optional) → hot, crispy chicken → extra grated parmesan → a final drizzle of dressing → top bun. Press gently and slice in half. Serve immediately for optimal crunch.
6. Expert Tips for Success
Don’t skip these — they’re the difference between good and *chef’s-kiss* perfect:
- Don’t skip the resting step after breading — it’s the secret to coating that doesn’t peel off in the pan.
- Cool the chicken 2 minutes before slicing — it retains juices and prevents sogginess in the bun.
- Warm the bun slightly (200°F oven for 2 minutes) so it doesn’t crack when pressed.
- Use a paper towel-lined plate to drain excess oil post-cook — especially if pan-frying — for maximum crisp retention.
- Dressing placement matters: Keep dressing *between* layers (not just on top) to prevent dry bread and soggy lettuce contact.
7. Variations & Substitutions
Gluten-free: Use GF panko or crushed Rice Chex + GF flour for coating. Serve on a gluten-free ciabatta roll (try my Yogurt Bread for a soft, keto-friendly upgrade).
Lower-carb: Swap the bun for large butter lettuce leaves — or wrap in a whole-wheat wrap.
Plant-based: substitute chicken with breaded tempeh or thick mushroom caps. The panko-parmesan coating Still delivers that umami crunch.
Extra indulgent: Add a slice of smoky bacon or a fried egg on top.
Spicy twist: Stir ½ tsp cayenne into the panko mix or serve with chipotle mayo.
8. Storage & Reheating
Uncooked breaded chicken: Store in an airtight container for up to 24 hours. Fry or air fry when ready.
Cooked chicken: Refrigerate up to 3 days. Reheat in a 350°F oven or air fryer (not microwave!) for 5–7 minutes to renew crispness.
Full assembled sandwich: Best eaten fresh — lettuce gets limp and bread softens. If you *must* store, wrap in parchment then foil and refrigerate up to 12 hours. Reheat only the chicken, then rebuild.
9. FAQ
Q: My breading keeps falling off — what’s wrong?
A: You likely didn’t press firmly during breading, didn’t let it rest, or cooked on too high heat. The egg wash needs time to set. Rest 5 minutes before cooking — and keep heat at medium.
Q: Can I make this in an air fryer?
A: Absolutely! See Phase 2. It’s actually the *best* method: crispier, less oil, and no mess. Use 375–400°F and don’t overcrowd the basket.
Q: How do I keep the sandwich from getting soggy?
A> Layer the dressing on the *inside* of both buns (creates a moisture barrier), add lettuce between chicken and bun (a moisture shield!), and assemble *right before eating*.
Q: Can I prep this ahead for meal prep?
A> Yes! Cook and slice the chicken, refrigerate, and toast sandwiches to order. Or freeze uncooked breaded chicken (separate with parchment) for up to 1 month. Fry from frozen — add 2–3 minutes.
10. Conclusion
This crispy chicken caesar sandwich proves that quick weeknight sandwiches don’t have to sacrifice flavor or texture. With that shatter-crisp crust, creamy Caesar kiss, and just-right crunch, it’s a balanced powerhouse of satisfaction — every single bite. pair it with a tall glass of Peach Lemonade or serve alongside my Mediterranean Steak Bowl for a double-protein feast.
Go ahead — make it tonight. And if you do, tag me on Instagram. I love seeing your crispy creations! 🥪✨
Print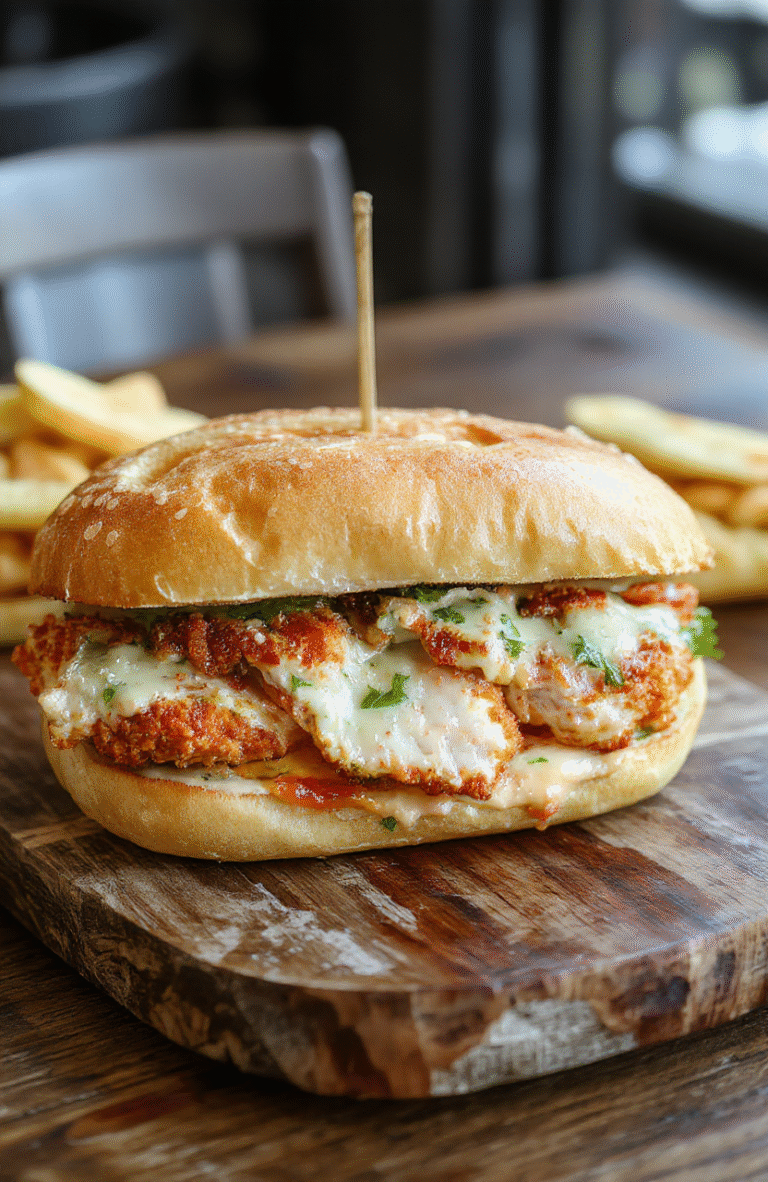
Crispy Chicken Caesar Sandwich
Ready in 20 minutes, this crispy chicken caesar sandwich stars golden-breaded fried chicken, crisp romaine, Parmesan, and creamy Caesar dressing on toasted ciabatta.
- Total Time: 20 minutes
- Yield: 2 sandwiches
Ingredients
- 2 boneless, skinless chicken breasts
- 1/2 cup all-purpose flour
- 1 tsp garlic powder
- 1 tsp paprika
- 1/2 tsp salt
- 1/4 tsp black pepper
- 2 large eggs, beaten
- 1 cup panko breadcrumbs
- 1/4 cup olive oil (for frying)
- 4 ciabatta rolls or slices, quartered
- 2 cups romaine lettuce, chopped
- 1/4 cup shaved Parmesan cheese
- 1/3 cup Caesar dressing
- 1/4 cup croutons (optional)
Instructions
- Season chicken with salt, pepper, garlic powder, and paprika. Dredge in flour, dip in eggs, then coat thoroughly in panko.
- Heat olive oil in a skillet over medium-high heat. Fry chicken 4–5 minutes per side until golden and cooked through (internal temp 165°F).
- While chicken rests, lightly toast ciabatta slices.
- Spread Caesar dressing on bottom halves. Layer with romaine, croutons, Parmesan, then chicken. Top with remaining bread.
- Serve immediately for maximum crispiness.
Notes
- For extra crispiness, double-dip chicken in egg and panko before frying.
- Make ahead: Fry chicken earlier in the day and reheat in air fryer (350°F for 3–4 min) before assembling.
- Vegetarian option: Substitute chicken with breaded tofu or portobello mushrooms.
- Prep Time: 10 minutes
- Cook Time: 10 minutes
- Method: Pan-fry
- Cuisine: American
- Diet: None
Nutrition
- Serving Size: 1 sandwich
- Calories: 520 Kcal
- Sugar: 3g
- Sodium: 980mg
- Fat: 28g
- Saturated Fat: 6g
- Unsaturated Fat: 18g
- Trans Fat: 0g
- Carbohydrates: 44g
- Fiber: 3g
- Protein: 32g
- Cholesterol: 110mg