

🎯 Crispy Baked Chicken Tenders Recipe: Golden, Juicy & Ready in 25 Minutes!
1. Introduction
CRISPY BAKED CHICKEN TENDERS are the ultimate weeknight hero—crunchy on the outside, tender and juicy inside, and guilt-free to boot. Unlike traditional fried chicken fingers, this oven-baked version skips the deep fryer and uses smart seasoning + high-heat roasting to achieve that irresistible crunch without the oil. Kids devour them, meal preppers love them, and even the pickiest eaters can’t resist the golden-brown exterior and savory, slightly herby seasoning. Plus, they pair *perfectly* with our Homemade Refreshing Peach Lemonade or a crisp side salad from our Fresh Mediterranean Steak Bowl.
2. Why You’ll Love This Recipe
- ✔ Ready in under 30 minutes — faster than takeout and *way* healthier.
- ✔ No deep frying needed — baked to perfection in your oven or air fryer.
- ✔ Kid-approved crunch — they’ll beg for seconds (and won’t guess the secret: panko + Parmesan!).
- ✔ Meal-prep friendly — stores well for 3–4 days and reheats like magic.
- ✔ Endlessly customizable — swap seasonings, coatings, or dip it in garlic aioli or honey mustard.
3. Ingredient Notes
Avoid generic “chicken tenders” from the grocery store—those often contain added solutions that dilute flavor and make breading fall off. Always use fresh, antibiotic-free chicken tenderloins (the long, slenderstrip inside the chicken breast) for the best texture.
Breading secrets:
- Panko breadcrumbs — larger, flakier crumbs give superior crispiness vs. regular breadcrumbs. *Tip: Toast them lightly in a dry pan for extra crunch (cool before using!).
- Grated Parmesan cheese — adds umami depth and helps the crust brown beautifully. Use freshly grated—pre-grated contains anti-caking agents that can make the coating gummy.
- Dijon mustard — not just for flavor—it helps the egg wash adhere better, creating a “glue” for the breading.
- Smoked paprika — adds warmth and color. Regular paprika works in a pinch, but smoked gives that “grilled” vibe without a grill.
For a gluten-free version, swap panko for gluten-free panko or crushed gluten-free cornflakes—and double-check all-seasoning blends are certified GF.
4. Kitchen Tools You Need
You don’t need fancy gear—but the right tools make the crispiest, most consistent results. Here’s what I rely on:
- Ninja Air Fryer Pro Crisp & Roast 4-in-1 — My #1 tool for extra-crispy chicken tenders in *under 15 minutes*. The fan circulation ensures even browning (even with fewer flipping steps!).
- T-fal 14-Piece Hard Anodized Nonstick Cookware Set — I use the 12″ skillet to toast the panko ahead, then bake the tenders on a sheet pan. The nonstick surface makes cleanup a breeze.
- Deluxe 33-Piece Silicone Utensil Set — Heat-resistant tongs and a spatula protect your coating from snagging while flipping.
- JoyJolt Airtight Glass Food Storage Set — Store leftovers (if you have any!) and keep them fresh for 4 days without sogginess.
Pro tip: Bake on a wire rack set over a baking sheet—air circulates underneath, so the bottom stays crispy, not doughy.
5. How to Make Crispy Baked Chicken Tenders
This recipe works *whether you use your oven or air fryer*. I’ll walk you through both.
Phase 1: Prep & Prep the Coating
Preheat oven to 425°F (220°C) or air fryer to 400°F (200°C). Line a baking sheet with parchment and place a wire rack on top (optional, but *highly* recommended for extra crispiness).
In a shallow bowl, mix:
- 1 cup panko breadcrumbs
- ¼ cup grated Parmesan cheese
- 1 tsp smoked paprika
- ½ tsp garlic powder
- ½ tsp onion powder
- ½ tsp salt
- ¼ tsp black pepper
In a second bowl, whisk:
- 2 large eggs
- 1 tbsp Dijon mustard
- 1 tsp water (helps thin the wash for better adhesion)
Pat chicken tenders *very dry* with paper towels—moisture is the enemy of crispiness!
Phase 2: Dredge & Coat
Dip each tender:
- into the egg wash — fully coat, let excess drip off.
- into the panko mixture — press firmly with your fingers to adhere. Rotate to keep it coated.
- Repeat for all tenders and place on the rack or tray.
Visual cue: You should see the breading snugly hugging the chicken—not patchy, not sliding off.
Phase 3: Bake or Air Fry
Oven Method: Bake 12 minutes, flip, then bake 5–7 more minutes until golden and internal temp hits 165°F (74°C).
Air Fryer Method: Cook at 400°F (200°C) for 7 minutes, flip, then 5–6 more minutes. Shake the basket halfway to prevent sticking.
Sensory cues: Look for deep golden color, crisp edges, and steam puffing out when you break one open. If it’s browning too fast, tent loosely with foil—but avoid early covering, or steam will soften the crust.
6. Expert Tips for Success
- Dry the chicken! Moisture = steamed, soft tenders. Pat them dry like you’re drying glassware.
- Cold chicken = better coating grip. Take them out of the fridge right before coating (not after warming to room temp).
- Don’t crowd the tray or basket. Space them 1 inch apart. Overcrowding traps steam and = soggy coating.
- Add a splash of oil (optional). Lightly spritz with avocado or olive oil spray before baking—helps crisp without extra fat.
- Cool 2 minutes on the tray. This lets the crust set. Transfer to a plate *only* after—otherwise, steam trapped underneath softens the底.
7. Variations & Substitutions
- Spicy: Add ½ tsp cayenne + 1 tsp chipotle powder to the coating.
- Cheesy: Mix 2 tbsp shredded sharp cheddar into the panko before coating.
- Paleo/Whole30: Swap panko for almond flour + 2 tbsp coconut flour. Skip Parmesan (or use nutritional yeast).
- Breadcrumb-free: Crush 1 cup pork rinds (for keto) or use crushed rice chips.
- Herb-Crusted: Add 2 tbsp fresh chopped parsley + 1 tsp dried thyme.
8. Storage & Reheating
Cool completely before storing in an airtight container in the fridge for up to 4 days.
Reheating:
- Oven: 375°F for 10–12 minutes (place on a rack for airflow).
- Air fryer: 375°F for 4–5 minutes—this revives crispiness better than the microwave ever will!
Freeze uncooked, coated tenders on a tray, then transfer to a freezer bag (separate layers with parchment). Bake from frozen—add 3–5 minutes to total time.
9. FAQ
Why are my baked chicken tenders soggy?
Three common culprits: 1) Chicken wasn’t dry before coating, 2) Didn’t use a wire rack (traps steam), or 3) Overcrowded the pan. Also, oven temp can be off—use an oven thermometer!
Can I use chicken breast strips instead of tenders?
Absolutely—just slice your own tenders from boneless, skinless chicken breasts. Cut into 1-inch wide strips for even cooking.
What dip pairs best?
Homemade chipotle mayo, honey-mustard, or a tangy ranch made with Greek yogurt—our Creamy Millionaire Gnocchi sauce can double as a dip if you thin it slightly with milk!
Do I have to use eggs?
Not at all! Try buttermilk dip (30-min soak) followed by panko for extra flavor and crunch—or for egg-free, use aquafaba (the liquid from a can of chickpeas) whisked until frothy.
10. Conclusion
These crispy baked chicken tenders prove healthy eating doesn’t mean sacrificing crunch. With simple pantry staples and smart technique, you’ll get restaurant-quality tenders in minutes—perfect for lunches, snacks, or as a protein boost for our Zesty Garlic Chicken Broccoli Noodles.
Tag me on Instagram @mealsmom if you try them—I love seeing your recreations!
Print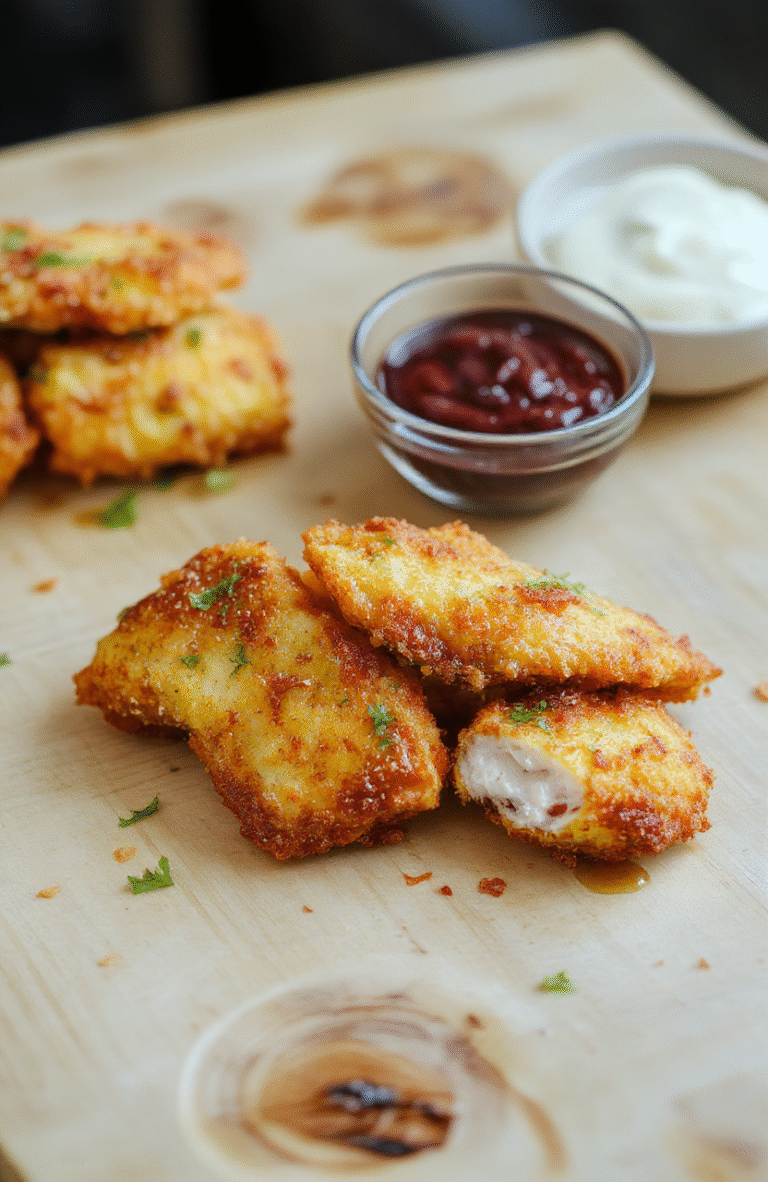
Crispy Baked Chicken Tenders Recipe
Crispy, juicy, and loaded with flavor—these baked chicken tenders are the ultimate weeknight dinner win.
- Total Time: 25 minutes
- Yield: 4 servings
Ingredients
- 1 lb boneless, skinless chicken tenders
- 1 cup panko breadcrumbs
- 1/2 cup grated Parmesan cheese
- 1 tsp garlic powder
- 1 tsp paprika
- 1/2 tsp onion powder
- 1/2 tsp salt
- 1/4 tsp black pepper
- 2 large eggs, beaten
- 1 tbsp olive oil
- Optional: 1/4 tsp cayenne for heat
Instructions
- Preheat oven to 425°F (220°C) and line a baking sheet with parchment paper.
- In a shallow bowl, mix panko, Parmesan, garlic powder, paprika, onion powder, salt, pepper, and cayenne (if using).
- In another bowl, beat the eggs.
- Dip each chicken tender into egg, then press into the breadcrumb mixture, coating evenly.
- Place tenders on the baking sheet, lightly drizzle with olive oil.
- Bake 12–15 minutes, flipping halfway, until golden and internal temp reaches 165°F (74°C).
- Rest 3 minutes before serving. Serve with lemon wedges or dips like honey mustard or ranch.
Notes
- For extra crispiness, broil 1–2 minutes at the end (watch closely).
- Double-breadcrumb for ultra-crispy crust: dip in egg twice before breading.
- Use gluten-free panko for a GF version.
- Prep Time: 10 minutes
- Cook Time: 15 minutes
- Method: Baking
- Cuisine: American
- Diet: High Protein
Nutrition
- Serving Size: 3 tenders
- Calories: 260 Kcal
- Sugar: 1g
- Sodium: 420mg
- Fat: 10g
- Saturated Fat: 3g
- Unsaturated Fat: 5g
- Trans Fat: 0g
- Carbohydrates: 16g
- Fiber: 1g
- Protein: 27g
- Cholesterol: 95mg