
1. Introduction
Crafting sushi at home is not only a delightful culinary adventure but also an excellent way to impress friends and family with your personal touch. Many home chefs seek ways to make sushi efficiently and beautifully, especially when they wonder how to make sushi without a mat. While traditional sushi mats are widely used, there are innovative and effective techniques that empower you to create perfect sushi rolls without specialized equipment. In this comprehensive guide, we’ll explore the best tips, essential supplies, and insider secrets to mastering sushi making without a traditional mat, ensuring your homemade sushi is both visually appealing and delicious. For those looking for top-quality kitchen tools, consider investing in products like the Ninja SLUSHi with RapidChill Technology to prepare your beverages while you craft sushi masterpieces.
2. Why Make Sushi Without a Mat?
The decision to make sushi without a mat offers numerous advantages, especially for home cooking enthusiasts. By forgoing the traditional sushi rolling mat, you gain greater flexibility, control, and ease of shaping your rolls—making it simple to customize each piece. This method is ideal for beginners who find sushi mats cumbersome, or for those eager to experiment with various shapes, fillings, and presentation styles. Plus, creating sushi without a mat means less cleanup and hassle, making it the best approach for quick, satisfying sushi at home. To streamline your prep process, consider using a Fullstar Vegetable Chopper and Spiralizer to prepare fresh vegetables for your sushi fillings.
3. Essential Supplies for Making Sushi Without a Mat
Before you start crafting sushi without a mat, make sure you have these essential supplies within easy reach:
- Fresh sushi-grade fish (consider sourcing high-quality options from trusted suppliers)
- Sushi rice, which is crucial for authentic flavor and texture
- Seaweed sheets (nori) for shaping and flavor
- Vegetables such as cucumber, avocado, or carrots for color and crunch
- Thin kitchen towels or plastic wrap to aid in shaping and preventing sticking
- Sharp knife for clean cuts
- Rice paddle or spatula for evenly spreading rice
For preparing your ingredients efficiently, a high-powered Ninja Blender Mega Kitchen System can be invaluable for making smooth sauces or purees that complement your sushi fillings. Remember, quality tools make all the difference in achieving professional results.
4. How to Make Sushi Without a Mat: Step-by-Step Guide
Preparing the Sushi Rice
The foundation of any great sushi is perfectly prepared rice. Begin by cooking sushi rice according to the package instructions, then season it with rice vinegar, sugar, and salt to achieve the authentic flavor profile. Let the rice cool slightly, ensuring it remains sticky enough to hold together but not too wet. You can also enhance your rice with a Ninja Air Fryer Pro to steam vegetables or cook proteins quickly, saving time and effort in your sushi-making process.
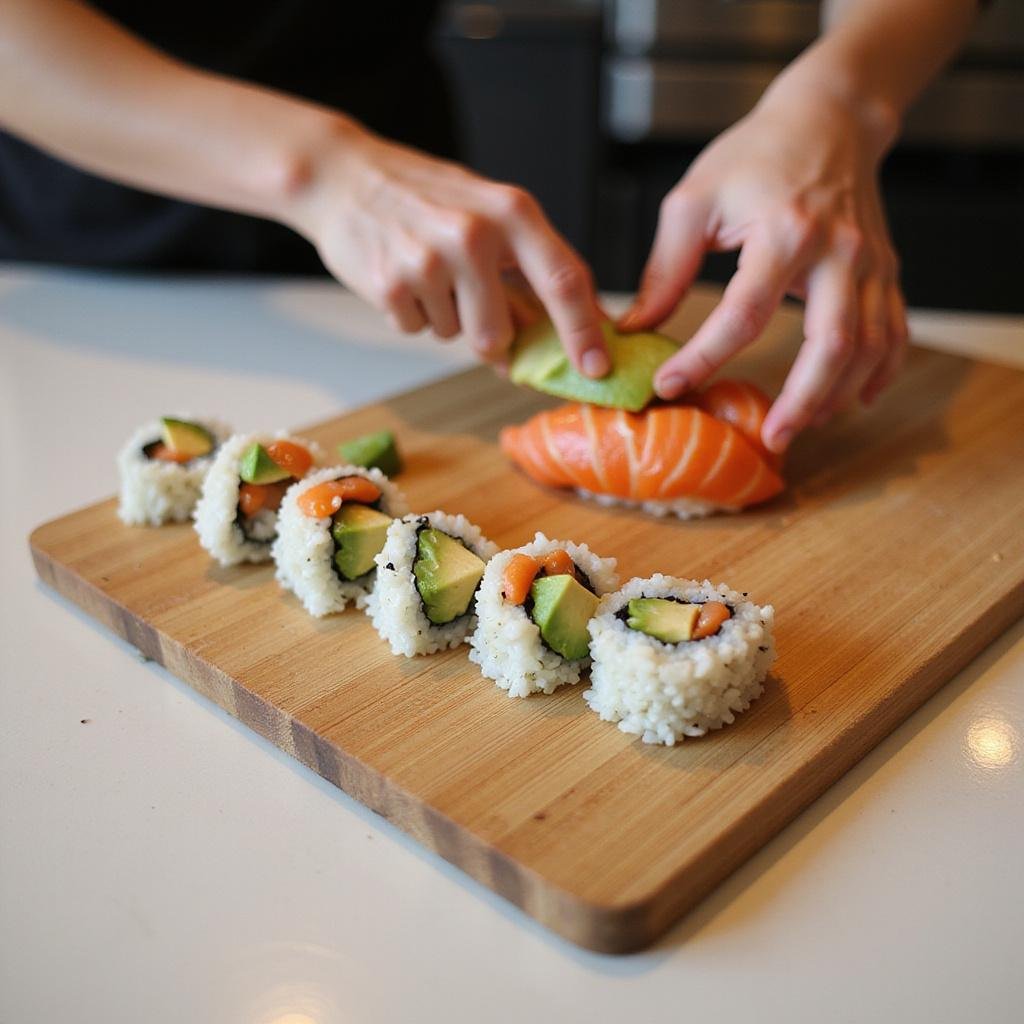
Assembling the Ingredients
Set up your workspace with all necessary ingredients: sliced fish, colorful vegetables, and seasoned rice. Keep your workspace clean and organized, employing a damp cloth or kitchen towel to keep your hands moist and prevent rice from sticking excessively. For a variety of fillings, consider exploring spice-rich Indian ingredients or Mediterranean flavors for a unique fusion twist.
Wrapping Your Sushi
Lay a sheet of plastic wrap or damp kitchen towel on a flat surface. Place a sheet of nori on top, which provides the structure and flavor for your sushi. Wet your hands with water or lightly oil them to prevent sticking, then spread a thin layer of rice evenly over the nori, leaving about an inch at the top for sealing. Using your hands or a rice paddle, press down gently to ensure the rice adheres well to the nori.
Shaping and Rolling
Next, meticulously place your desired fillings along the bottom edge of the rice-covered nori. Carefully lift the edge of the plastic wrap or towel, and begin rolling the sushi tightly, pressing firmly but gently to shape it evenly. As you roll, use the plastic or towel to guide the shape, applying pressure to ensure a compact roll. Seal the edge of the nori with a tiny dab of water or rice to hold everything together securely.
5. Tips for Success When Making Sushi Without a Mat
- Keep your hands moist with water or a little vinegar solution to prevent rice from sticking to your fingers.
- Apply consistent, gentle pressure when rolling to maintain a neat, firm roll.
- Use plastic wrap or damp towels for better grip and shaping control.
- Practice patience; mastery comes with regular practice and tweaks.
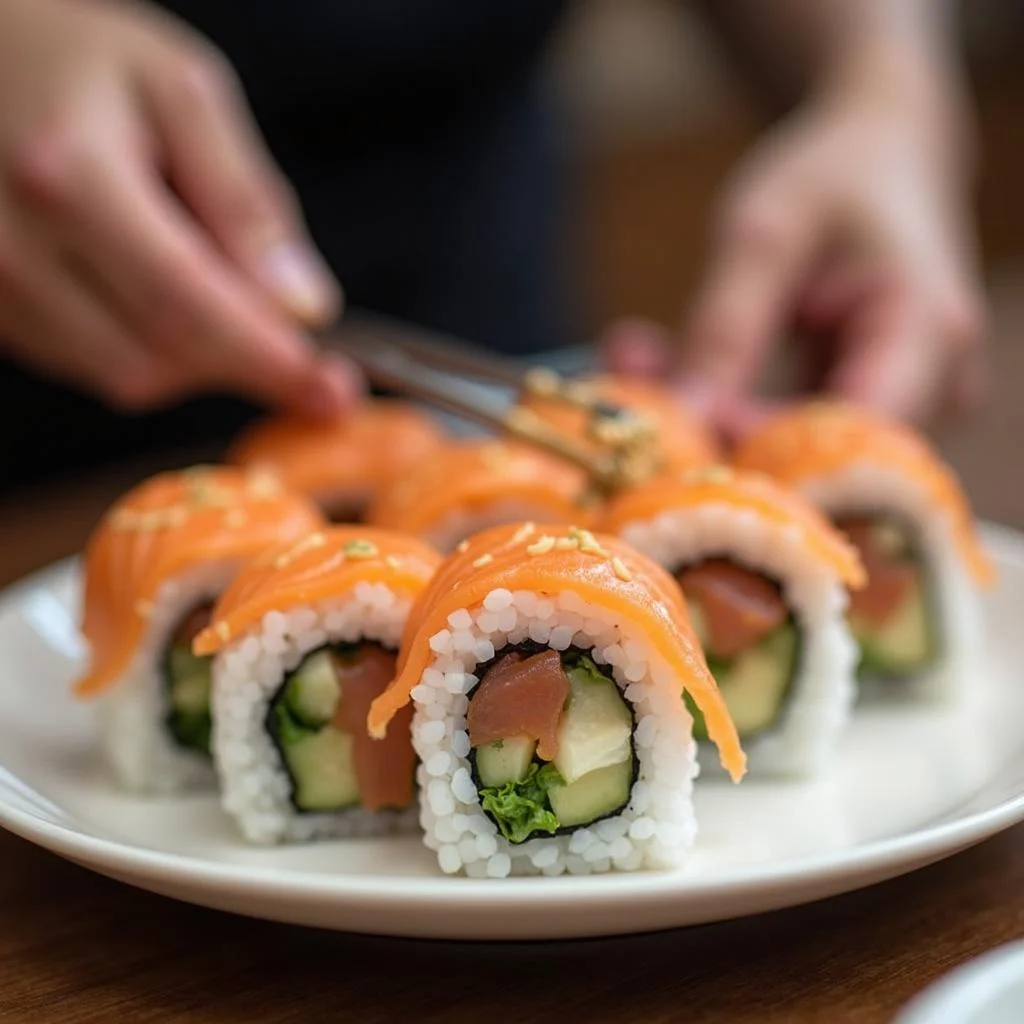
- Cut with a sharp knife for clean slices that showcase your beautiful rolls. A KitchenAid Stand Mixer can help prepare doughs or sauces to complement your sushi, elevating your culinary experience.
6. Frequently Asked Questions About Making Sushi Without a Mat
Can I make sushi rolls without any special tools?
Absolutely! Basic kitchen items like plastic wrap or damp towels are enough for how to make sushi without a mat. These tools prevent sticking and provide the necessary support for shaping your sushi neatly. For a more seamless process, some home chefs use CAROTE Nonstick Pots and Pans for preparing ingredients or sauces that enhance your sushi experience.
Is making sushi without a mat as effective as using a traditional sushi mat?
Yes, with careful technique, you can achieve similar results. Making sushi without a mat offers increased flexibility, allowing you to craft rolls of various shapes and sizes that suit your preferences. It’s particularly suitable for small kitchens or quick meal prep, making it the best alternative for many home chefs.
What are the best fillings for sushi made without a mat?
Popular fillings include fresh sashimi-grade fish like salmon and tuna, crisp vegetables such as cucumber, avocado, carrots, and cooked seafood like shrimp or crab. Experimenting with trending ingredients, or even adding a touch of Indian spices, can create exciting flavor profiles. For example, check out easy curry recipes that can be incorporated into your sushi for a fusion twist.
How do I keep my sushi fresh after making it?
Wrap your completed sushi tightly in plastic wrap and store it in an airtight container, such as the JoyJolt Glass Storage Containers, and refrigerate. Consume within 24 hours to enjoy optimal freshness and flavor. Using a Toshiba Microwave for quick re-heating can help if you prefer warm sushi or rice-based dishes later.
7. Conclusion
Mastering how to make sushi without a mat unlocks a new world of culinary creativity and personal expression. With simple tools like plastic wrap or damp towels, you can craft beautiful, flavorful sushi rolls with ease and confidence—no specialized equipment required. Regular practice and attention to technique will soon make you an expert in shaping sushi by hand. Consider expanding your kitchen arsenal with tools like the Ninja Air Fryer or KitchenAid Classic Mixer to enhance your overall cooking experience. Dive into the art of sushi making, impress your guests, and enjoy the endless possibilities of homemade sushi creations!
For more quick dinner ideas, explore these Mediterranean dinner recipes and spice up your meal planning. To learn more about diverse ingredients, check out Indian spices and easy curry recipes.